


I have had a topic for my blog picked out since I wrote one last month. However, with the flooding in Eastern Kentucky, I thought maybe I should write something more poignant or something uplifting. Then I decided to stay with my original subject because if nothing else, we are survivors. The traditions we carry forward helped our ancestors through a lot of hard times. It will help us get through them as well.
So today I am writing about a canning technique my husband recently introduced me to. Preserving food is such an important skill. In situations like our neighbors are facing right now it reminds us that everything could be taken away in a heartbeat. If we have preserved foods on hand we can share those with our families and friends who may otherwise go without.
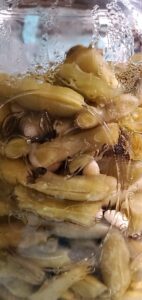
The technique is called Raw Canning. Personally, I love green beans canned this way. They seem to have a better flavor.
Here We Go
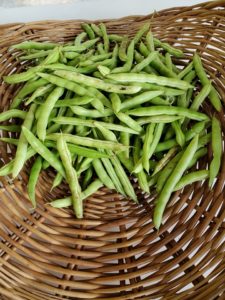
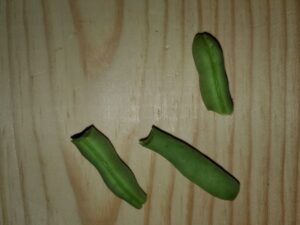
After picking your green beans, or buying them at the farmers’ market, examine them for bad spots. You can remove these with a knife if they are small enough. Discard any beans that look don’t look good. Remove the strings, if they have any, and break them into pieces. The size of the pieces really depends on your preference.

Just a little humor

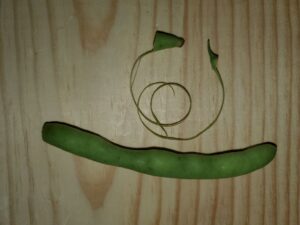
Strings were removed from the bean.
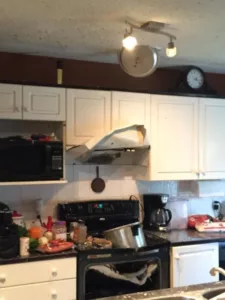
While I strung and broke the beans, which I love doing. My husband McKinley made sure the canning jars and canning tools were ready. As soon as we came in from the garden he filled the bath canner with hot water and set it on the stove so that the water could come to a boil. Large amounts of water like that can really take a while to boil so remember to get that started first.
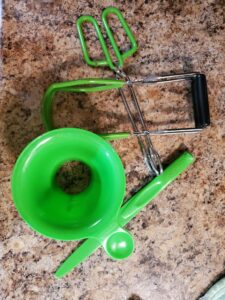
Canning Tools
Getting Ready
Make sure to inspect your jars for any imperfections around the mouth. Chips in the glass could be dangerous and they can keep your lid from sealing properly. You should never reuse the flat part of the lids for canning because they may not seal properly. However, you can use the rings again. Inspect them for rust or other damage. If you find that they have any it would be wise to discard them and use new ones. Canning is time-consuming and you don’t want to find your food spoiled because you did get a proper seal on your jars.
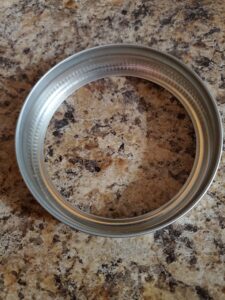
Nice new ring and lid

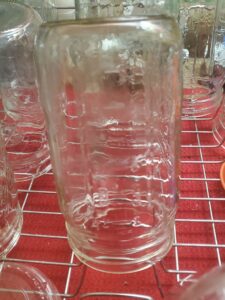
Hot Yet?
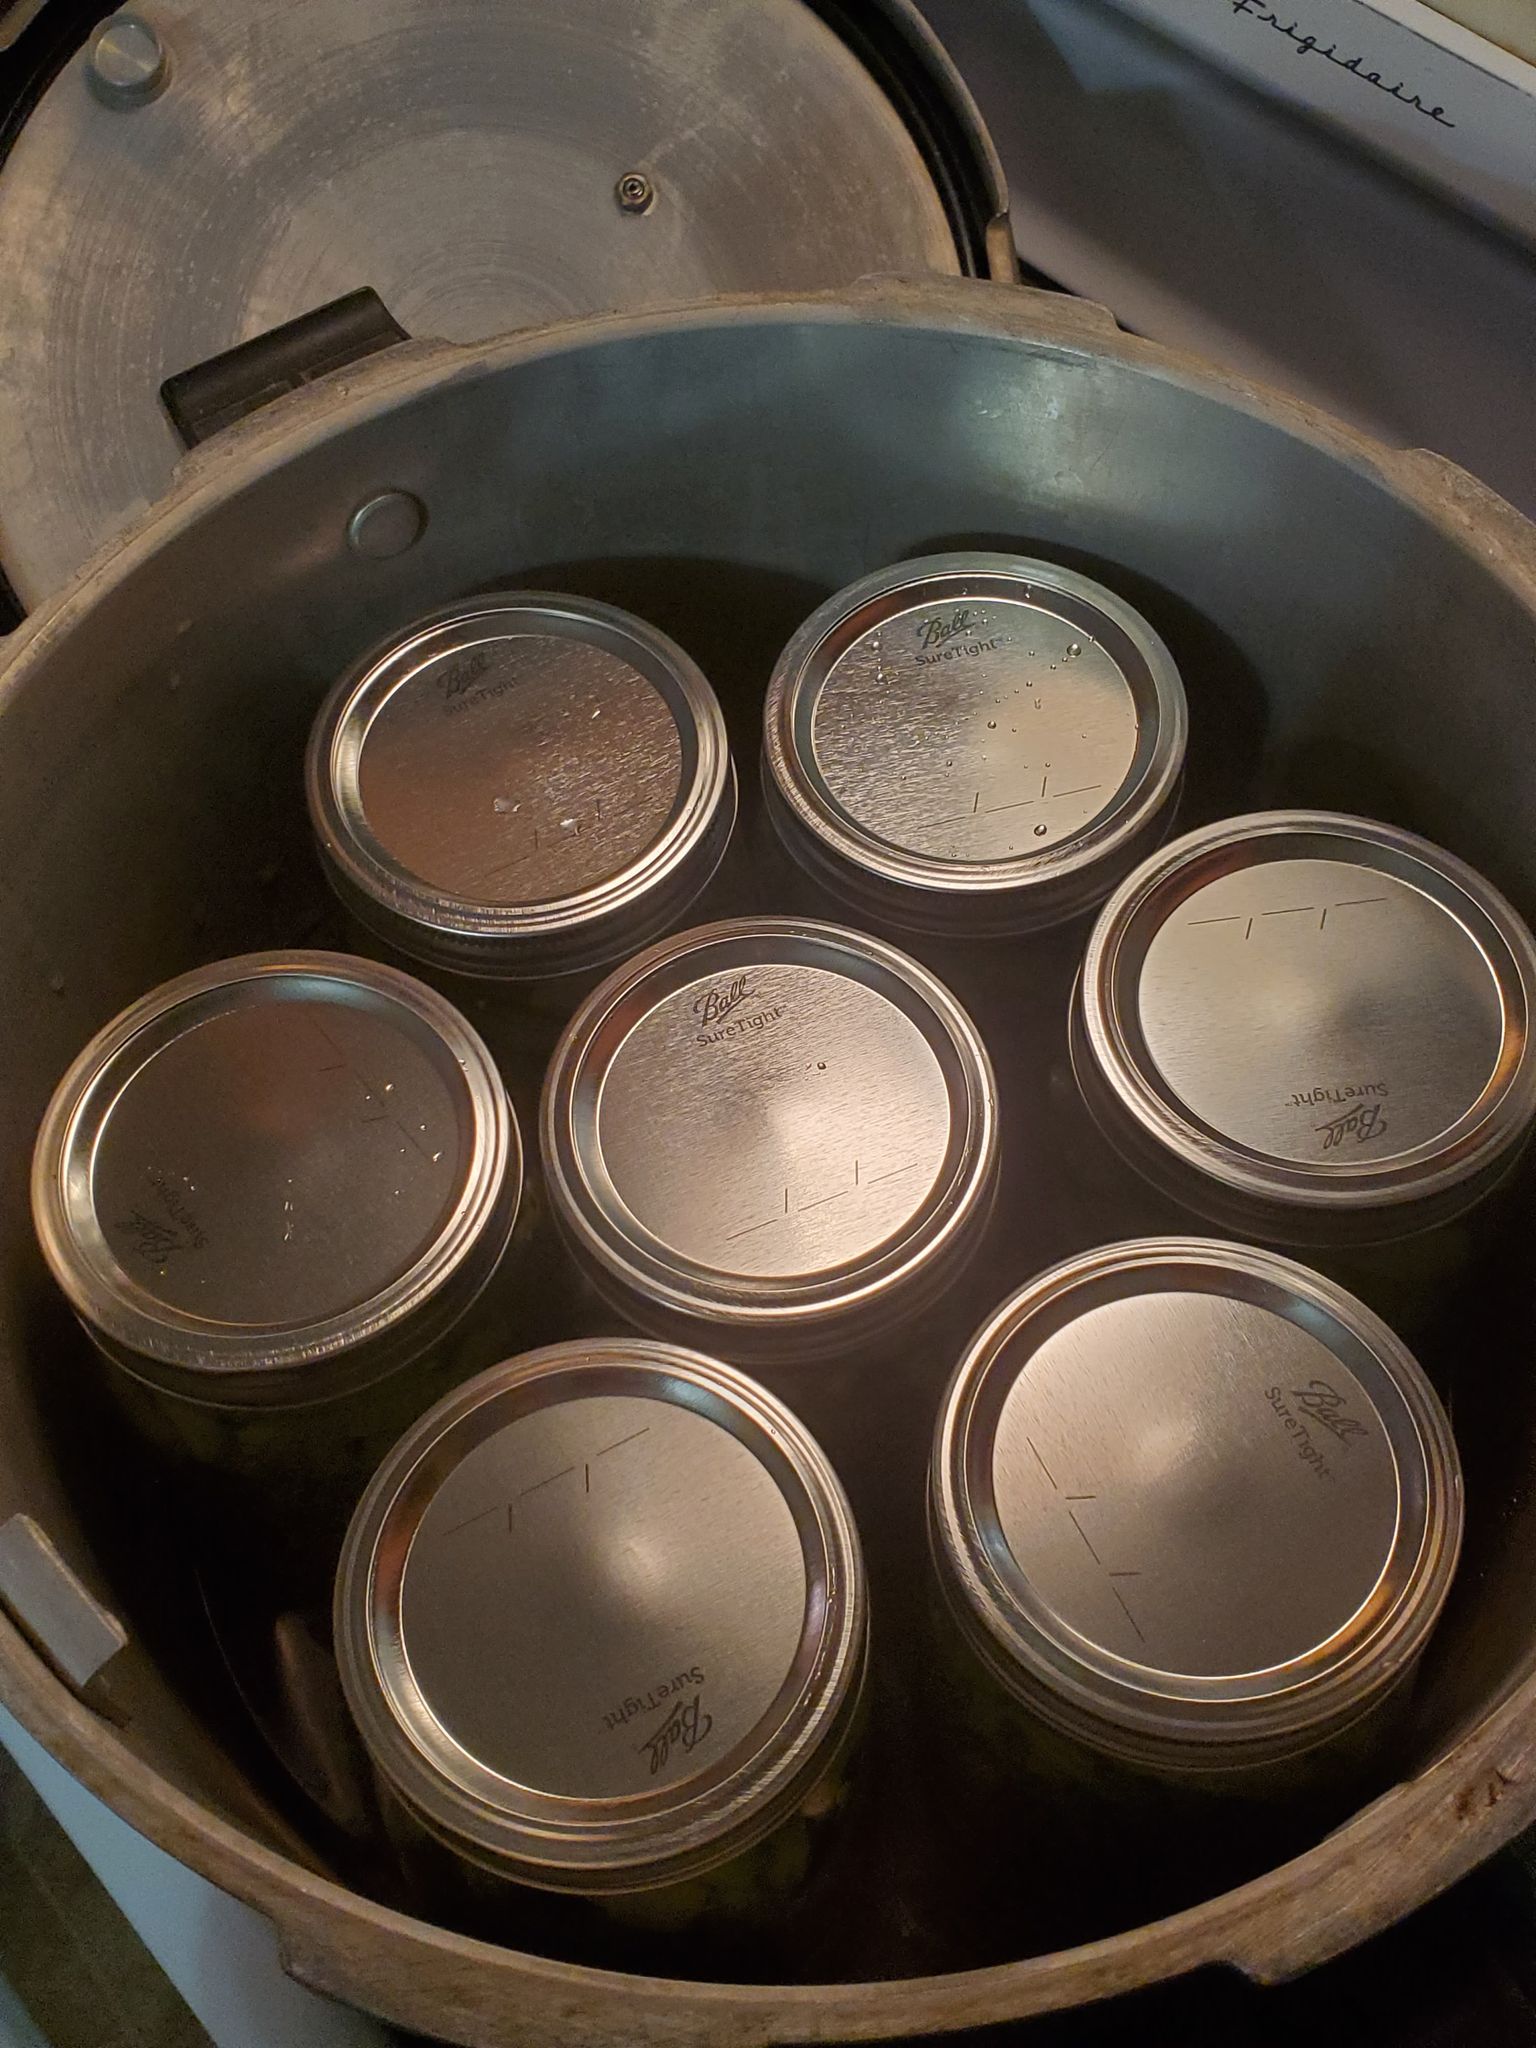
The jars and lids are washed in hot soapy water and rinsed in hot water. We want to keep the jars hot. Never allow the glass to cool before you put them into hot water, or it could break. Carefully add the nice, clean, hot canning jars to the water you have been boiling. The mouth of the jar should be up. Tilt the first few jars sideways allowing the boiling water to fill them. If you run out of room to tilt the jars you can use a ladle to fill the last few. Remember, be careful! make sure the jars are covered with water. Add more water if necessary. Return the water to a full rolling boil for 10 minutes to completely sterilize the jars.
After the 10 minutes are up you can turn off the heat but leave the jars in the canner. The jars must remain hot to properly seal. Remove the jars as you are ready to fill them.
Back to the Beans
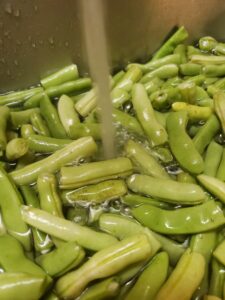
After the beans have been strung and broken they will need to be washed thoroughly. My husband washed them around 3 times, making sure the water was clear and free of debris. 
Technique
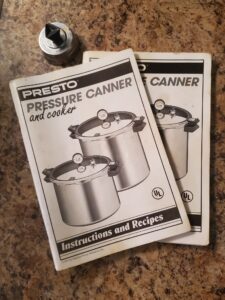
You will do the above steps no matter how you wish to can your beans. Raw packing requires a pressure canner. Yes, pressure canners can be scary. We have all seen the pictures of the pressure cooker lid stuck deep in the kitchen ceiling and the stove demolished.
The image is taken from a Google search for “pressure canner disasters”
Nevertheless, if you follow the direction, you, your ceiling, and your stove will be just fine. Don’t forget to check the rubber gasket in your pressure canner’s lid. It should not be dry, cracked, or show any kind of damage. If it does, abort the mission! (remember the photo above?!) Put the beans in the refrigerator and get a new gasket.
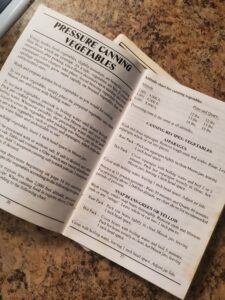
The instruction call for 2 quarts of water to be added to the pressure canner. We used the instruction booklet that came with our canner.
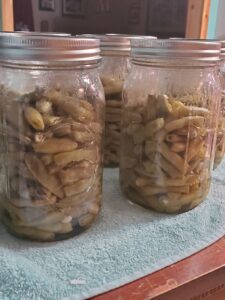
Pack your beautifully broken, string-free beans into the hot canning jars, leaving around one inch of room from the top. You don’t need to add any water! Just the beans. Close tightly with a lid.
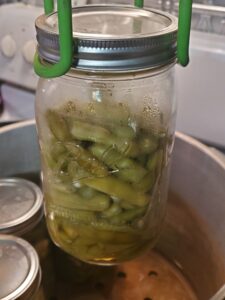
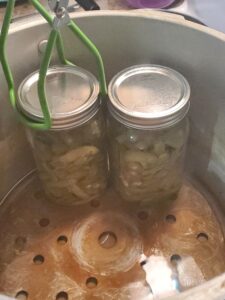
Place the sealed jars into the pressure canner.

Place the lid onto the canner making sure it is properly sealed. It will only go on one way.
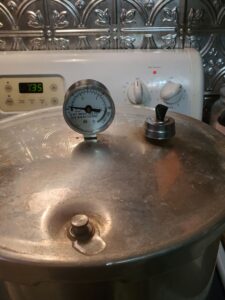
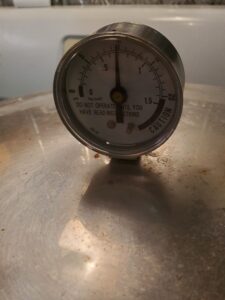
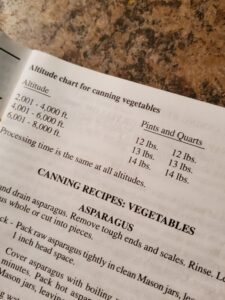
Process according to the directions and your altitude. Yes, altitude does make a difference. For us, we processed our green beans for 25 minutes at 11 pounds of pressure. Processing time for quarts and pints does vary.
A Watchful Eye
We kept a close eye on our canner pressure while Mags our cat kept a close eye on us. I don’t believe he quite knew what to think about the sputtering and hissing of the pressure canner.

Pressure Off
When the timer goes off at 25 minutes we remove the canner from the heat and allow the pressure to drop. Once at zero we open the lid. Be cautious to avoid the steam. Remove the jars and place them on a towel on a flat surface. Allow them to set and cool. Usually, it is recommended not to move the jars much after processing. Jostling them around may prevent them from sealing. We let ours set overnight.
Always follow your canning instructions and if you have questions call your local Extension office and speak with the Agent for Family & Consumer Science. They are always so helpful and knowledgeable.
Happy canning.
Leave A Comment