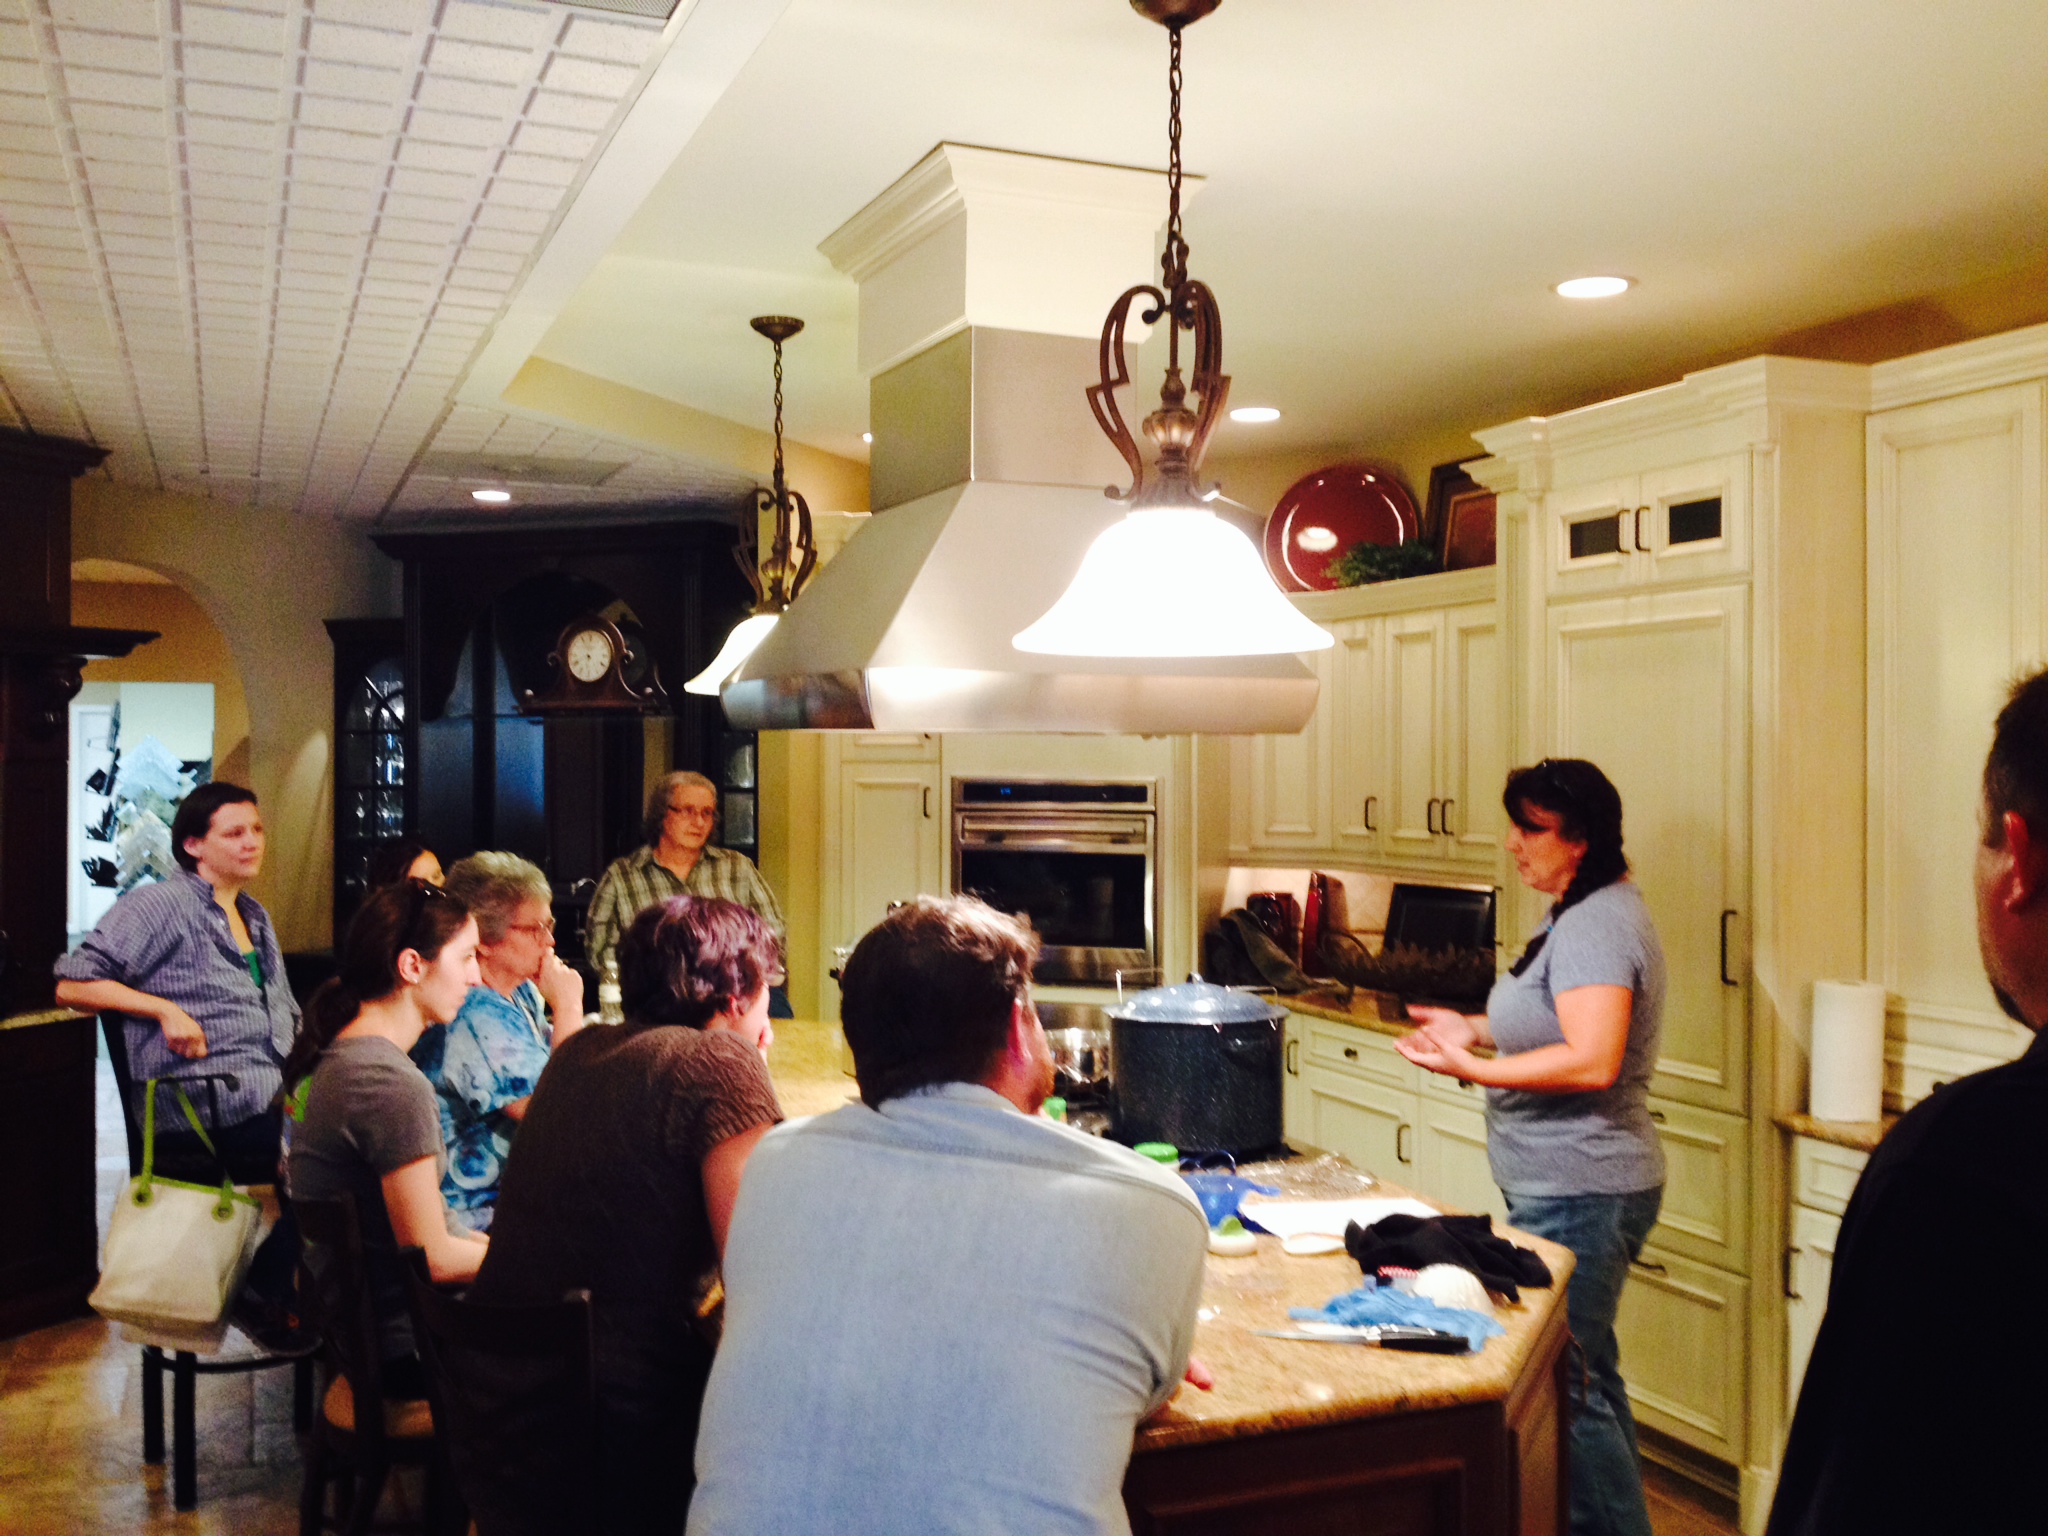
Hi everyone! This is BethAnn and this week was our first class. I have to say I was a little nervous about turnout and teaching, but learning about canning the garden goodness brought them in!! We teamed up with The Wild Ramp, which is a local non-profit that sells local foods using a consignment model in order to increase access to local foods and help farmers. Raine, the Assistant Manager at the Wild Ramp, was able to get us access to a beautiful kitchen at Creative Kitchens in Huntington, to hold our class. It was a great space allowing everyone a good view.
We started with the basics; nomenclature, tools, differences between pressure canning and water bath canning, and the like. Understanding the pressure canning method creates the most fear and doubt, I wanted to make sure that I demystified the process and boosted everyone’s confidence. The experience level in the class was a mix of “newbies” and semi-experienced canners. This made for many good questions and story sharing.
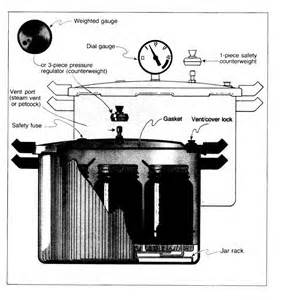
the parts
We talked about why it was important to follow recipes and even though Grandma water bathed meat or used a half-gallon jar, it really wasn’t the safest thing to do. During my prep for this class, I studied up on the reasons for these rules that clashed with so many childhood memories of Grandma’s canning methods. I had simply accepted that the USDA had a good reason, and even though I didn’t like that I should can my pumpkin butter, I just accepted it and moved on. But I knew that I must have a better answer than that.
What I learned was that the half-gallon jars don’t allow the internal temperature to reach a high enough level to kill any possible bacteria, leaving the possibility of contaminated food or causing illness. Same thing with dense foods such as pumpkin puree or re-fried beans. The food is too thick and low in acid levels to be safely canned at home. This made me think about what other additives commercial processors use to make these foods stable…
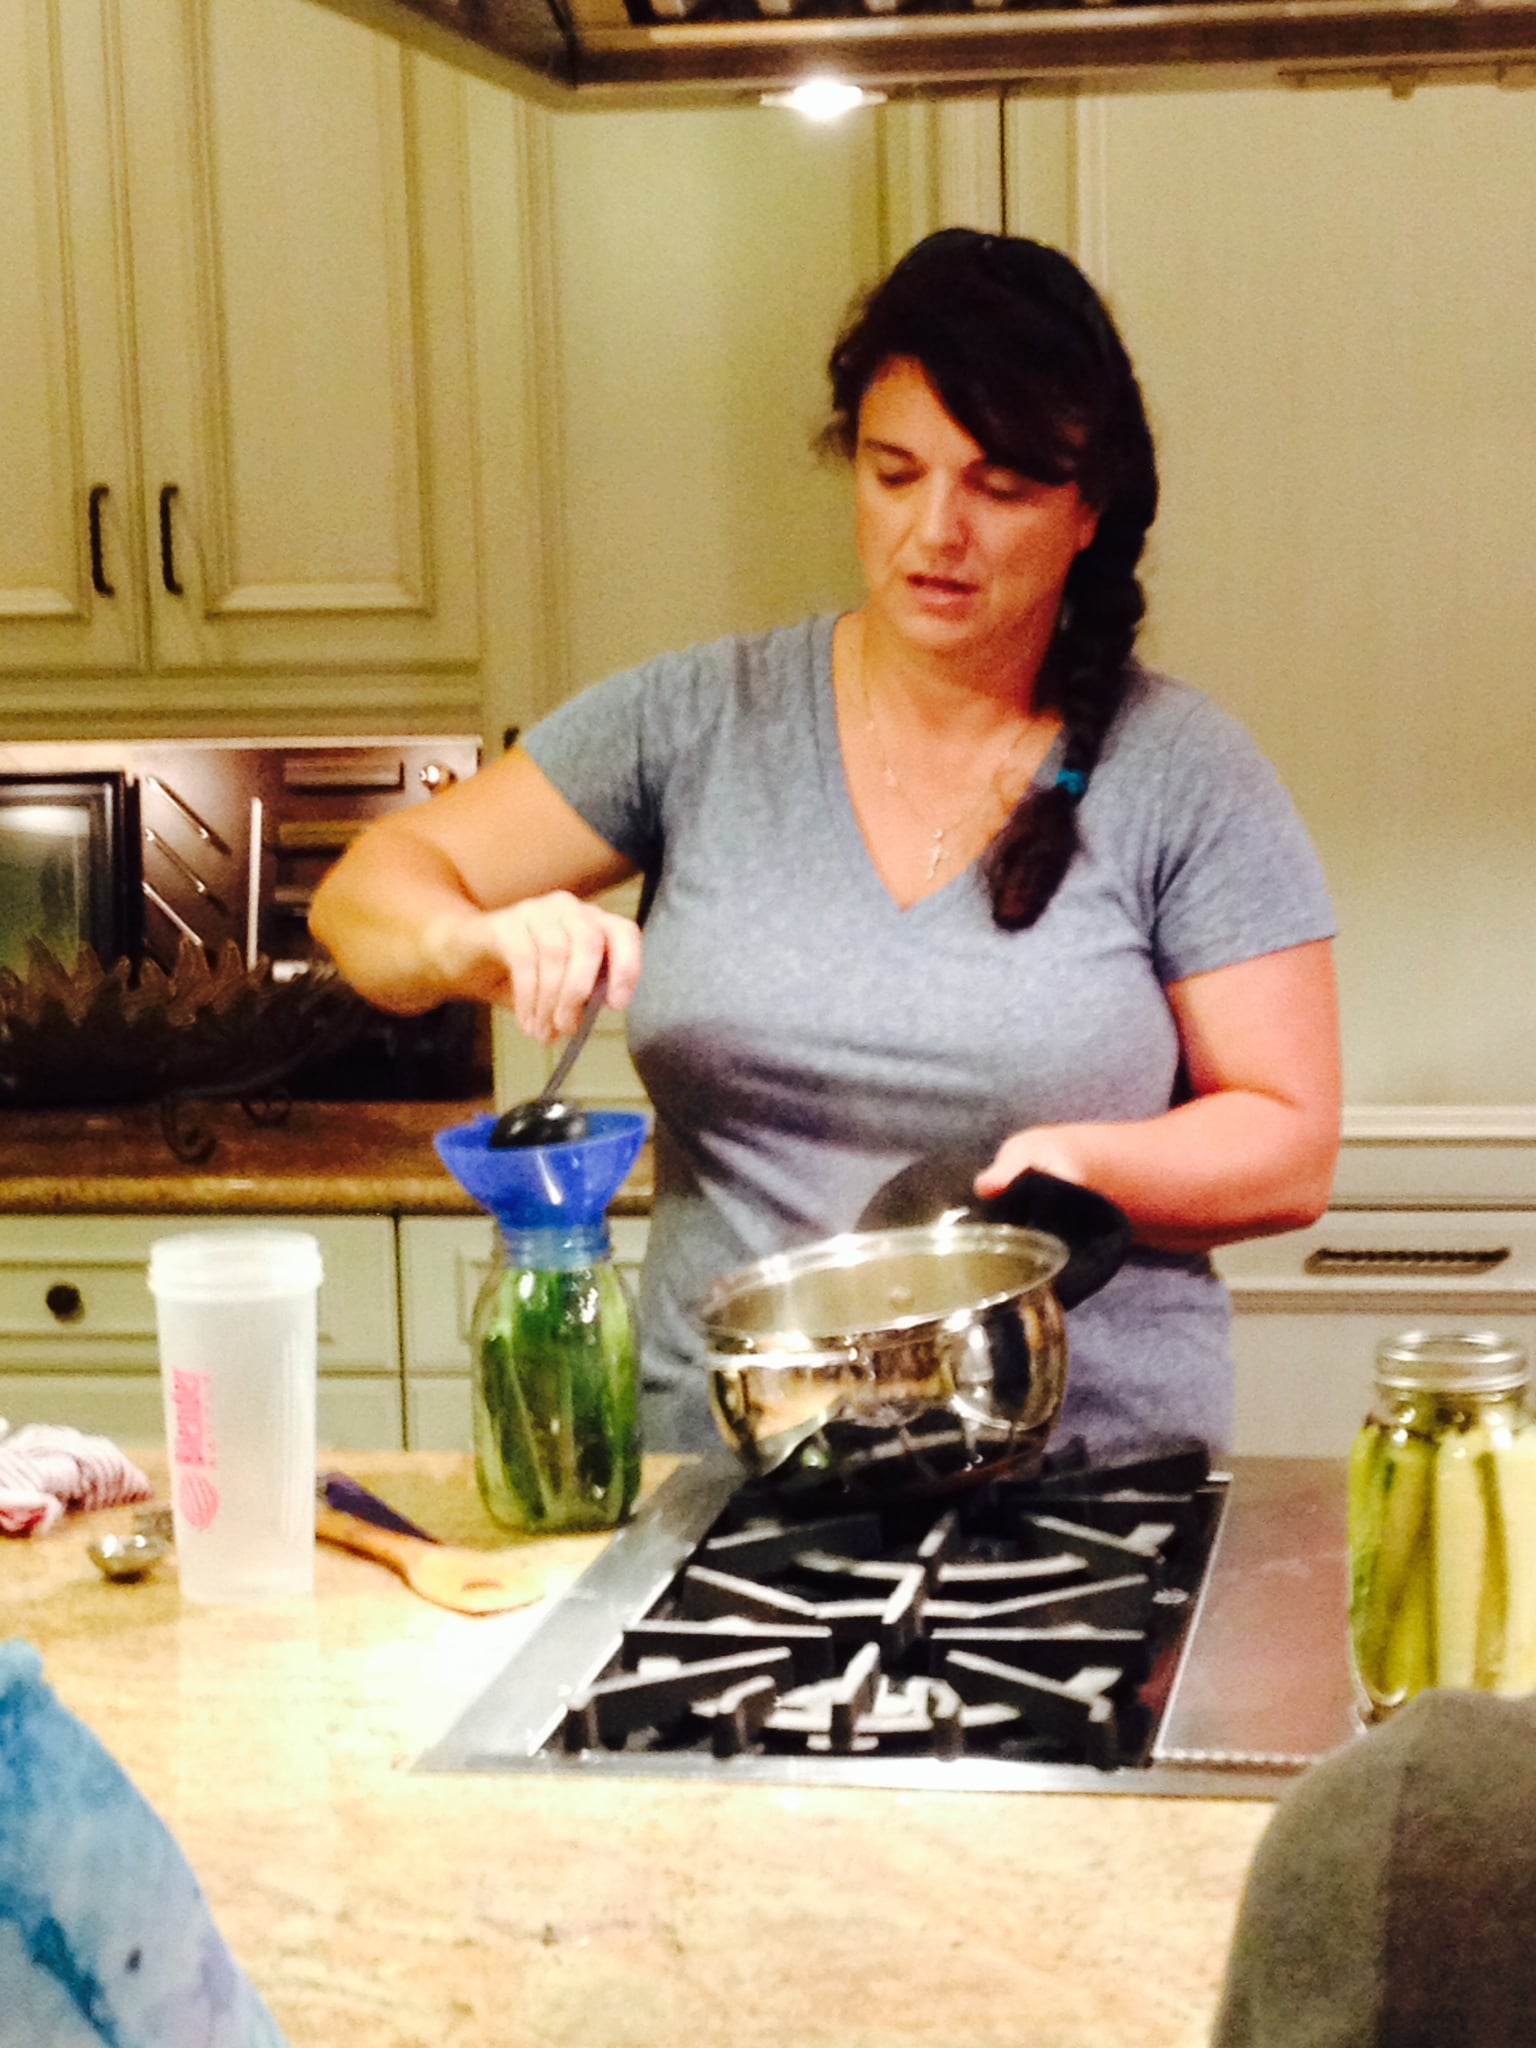
making pickles
After a review of rules, common errors, tools, and the parts, we got down to the business of canning. Using garden fresh cucumbers and zucchini we made pickles. I showed them how I cut the vegetables into slices to fit into the jars, explaining that a tight fit is needed for the best results. Then I ladled the pickling liquid into the jar while explaining about the required headroom and why it is important.
After the pickles, James (my partner in crime at WV Vets to Ag) had the serious job of cutting the hottest peppers ever grown so we could can them. We used a mix of Thai Hot Peppers, Hot Banana Peppers, Tabasco Peppers, Jalapeño Peppers, and Big Daddy Peppers to make a fiery mix sure to please those with a love of all things hot. The variety in size and colors make for a beautiful display of “garden goodness” and will look great in any pantry or kitchen.
Then into the water bath canner the jars went. After ensuring that we had the needed amount of water covering the jars, we set our timer and waited…
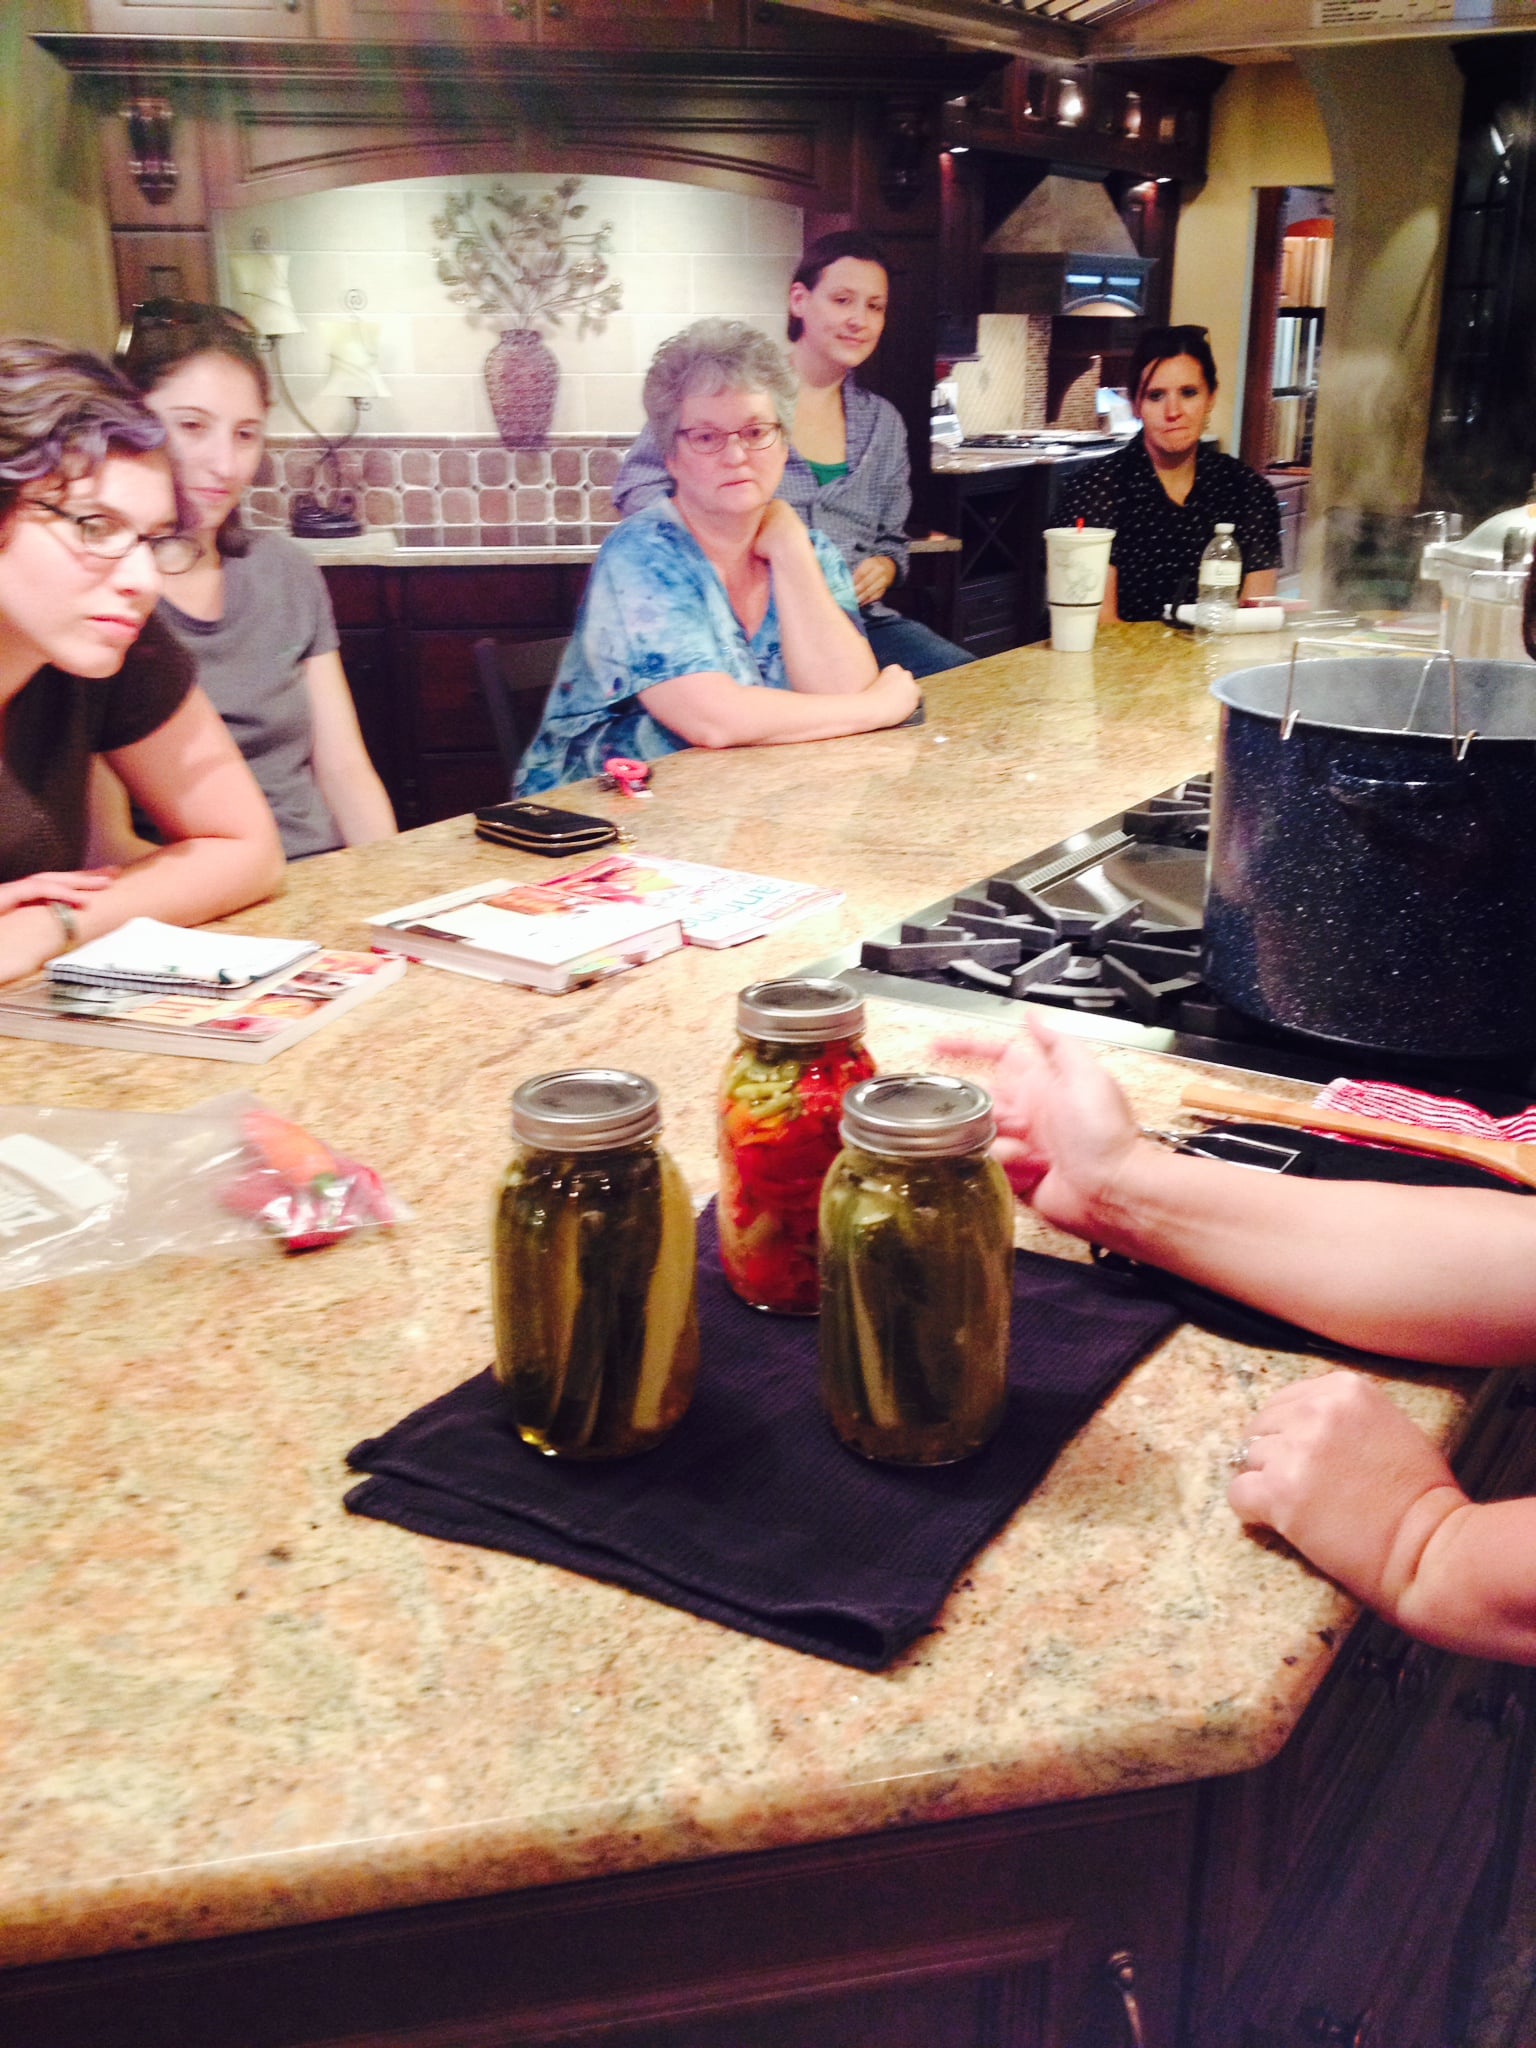
The results
When the timer sounded we removed the jars and set them on a towel to cool. We talked about the “Ping” and as if the jars knew, they offered up a sample noise to delight the group! Nothing sounds so good when your canning! Of course, I pointed out that while the “ping” feels good, we must always check for a good seal once the jars cool.
And then the surprise, each of our Veterans received their water bath canners and tool set along with a case of jars. They were surprised and delighted. I hope to see their “garden goodness” in the coming weeks displayed in jars. It was wonderful afternoon spent with a great group who made me feel excited to share my knowledge with them. I can’t wait until the next class!!
Leave A Comment