One of our wonderful backyard gardeners, Jacqueline, wrote a great blog post all about drip irrigation in the home garden. We thought we would share her words with you all in case anyone else finds her thorough description helpful!
Drip Irrigation for the Home Gardener
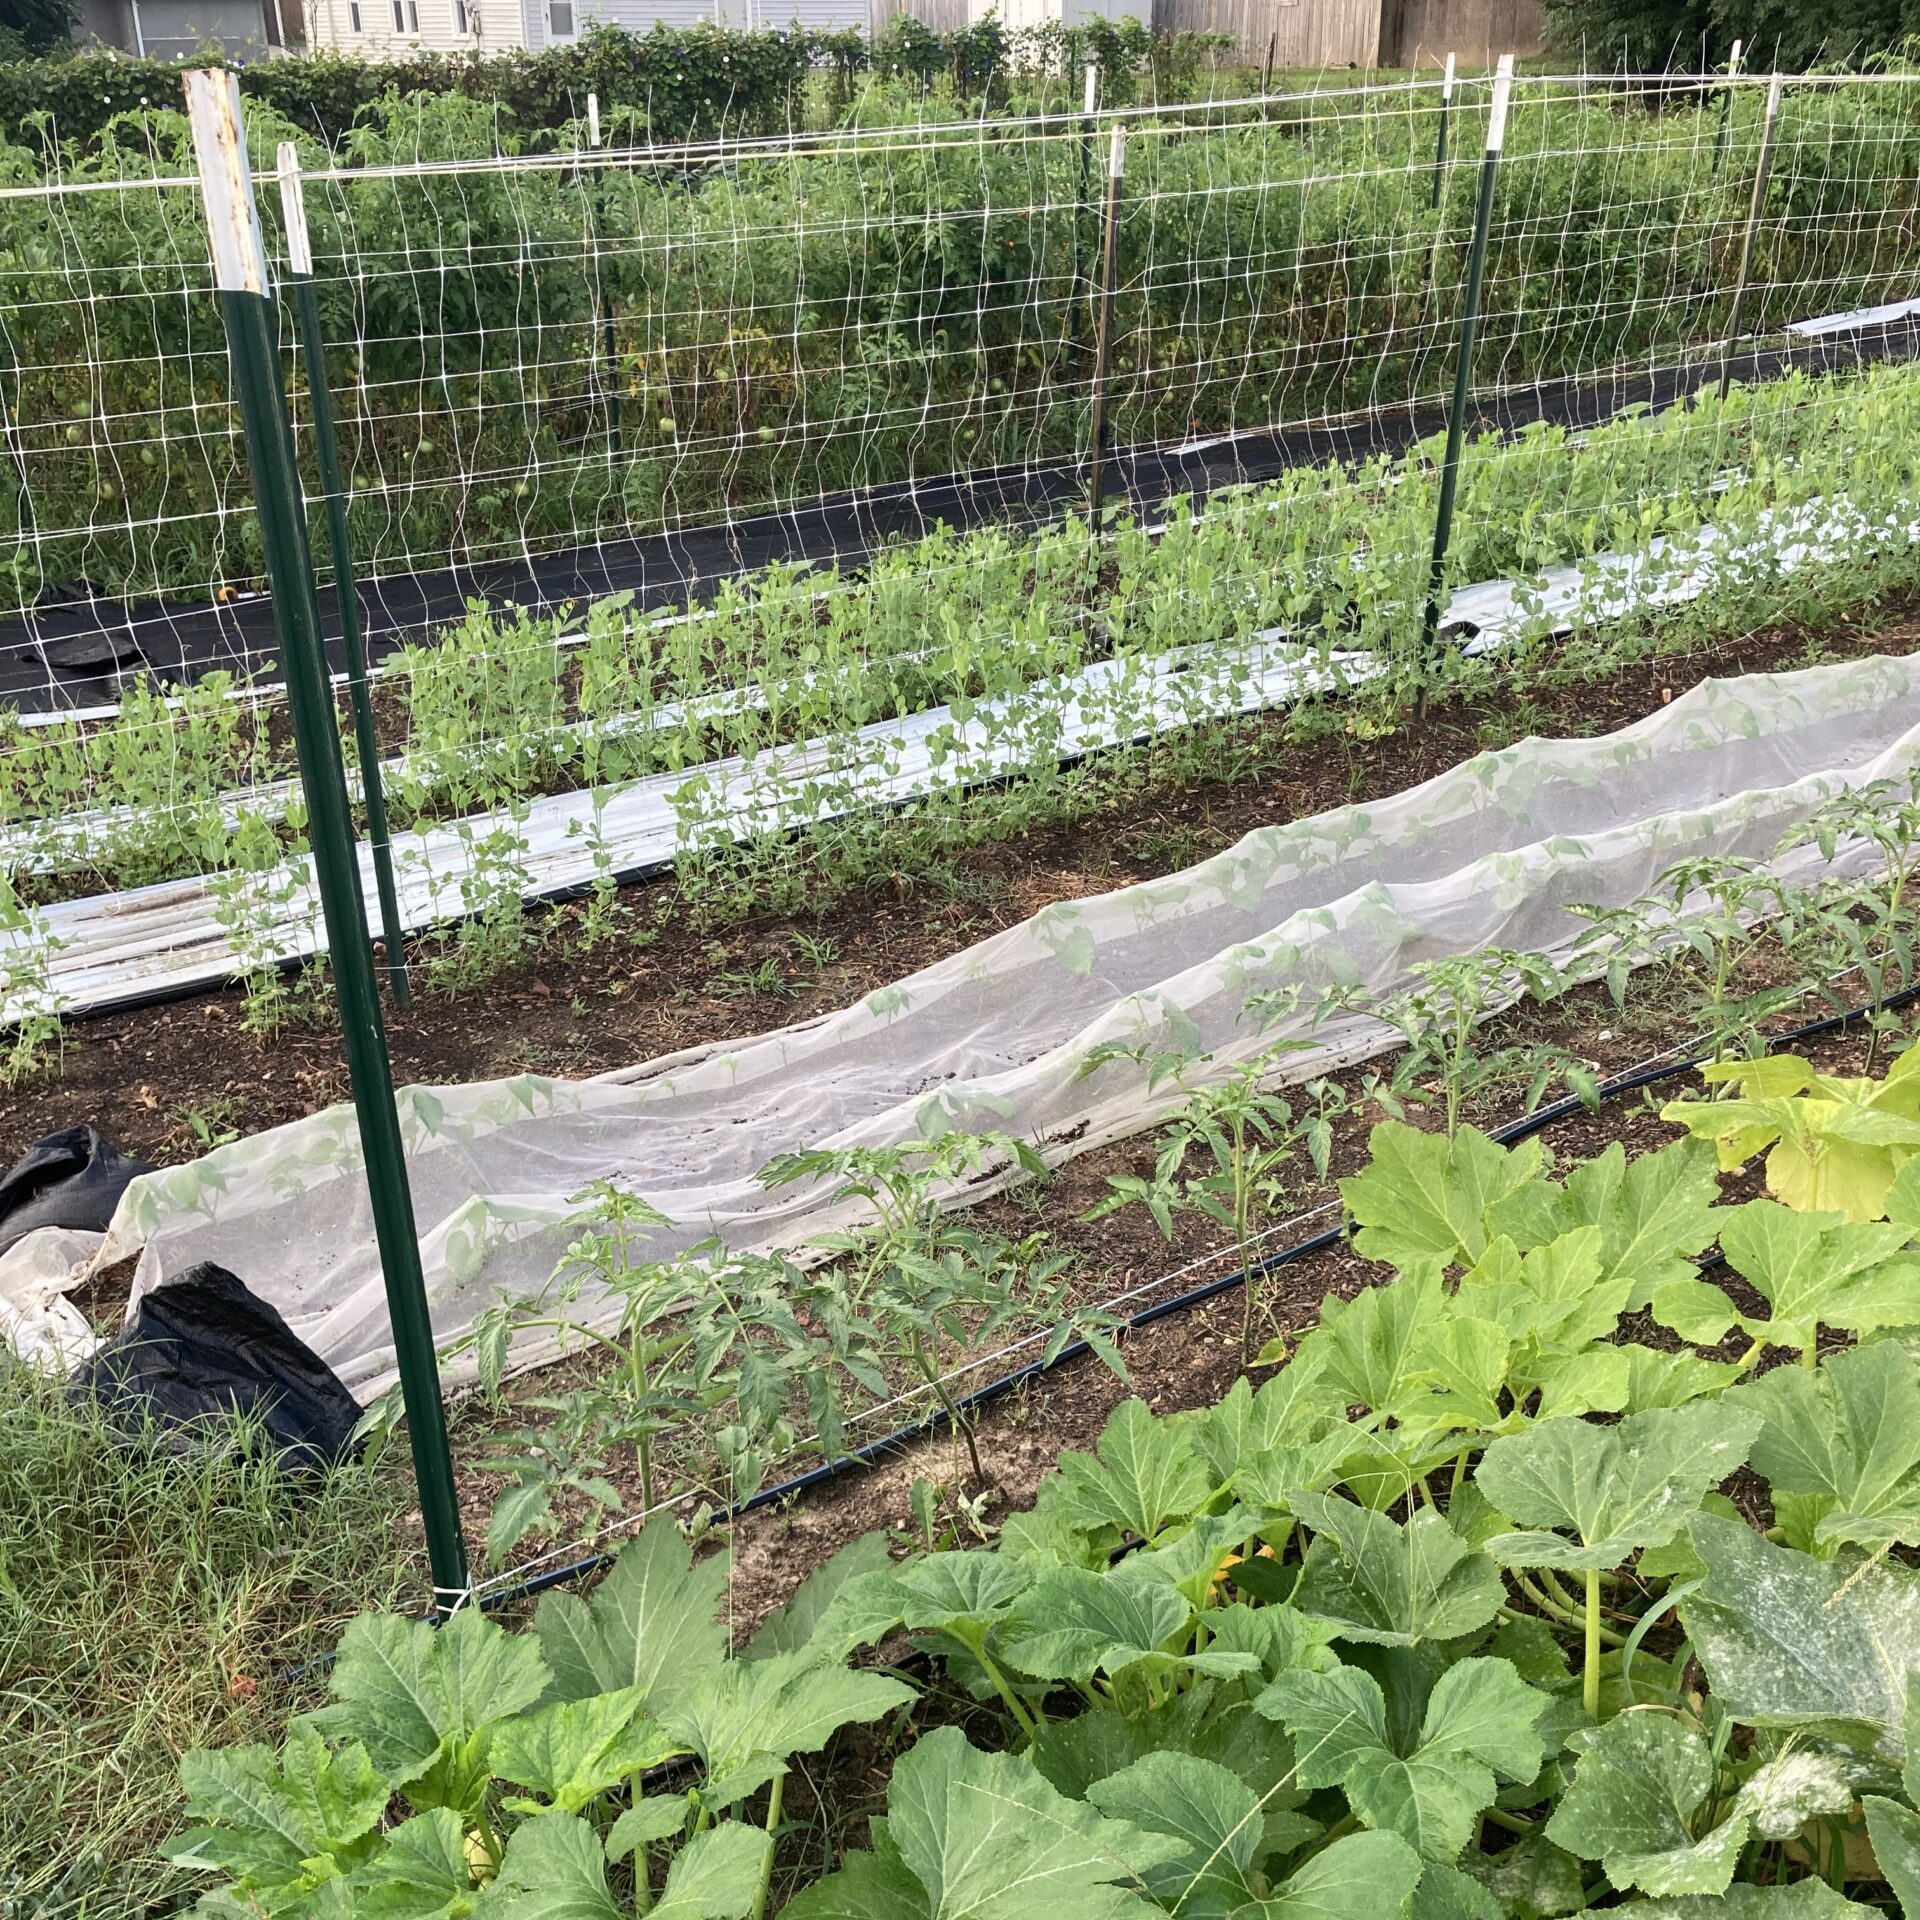
Drip Irrigation is not for everyone or for every situation, but this no-till gardener with a DIY drip system can no longer imagine growing small fruit and vegetables in East Tennessee without one.
A Drip Irrigation system has benefits and limitations. There are also some key concepts to understand before installing your own system.
If you are comfortable with DIY projects and enjoy learning new garden skills, there are good books, online publications and online videos available. You can also start small using an all-in-one boxed kit, such as the Rain Bird 47-Piece Gardener’s Drip Kit with “pressure compensating inline emitters,” and then expand according to your interests and needs.
Curious to learn more? Check out the expanded discussion that follows.
Drip Irrigation – Thoughts from a Happy DIY User
If you are thinking about Drip Irrigation, this post covers some things I learned in the course of designing, installing, and using the DIY system that I love and rely on in droughty weather. (This is an amateur’s view. Please consult a professional and/or your local ordinances for qualified guidance.)
Potential Benefits
Water Conservation. Drip systems use less water because water is applied at ground level where plants need it, reducing wasted run-off and wind scattered spray.
Water Cost Savings (compared to hose or sprinkler delivery). A plus for gardens on municipal water systems.
Plant Health. A slow drip allows the same amount of water to reach greater depths for healthier roots. Drip also reduces the incidence of disease spread through wet leaves and twigs.
Saves Time. You can water one part of the garden while weeding, tending, harvesting, or preserving another.
Potential Limitations
Initial Cost. A drip system costs more than a hose and sprayer, but a good system, properly installed and maintained should last many years.
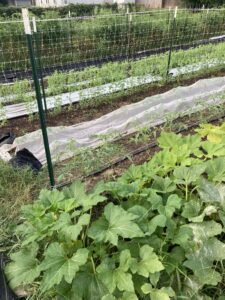
Situational Factors. Drip works best on no-till, raised beds, or other permanent landscape sites where tubing can be left to overwinter on the ground (properly drained, of course).
Planning. Diagram and understand your drip system before you install it. You will be much happier during and after the installation.
Knowledge & Skills. It helps to understand a little basic plumbing and feel comfortable using a few basic hand tools, although you can learn as you go. (See Further Resources below.)
So, What’s in a Basic System?
A Water Source nearby (a faucet).
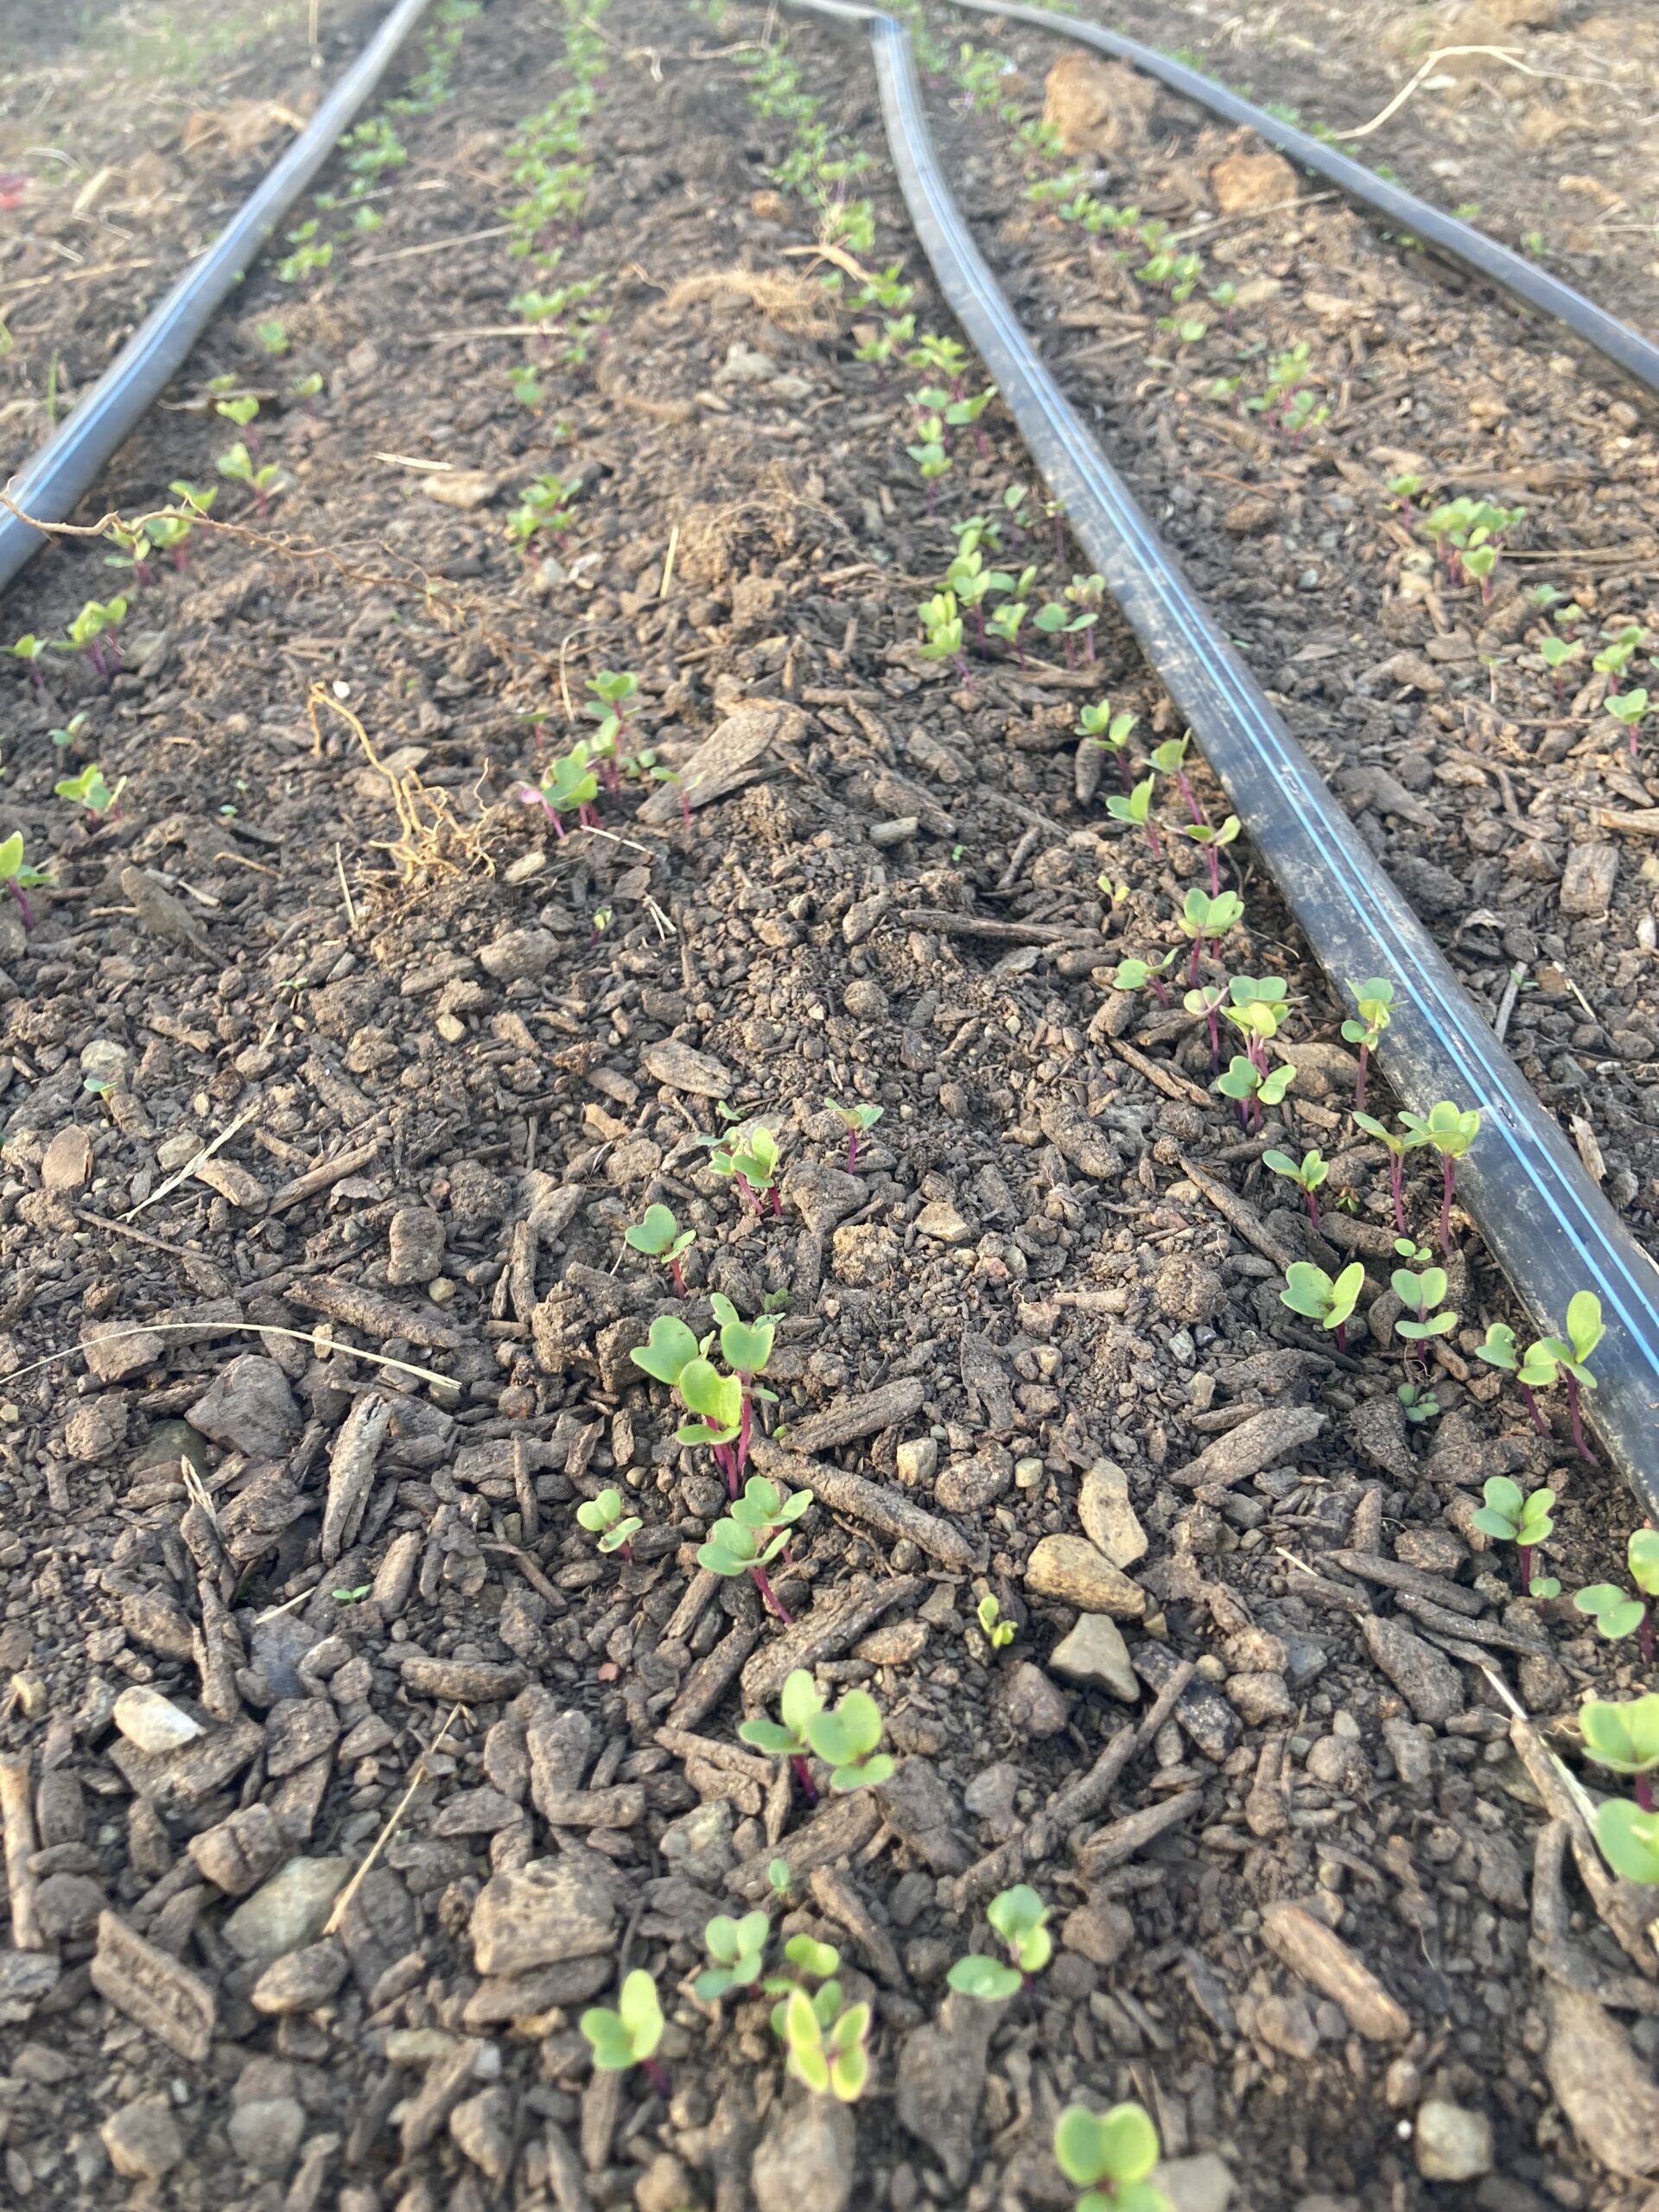
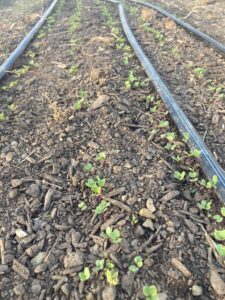 Drip Line. This is tubing with built-in emitters (holes) where the water drips out. Look for “pressure compensating inline emitters” that ensure the plants furthest from your water source get the same amount of water as those closest. A popular emitter spacing for ½ inch drip tubing is one 0.6 gph (gallon per hour) emitter every 12 inches. Two of these lines in a 3-foot x 8-foot raised bed will deliver the equivalent of about ½ inch of rain water (7 ½ gallons) in 50 minutes.
Connector Line has no emitters and is used to connect one part of the system to another.
Backflow Preventer/Filter/Pressure Regulator assembly. THIS IS A MUST. Thankfully, companies such as Rain Bird sell these pieces as an assembled unit. The backflow preventer is a safety feature that keeps water in the drip system from siphoning back into the clean water system and potentially contaminating your water or others’ water. The filter keeps small particles from clogging the emitters. Lastly, water pressure at an outdoor faucet is much too high for a low-pressure drip system and can damage it. The pressure regulator decreases the pressure, protects your investment, and prevents the pressure-fitted tubing connections from blowing apart.
Connectors, Hold-Down Stakes, and Other Small Parts complete the kit.
A Manual Hose Timer (purchased separately). An inexpensive timer prevents overwatering if you get busy and forget to turn it off. They are usually available where hoses are sold.
 Final Thoughts and a Useful Rule-of-Thumb
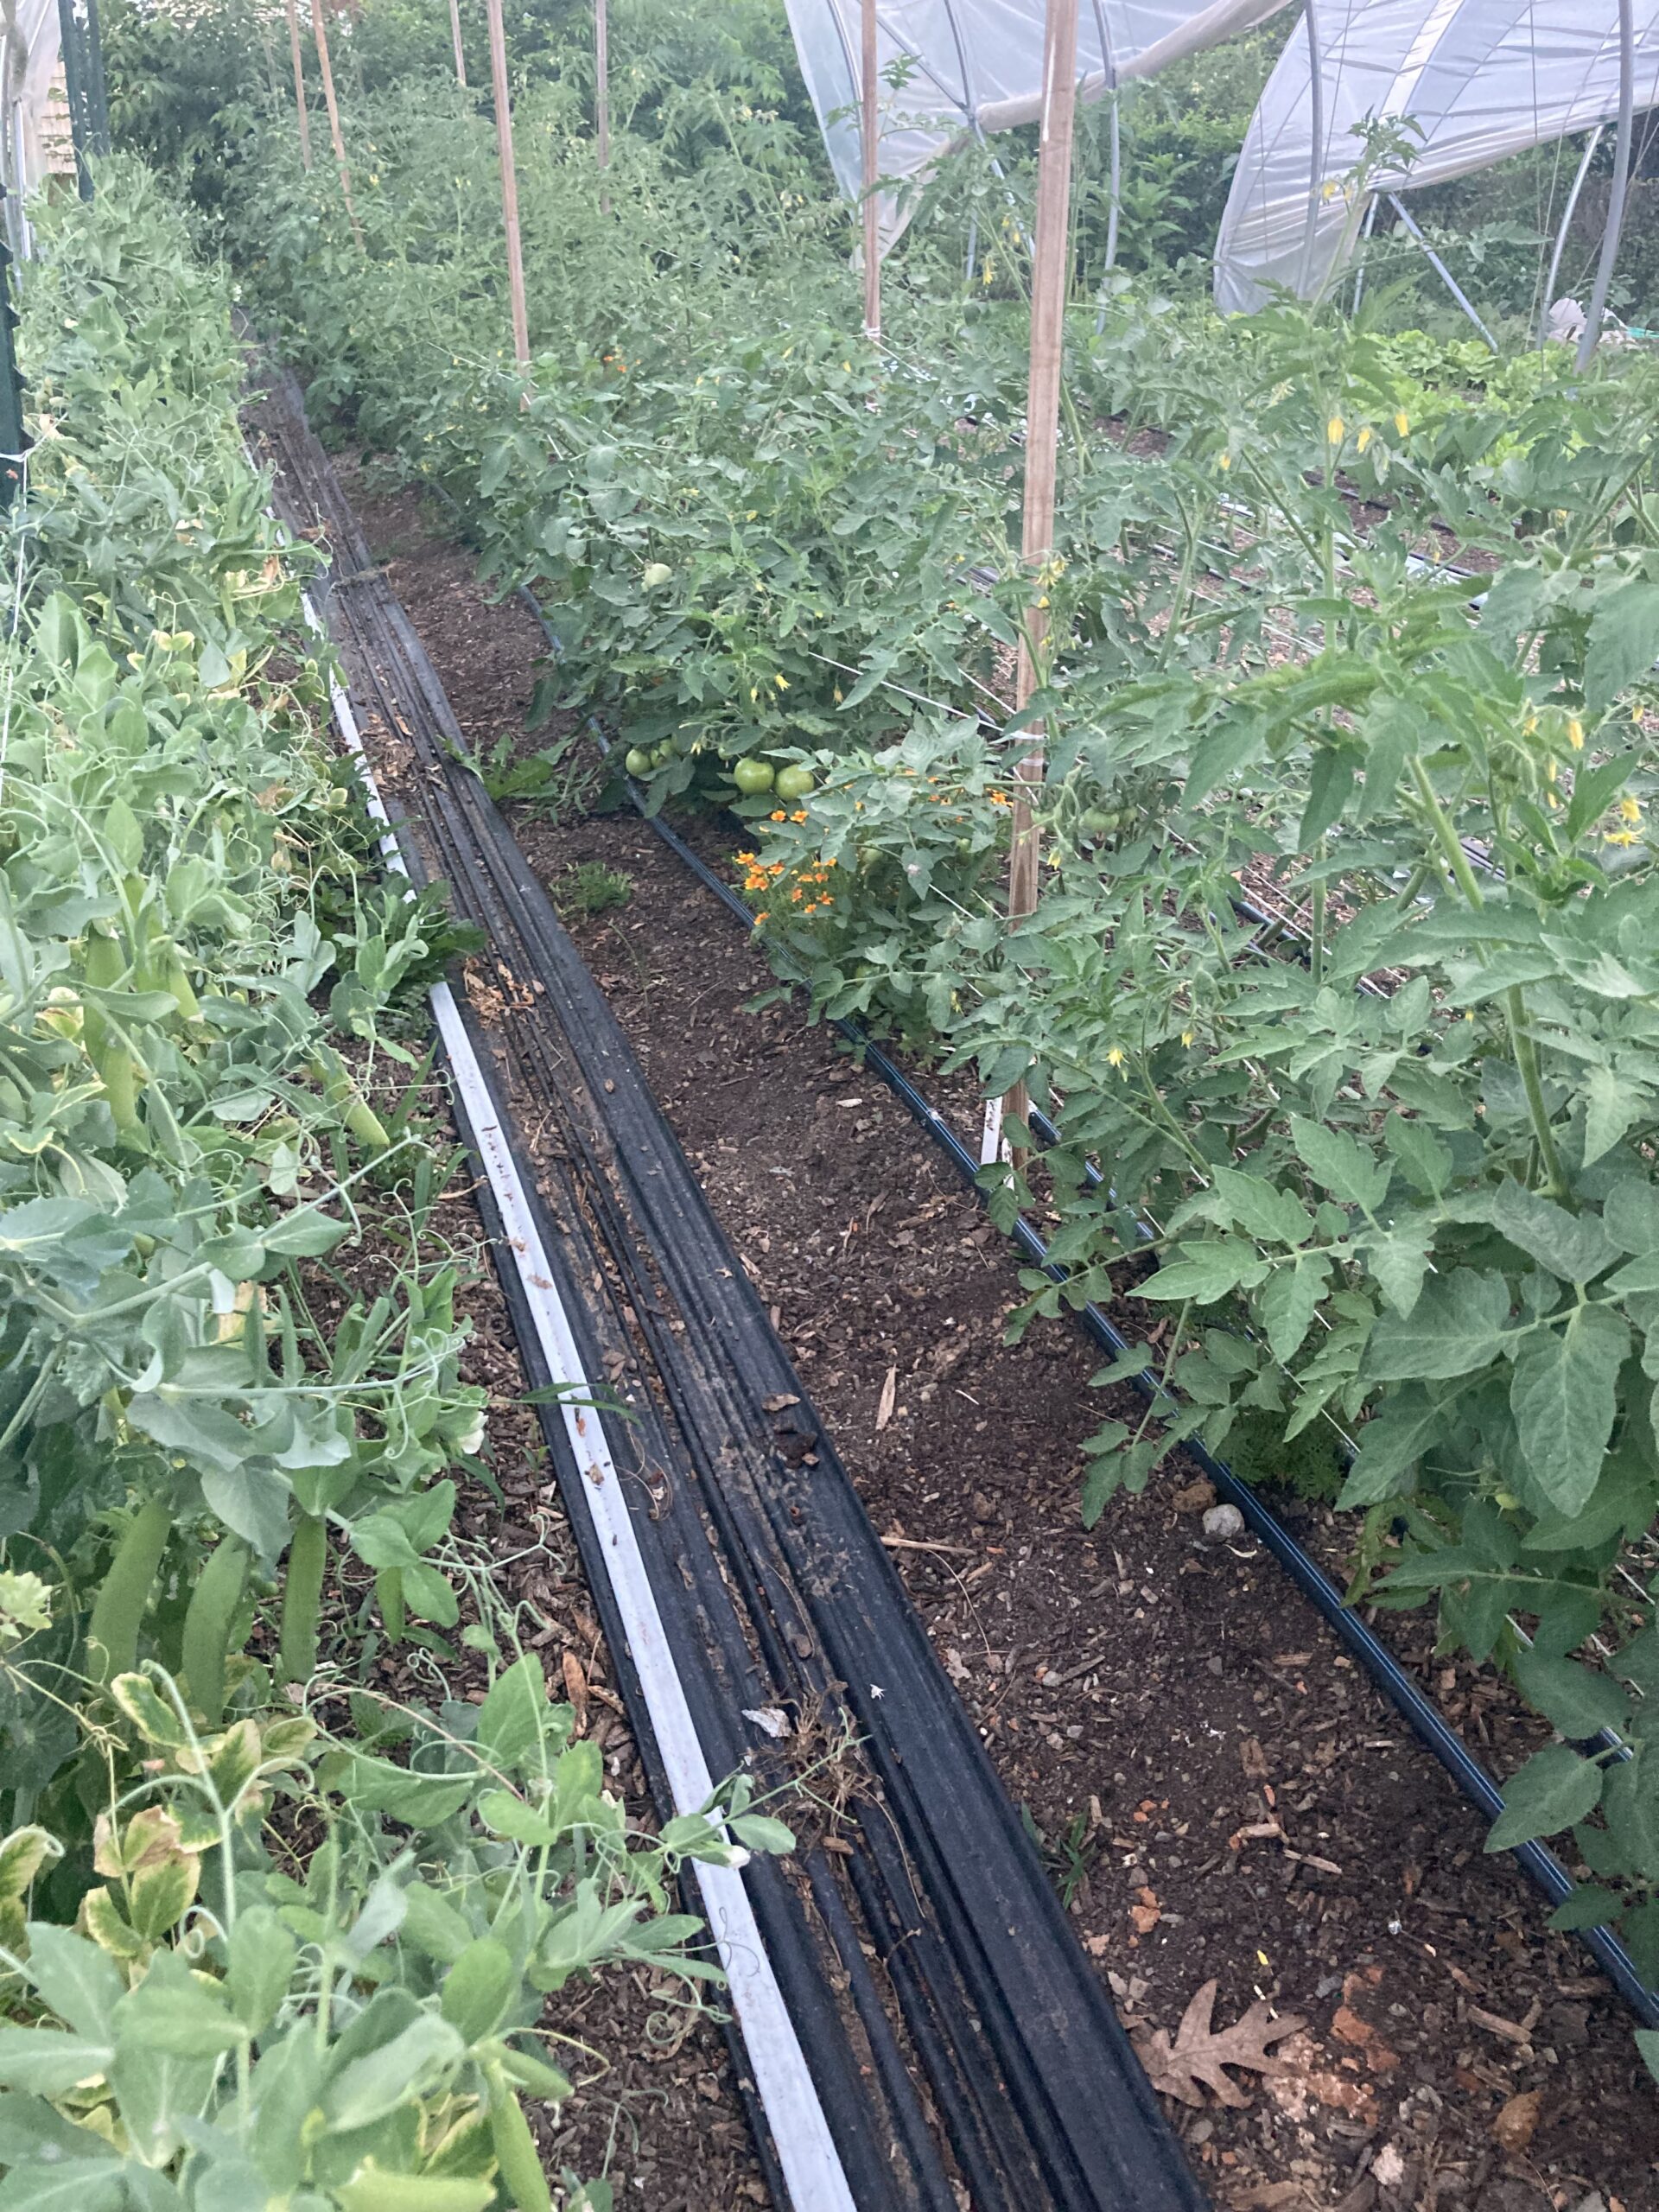
Length. On level or nearly level ground, a run of ½ inch drip tubing should be no more than 200 ft long (or as recommended by the manufacturer). If you need more line, divide the garden into sections that can be watered independently. Inline cut-off valves separating the sections make it easy to switch sections. My 45-foot x 45-foot garden has 4 sections.
Winterize Your System before cold weather hits. Remove, drain, and store your backflow preventer/filter/pressure reducer unit to prevent damage. Also, drain your drip lines. Cut-off valves installed at low points in the system make this easy.
Start Small. Try one section of your garden, learn from the experience, and expand as desired.
Further Resources. Rain Bird and other companies offer beginner drip kits, part assemblies, and helpful online tutorial videos and publications. A good user-friendly book is Drip Irrigation for Every Landscape and All Climates, 2nd ed., by Robert Kourik, Metamorphic Press (2009).
Best Wishes and Enjoy Your Garden!
Leave A Comment