
–Karline Jensen, High Rocks, Hillsboro, WV
Here are the tools you will need:
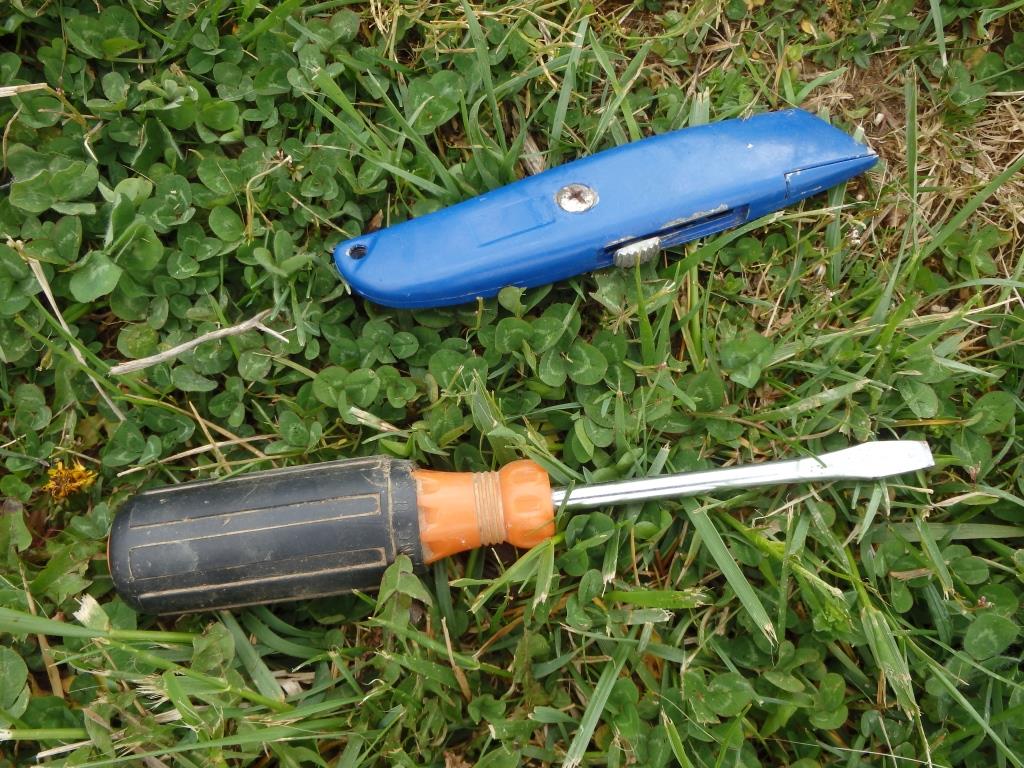
Screwdriver and Utility Knife
We get our irrigation supplies from Rainflo Irrigation.
You will need:

![]()
It comes in 7,500 foot long rolls. We use two lengths on each of our three-foot wide beds. For example, if your garden is 50×50, you would probably need 600 feet of drip tape. One roll would be enough to share with ten gardens of this size.
You also need a header line to attach the drip tape to. 3/4″ line is best. You run this line along the ends of your beds and attach the drip tape to it.

You can run the Blue Stripe line from your hydrant to your garden, and install a hose bibb at the end of the line after the drip tapes. If your garden is far away from the hydrant, this is much cheaper than buying a long garden hose to go from the hydrant to the garden.

You should always install a check valve or backflow preventer before your garden hose or drip irrigation system. This will prevent garden dirt from contaminating your water source or household water system.

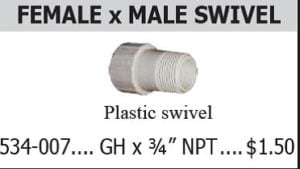
Pay attention to the difference between Garden Hose thread and Pipe Thread when choosing adapters. On Pipe Thread, there are more threads per inch than on Garden Hose thread. It may seem like you can thread them together, but if one of them is plastic you could damage the threads, and you’re not likely to get a leak-free fit. This fitting can go between your hydrant and the check valve:
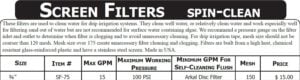
Then you need a filter to prevent sediment from clogging the drip orifices.
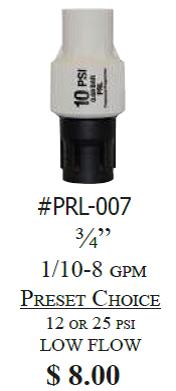
Drip tape is designed to work best at 12 PSI. Install a Pressure Regulator where your header line enters the garden, or at the hydrant if it is not too far away or up or down hill from the garden. The reduced pressure will also help to prevent leaks in the line.

Header line with Female Adapter, Filter, Pressure Regulator, and Male Adapter


This male adapter is also the one to use to attach your hose bibb to the end of the line.
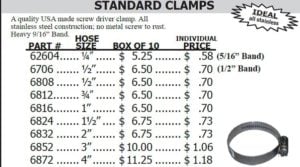
Use two hose clamps on each adapter. If the weather is cool or you can’t get a leak-free fit, you can use a torch to heat the end of the line before you insert the adapter. Hold the torch at a distance and move it around a lot on all sides of the pipe like you’re ironing. You don’t want to weaken the plastic by overheating it. Stop heating as soon as it is hot to the touch, and put the adapter in and tighten the clamps right away. Use teflon pipe thread tape on all your pipe threads.
Once you have the Blue Stripe Header Line running from your hydrant along the ends of all your beds, with check valve, filter, pressure regulator, and garden hose bibb installed, it is time to punch holes for your drip tape valves:


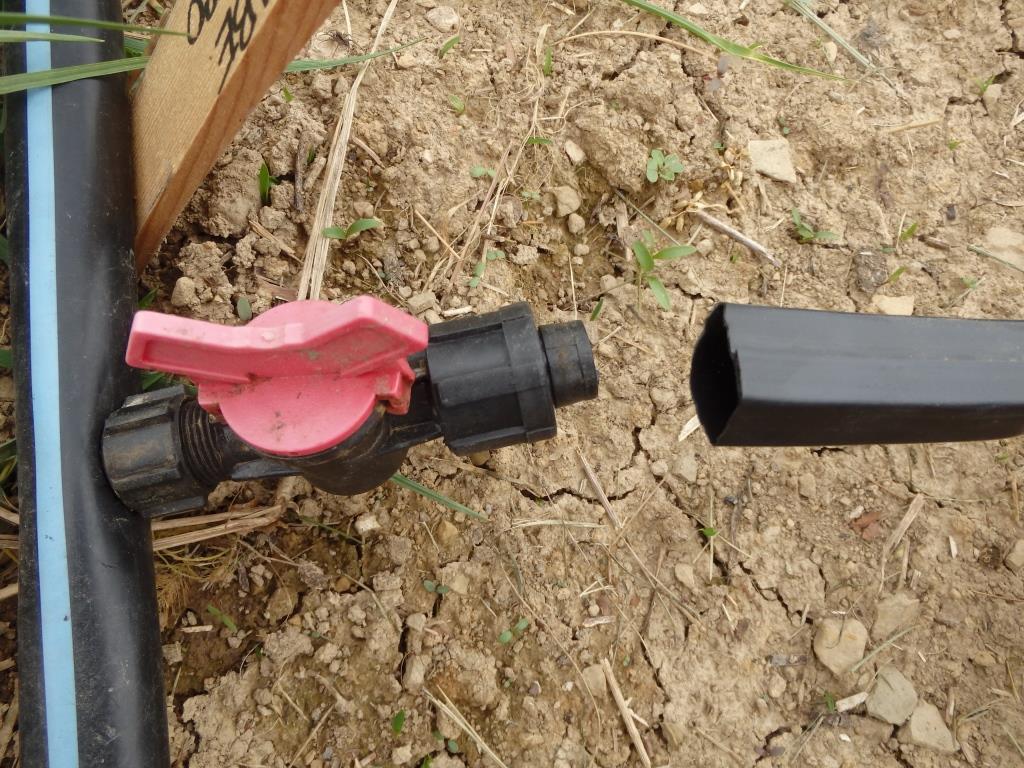
Header Line, Drip Valve, and Drip Tape
The Blue Line can help you to make sure that your header line is not twisted. Untwist it if necessary so that the Blue Line is on top all along its length. Then use your punch to make holes in the side of the header line. This will help all of your valves to end up oriented parallel to the ground instead of up or down at an angle as the header line untwists over time. You want two holes, one for each valve and length of drip tape centered on each bed. Put the two holes a foot or so apart from eachother, a bit closer to the middle of the bed rather than the edges. The two drip lines can run one on either side of crops that you plant in a single row, one next to each row for double row crops, and between rows for crops you plant three or more rows to a bed. Before you push the end of the valve into the hole, screw the nut all the way toward the valve. Then after the flange is in the hole, screw the nut back toward it, and they will pinch the edges of the hole, making a drip-free seal. Once you’ve turned the drip tape on you will need to go around and make sure none of them are leaking, re-tighten if necessary.
Cut lengths of drip tape with your utility knife, slightly longer than the bed. Make the cuts as straight as possible; this will help to push the tape farther onto the valve to prevent leaks. Again, screw the nut back toward the valve. Position the drip tape so that the orifices are on the top side of the tape. You will be able to see tiny slits one foot apart from eachother the entire length of the tape. If they are on the top rather than the bottom, it will prevent them from becoming clogged with sediment. Push the tape onto the valve, and hold it securely as you tighten the nut. Keep it pushed on as far as possible, and keep the orifices facing up. Again, you will probably have to go back and tighten a few that leak after you turn on the system.
For the other end of each line, cut a small piece of your header line stock to use as a napkin ring to close the end off.

End of Drip Tape Closed with a piece of Header Line
Fold the end of the tape over several times and stuff in it the header line.
Now it’s time to turn it on and see what happens! Click this link to watch a video:
The cost of this system will be $50 for the check valve, filter, pressure regulator, hose bibb, fittings, and punch, plus $20/1000 square feet for the drip tape, drip valves, and header line. So $100 for the 50×50 garden described above. It will save you hours of watering time, and you can focus on weeding! Happy Dripping!
Leave A Comment