Its getting about that time of year that you may want to start preserving those home-grown veggies or fruits for the cold winter months. I know my family sure loves to can those tasty green beans and tomato juice! My Papaw says there’s no other feeling that is as rewarding as eating your own homegrown foods that you canned yourself! Keep reading and I’ll list the basic tools needed to can.
The most basic tool needed in the canning process is, of course, jars. They are most commonly called mason jars and can be bought in many different sizes such as 4 ounces, half pint, full pint, and quart. These can be bought nearly anywhere. I know that you can buy cases of them at Walmart for quite cheap!
Another tool that is very important is of course a large pot with a lid or a water bath canner (as shown below). For low acid foods like green beans, you will need to use a pressure canner.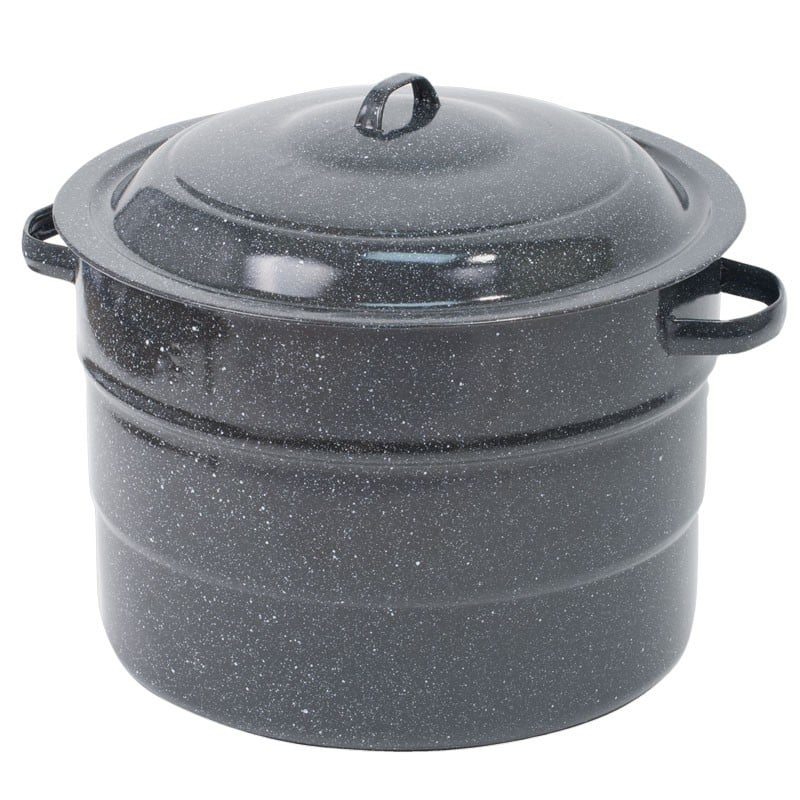
You will also need a rack of some sort to sit your cans on inside the pot so that they don’t sit on the bottom. If your cans are sitting on the bottom, they are likely to crack! We sure don’t want a mess like that!
Another tool that most canners like to use is a jar lifter. Although this tool isn’t a necessity, it sure will make the process a lot easier and safer. They are very cheap as well, so I recommend grabbing one at your local supermarket.
There are many other tools that are needed in the process that you probably already have such as tongs, a kitchen timer, oven mitts, and a ladle.
Like I said, these are just the basics. If you like to learn a lot more about the tools needed in the canning process, I recommend visiting www.rosybluhome.com. Here you will find tons of information. The canning process isn’t a hard one, but it can get quite complicated. And HOT! So stay safe around all of the high temperatures. Also, your local Extension office offeres calsses and information on the safest canning practices. Now, get to canning everyone! Thanks for reading! I hope you enjoyed!
Leave A Comment