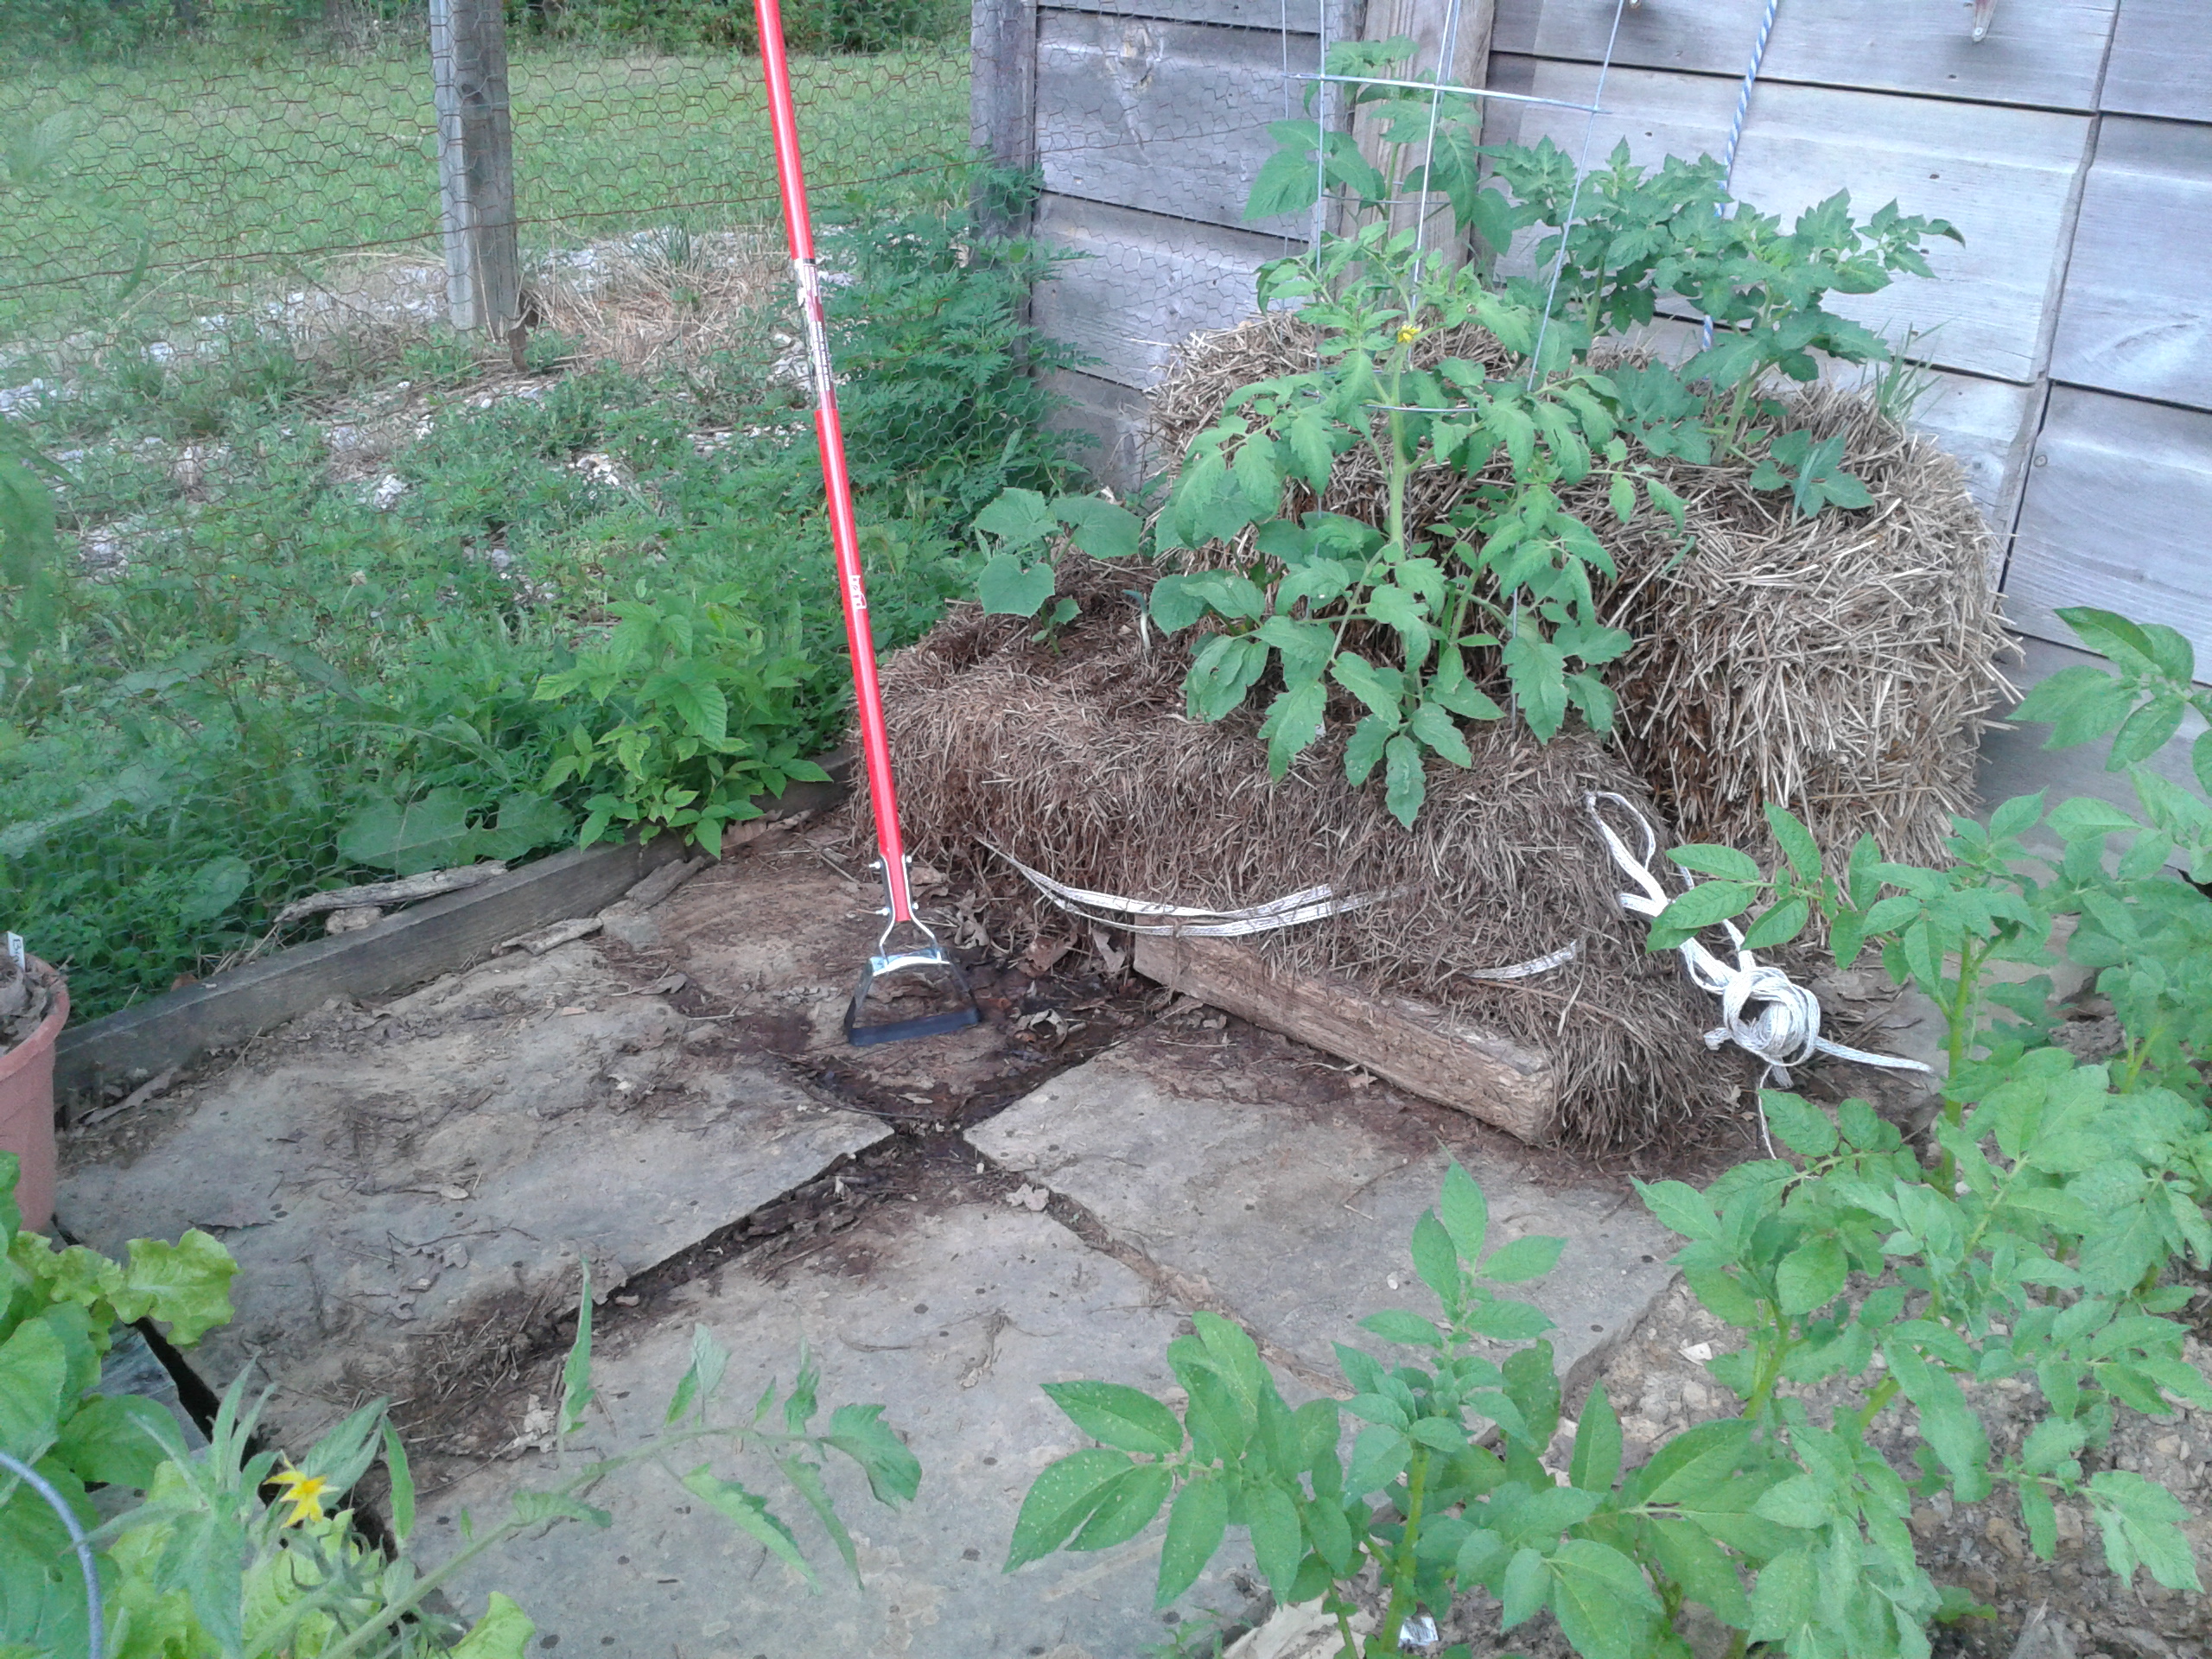
Katie Smith checking in from Scott County. It has been a season of gardening “firsts” this year for me. One of the most interesting has been experimenting with straw bale gardening. My garden plot is within an old chicken coop that has 2’ x 2’ x 4” stepping stones outside the roost door. They are far too heavy to move and rather pretty in the garden, but take up a lot of valuable, full-sun real estate. It was a perfect place to experiment with straw bale gardening.
My friend and knowledgeable gardener Elbie provided me with a straw bale, and we located an old hay bale in the barn loft. Most experts recommend using straw bales but we decided to try the hay bale as well. The twine around the bale was a bit loose, so we reinforced it with additional twine. It is important to tighten the twine around the bales because as they break down, the twine loosens and the bales shrink. We moved both bales to the designated area, cut ends up.

Using information from a class and from Bonnie Plants (http://bonnieplants.com/library/how-to-condition-and-plant-a-straw-bale/), we got started. To condition the bales prior to planting, we soaked the bales for about 6 days, skipping heavy rain days. As the bales are moistened, they begin to decompose.
For days 7-14, the bales needed added nitrogen to speed up the decomposition process. Keeping with the organic spirit of Grow Appalachia, Elbie and I chose to use blood meal for its organic nature and high nitrogen content. Wedging a hand spade inside the bales in various spots, I sprinkled blood meal into the interior of each bale, followed by an intensive watering. We used about one measuring cup full of blood meal over each bale for the next week.
At the end of the 14 day period, the hay bale was drooping and heating up from inside. However, the straw bale did not heat up, although it did show some signs of decomposition in the interior. I gave it another week of blood meal and water, but it never heated up like the hale bale.
After some online research, I decided tomato plants were the best options for my bales. Unfortunately, two of my heritage plants that were planted in the hay bale died fairly quickly, from what I assume was too much nitrogen from the blood meal. The four remaining tomato plants are doing well so far. I planted cucumber to replace the dead tomato plants, and despite a slow start, they look fairly good now.

The hay bale continues to decompose at a faster rate than the straw bale. It is fairly droopy; it may not be stable enough to support the cucumber and tomato plants throughout the summer. The straw bale is solid and although it has sprouted a lot of grass on the side, it is doing fairly well. In the future I would not use hay unless it was the only option available.
Overall, it seems like the hay bale plants, while healthy, are growing a lot more slowly than those planted in dirt. However, it has been a wonderful way to utilize dead space in a compact garden, and I anticipate trying it again next year.
Leave A Comment