
Greetings Grow Appalachians! Holly, VISTA at Grow App HQ, checking in. It’s been a little while since my last post. Our hearts are a little heavier this week as we are one less VISTA as of last Friday. The absence is definitely noticeable as I write this, simply because the office is now very, very quiet. But that’s life: seasons of change, seasons of coming and going, and we simply have to learn to adapt and move forward.
This week’s post is covering drip irrigation, a method that many of you are already familiar with. I’m going to focus specifically on one type of drip irrigation, gravity drip irrigation. Drip irrigation is a system that utilizes a set of tubes with holes, or emitters, and connectors to deliver water to plants in a precise manner, usually directly over the root system of the plants. Drip irrigation allows for a more particular method of watering, instead of traditional watering methods where the water can spread out and possibly encourage weed growth. One factor that holds a lot of folks back from utilizing a drip irrigation system in their own enterprises is the cost, which we’ll get to a bit later. On the flip side, virtually all who use drip systems agree that it really does pay for itself.
Gravity drip irrigation takes the simple drip design one step further. In layman’s terms, gravity systems use a reservoir of choice with a pipe connected to the bottom that, in turn, connects to a drip irrigation system. Think of those gravity feeders that you would use for your cat or dog. The reservoir must be elevated above the crops, to maintain pressure that allows for adequate water flow from the reservoir to the drip system. Depending on the size of your enterprise, you will need to tailor your system design to fit your enterprise’s needs. Something to keep in mind is that your reservoir size needs to contain at least a day’s worth of water. Keep in mind how much time you’ll need to devote to refilling your reservoir- maybe go for a larger size if you know you’ll be away more frequently than not (But then remember that refilling a larger sized container is more work on your part). Feeling overwhelmed yet?
You can employ any method of construction you wish to suit your individual needs, although you’ll discover that there are a plethora of construction plans and designs out in the ether; I’ll share a few later on. Regardless of your construction option, there are specific materials that you will need:
-Drip tape. Not exactly tape, but tubing, drip tape is what serves as the watering mechanism- it runs down the length of your rows to water each plant individually.
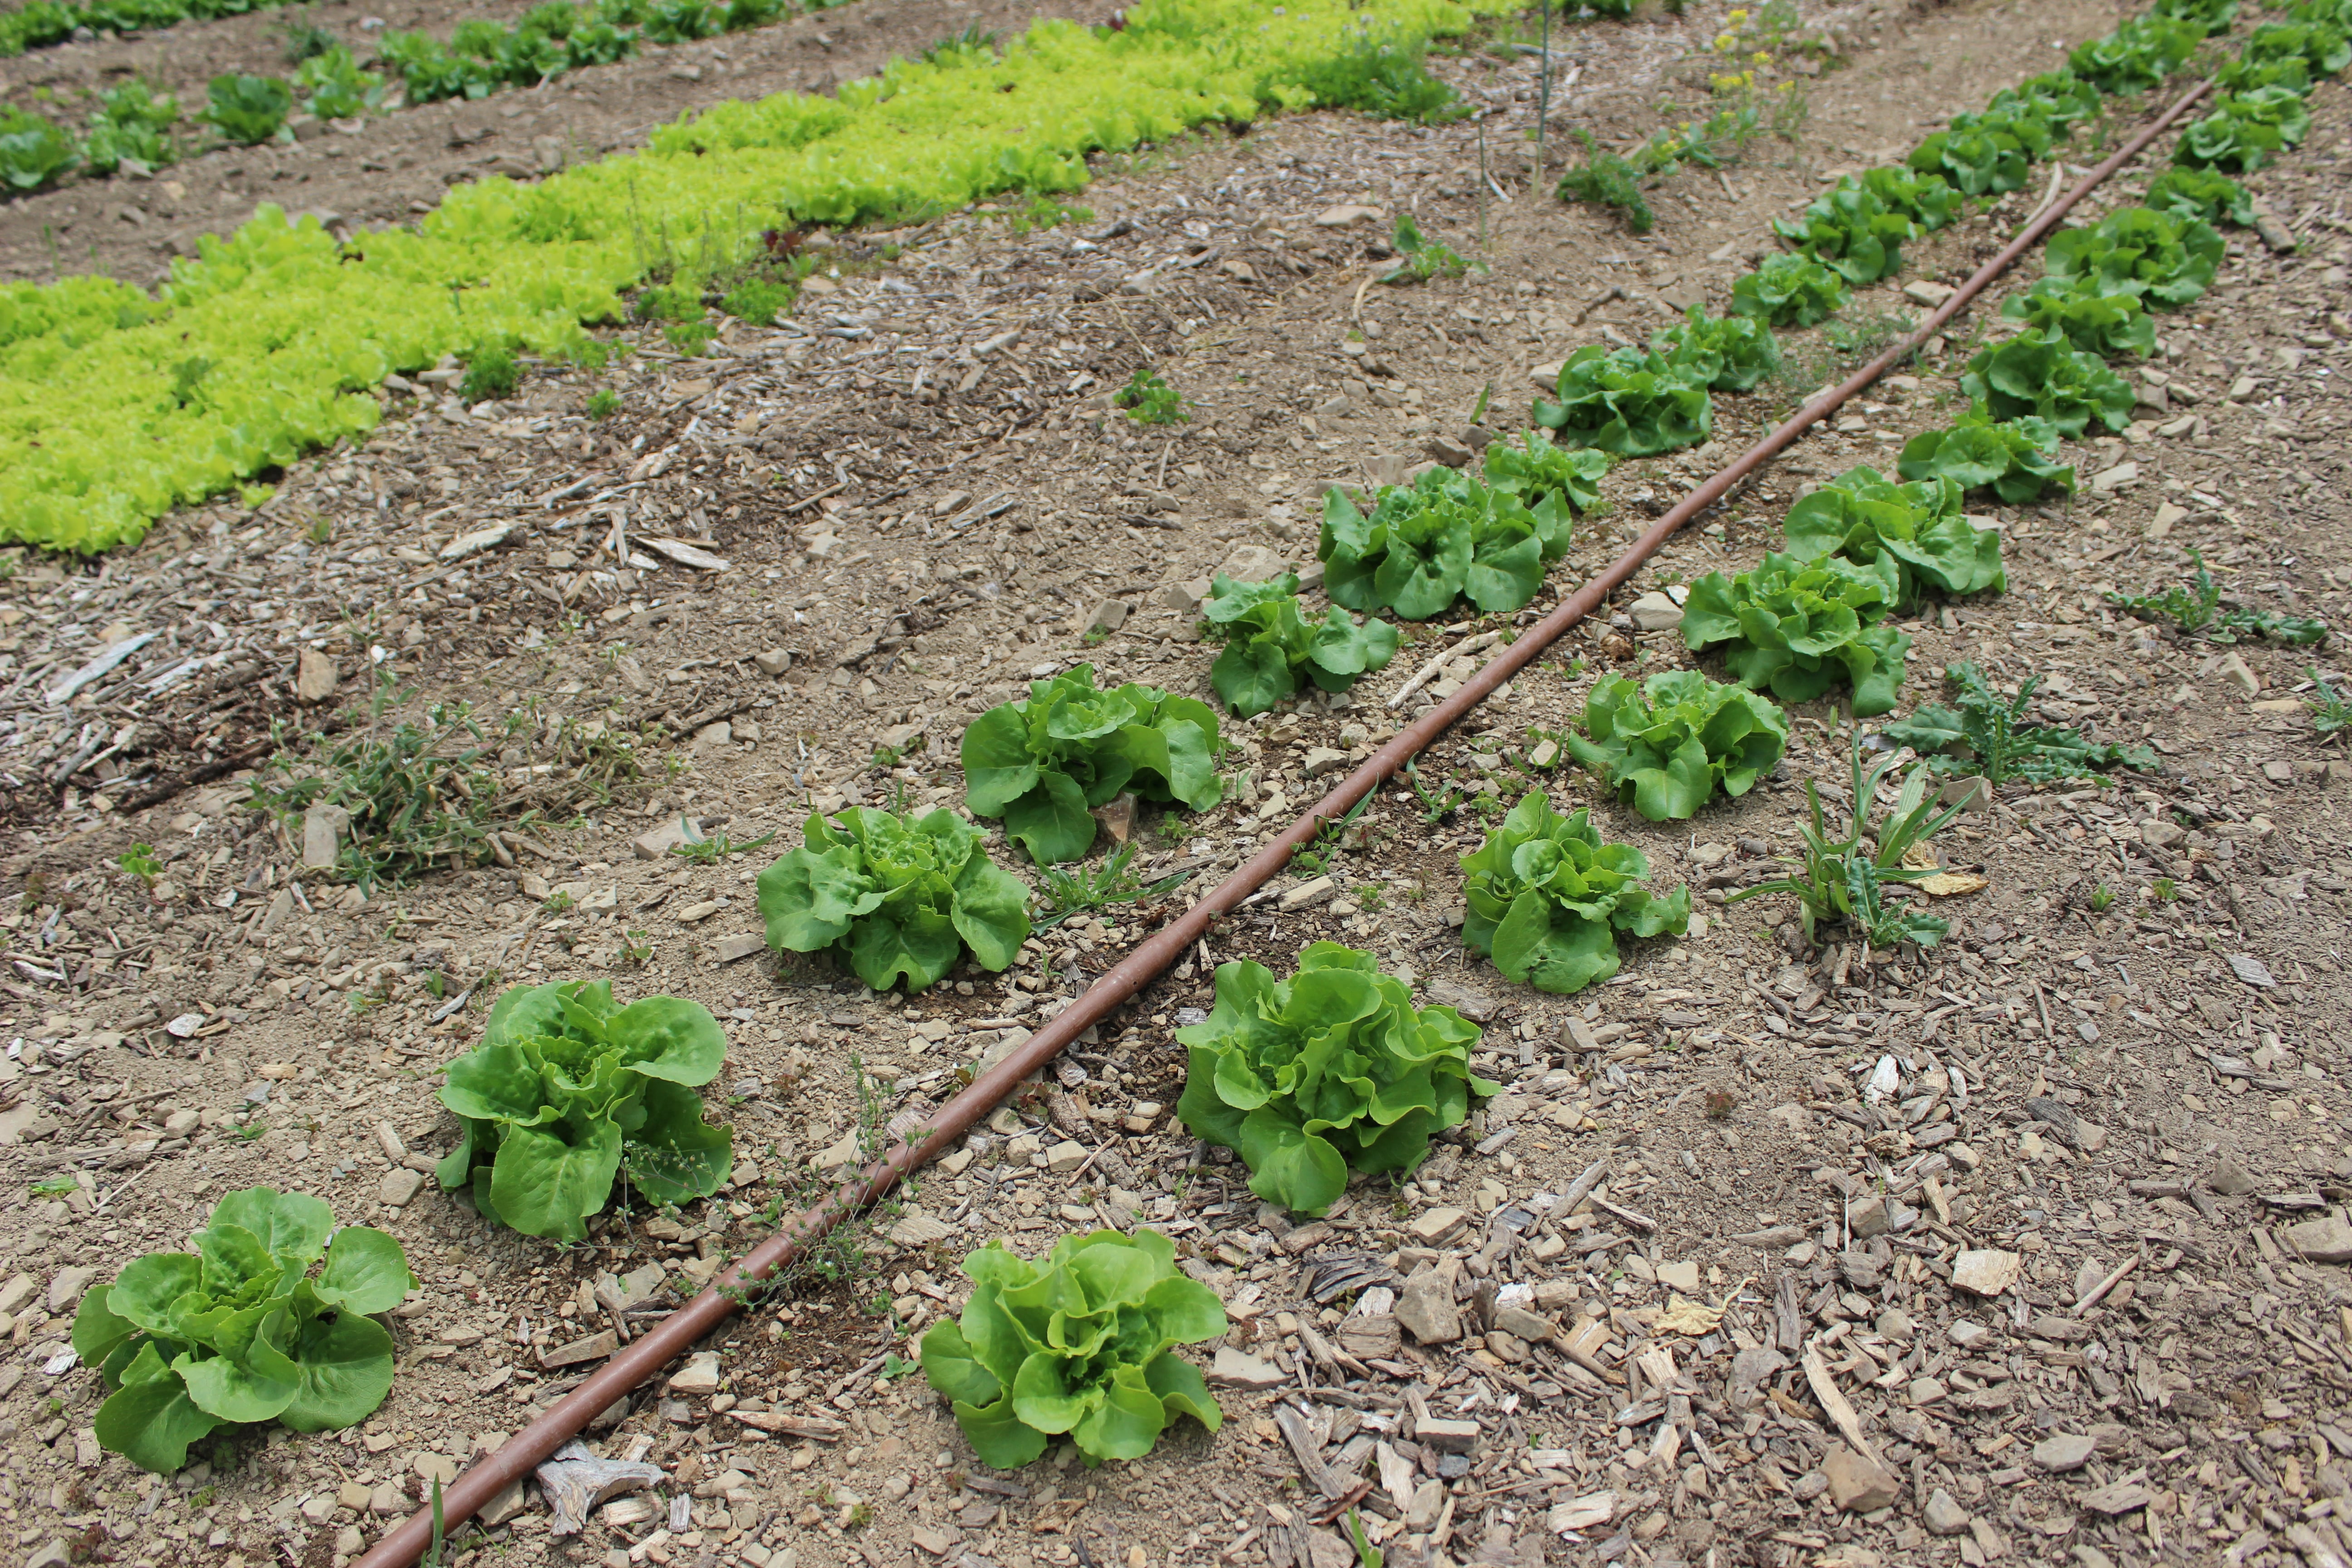
You’ll want a material that is durable enough to withstand the elements, although drip tape does need to be replaced on a regular basis, depending on its thickness (The thinner the tape, the more often it will need to be replaced).
-A reservoir to hold water. Rain barrels are often used for this purpose, but if you have a smaller garden you can always use a smaller sized option. Under the sources link at the end of this post there is a website that offers, in addition to rain barrels, recycled plastic drums and saucers to collect rainwater.
-Timer. This is an optional addition to your system, but timers can be useful if you have a large space, or if you can’t keep up with a consistent watering schedule. You can buy them as battery operated, electric, or solar-powered, and have a wide range of prices. They are attached to your drip system via a simple valve mechanism.
The Cost of The Drip
Now that you have a general idea of the different components of a gravity irrigation system, as well as a general idea of how it works, you might be wondering: How much is all of this going to cost me? If you look online, you can find kits that, depending on the number of plants you want to water, range in price from $30-$50. Here’s one that waters up to 10 plants. If you would rather buy the individual parts and assemble a system yourself, again, it’s a pretty wide price range to consider. The most sensible cost I could find was approximately $2.50- $4.50 per square foot. This cost is contingent upon labor costs, but you can eliminate or drastically reduce those costs if you install a system yourself. For a reservoir, again, depending on your size and the materials needed, you can pay anywhere from $50 upwards. Check out the link at the bottom of this post for a site that sells recycled plastic drums and rain barrels, all for pretty reasonable prices.
I mentioned earlier that those who utilize drip systems mention that the systems essentially pay for themselves, despite the upfront costs. One major pro of drip systems is that there is significantly less water waste than conventional watering. In addition, there is a reduction in time spent watering, because the irrigation system is doing all of the brunt work- you simply turn on the water!
So there you have it! I’ve posted some resources about construction, some materials costs, and some additional information. Happy dripping!
(Drip tape pictures courtesy of LCAAHC and Sprouting Hope)
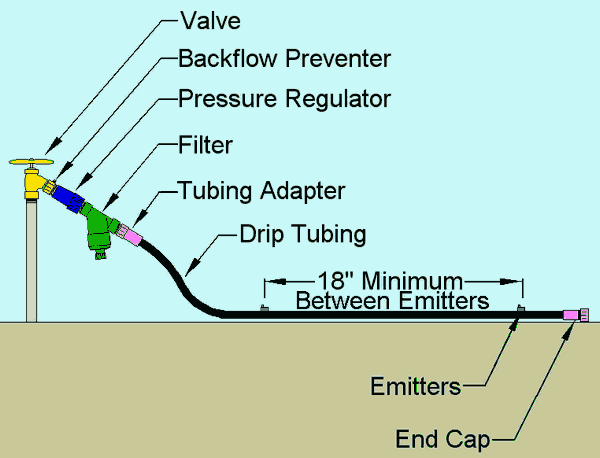
Diagram of a drip system
Resources:
More on Gravity Fed Irrigation
Drip irrigation kits from DripStore
Drip Irrigation 101, with more construction links
Rain barrels, recycled drums, and other water catchment tools
Hi Holly! I get my drip irrigation supplies from http://www.rainfloirrigation.com/. If you download the pdf catalog you can see the oval hose connector with valve and oval hose punch tool on page 12. If you already have a place to connect your garden hose and if you don’t need a timer because you are able to turn it on or off as needed, then the cost is around $100 for a 2500 square foot garden. This is based on buying a 7500′ roll of drip tape and 500′ of blue stripe for the main lines, and then sharing them among gardens. I use two drip tapes per bed. Of course you need filters, pressure regulators, pressure gauges, and backflow preventers if you are connecting to a household water system.
Great information, Karline!! Thank you!