
Debbie Strickland here, Appalachia Cares/AmeriCorps at Rural Resources, in beautiful Greeneville, TN! Last week I posted about all our firstsssss, and promised to give you directions to make your own yogurt at home. Well, here we go! Do not get overwhelmed with this hard, difficult, hot, brain teasing task. (I hope you don’t think I am serious!) Yogurt is so simple to make, I wish I would have realized it earlier! My friend, Karen, led Food Commanders into the wonderful world of milk and all its benefits. I have posted from her in the past on making butter. She has her own milk cow, Klara, who spends her days at the Rural Resources’ farm, where many staff, including myself, take turns to help Karen milk her through the week. Klara is putting out about 2 gallons of milk a day right now, but when she first freshens (developing milk after she calves), she is putting out closer to 6 and 8 gallons a day! Now, of course we are not getting that much milk from her, as she is feeding her calf as well. Karen is going to begin having us do less milkings a week to back Klara down to nothing. Klara will be calving this summer, and needs some time to re-energize her body and prepare to be a proud new momma. What this will mean is no yogurt, butter, ice cream, cheese, or kefir till she calves. So, I am trying to enjoy all this last bit that I can right now.
So, let’s talk yogurt! Here are the steps:
Step 1: Place your milk in a double boiler, after skimming off the cream. Here I have a 3 gallon stock pot, with almost a gallon of water in it, on the stove on medium heat. Then I inserted a 2 gallon stock pot, poured in my milk, placed the lid on top with a digital thermometer through the hole in the lid.
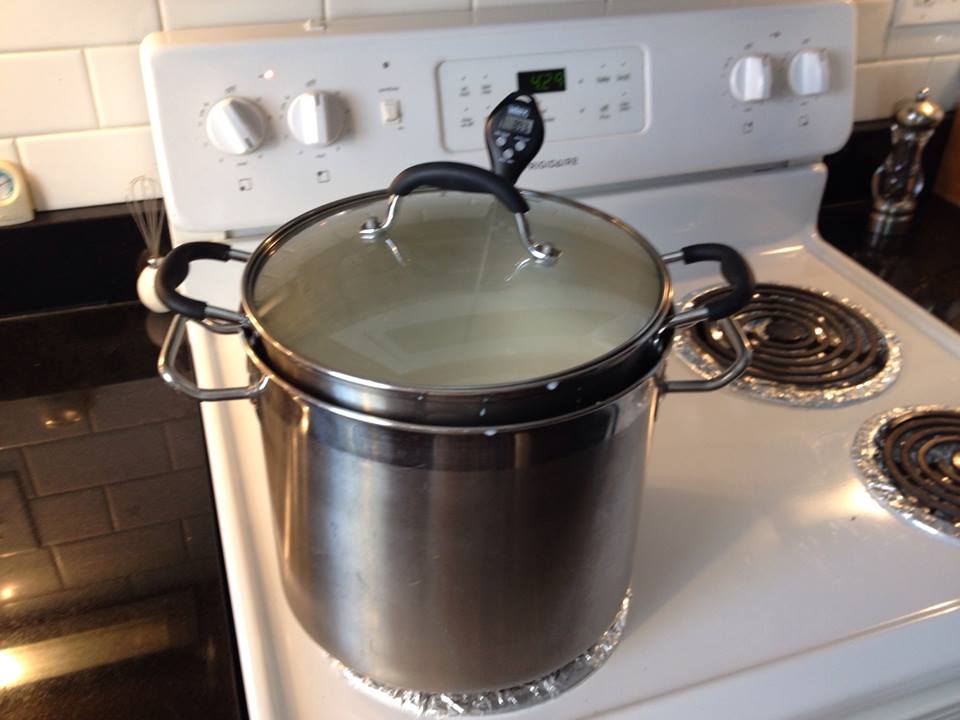
Step 2: Bring the milk up to 185 (no more than 190) degrees. Then I remove the 2 gallon stock pot and let it sit on the stove for 30 minutes retaining the 185 degrees temperature, which is supposed to make a thicker yogurt.
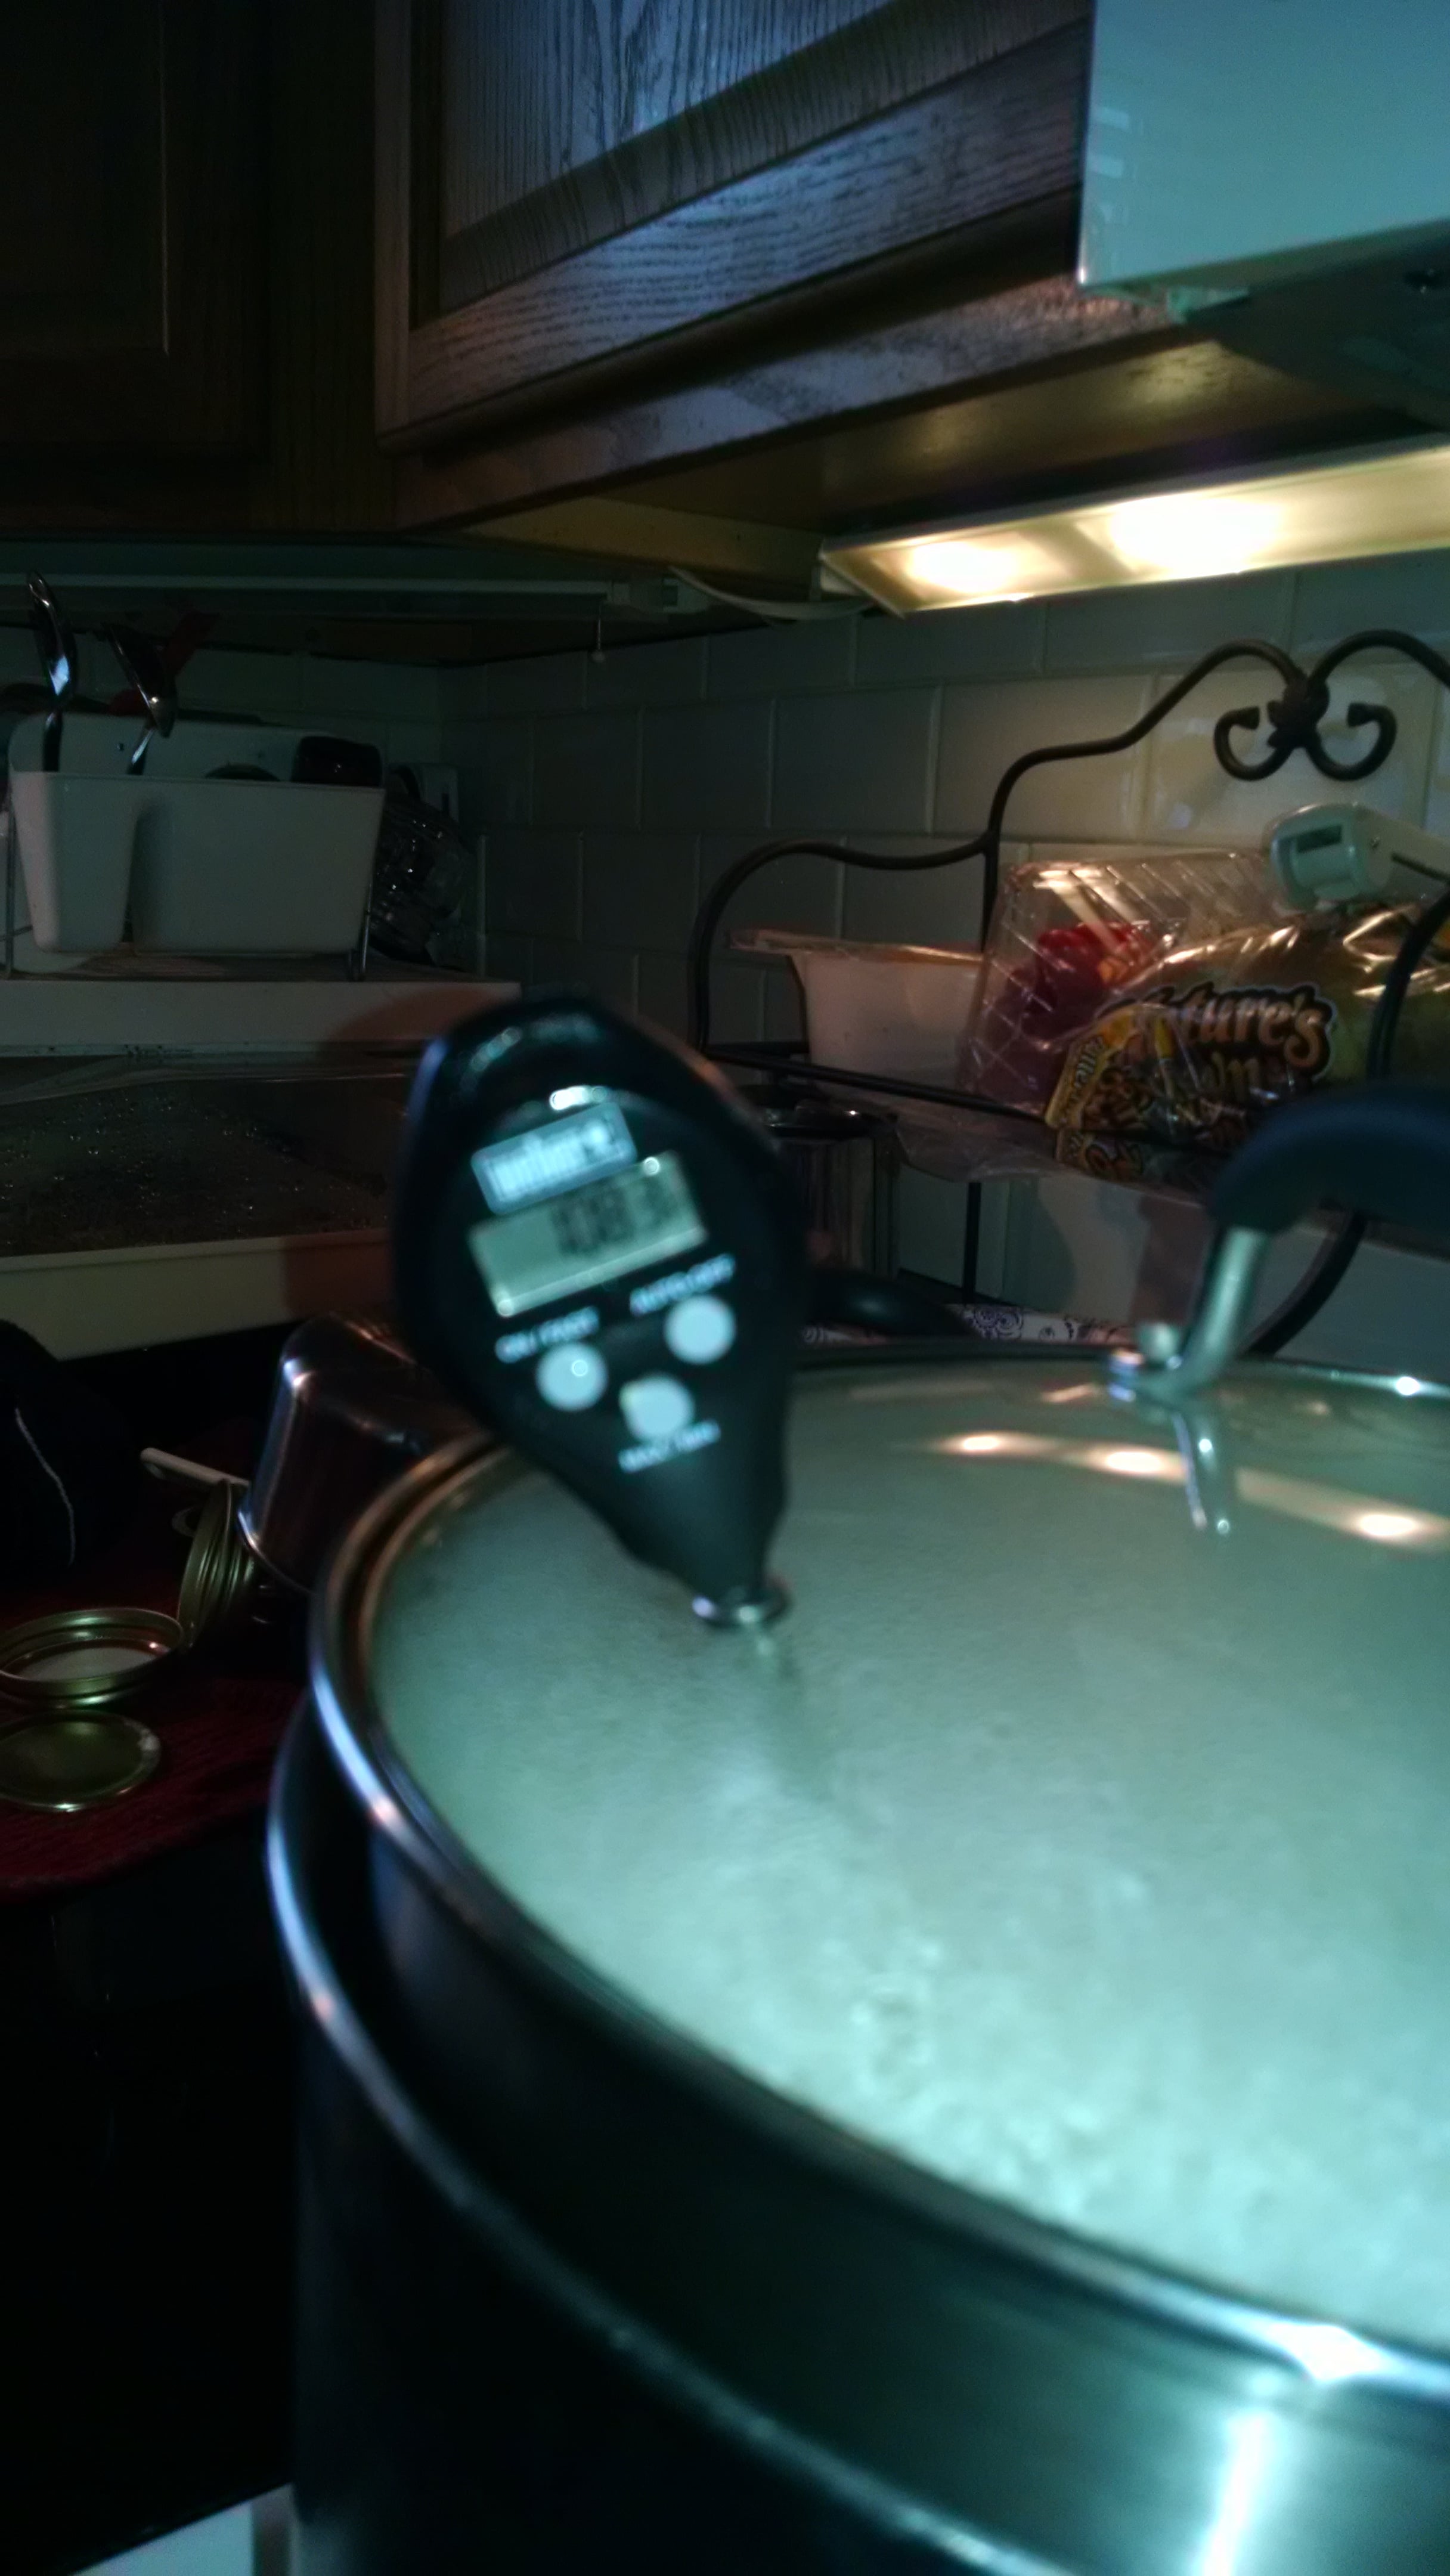
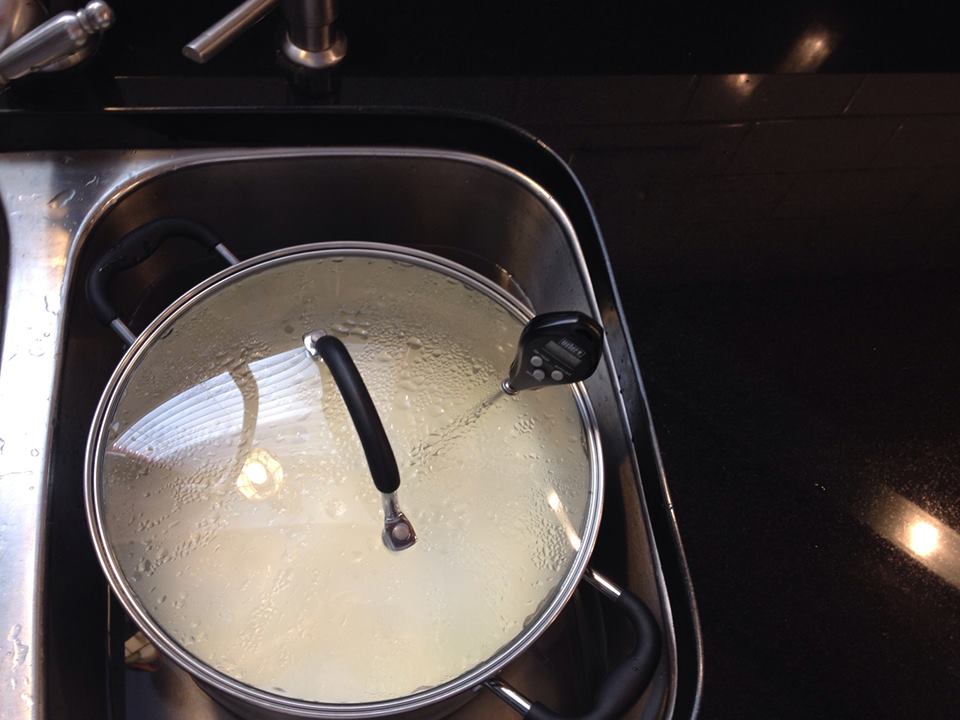
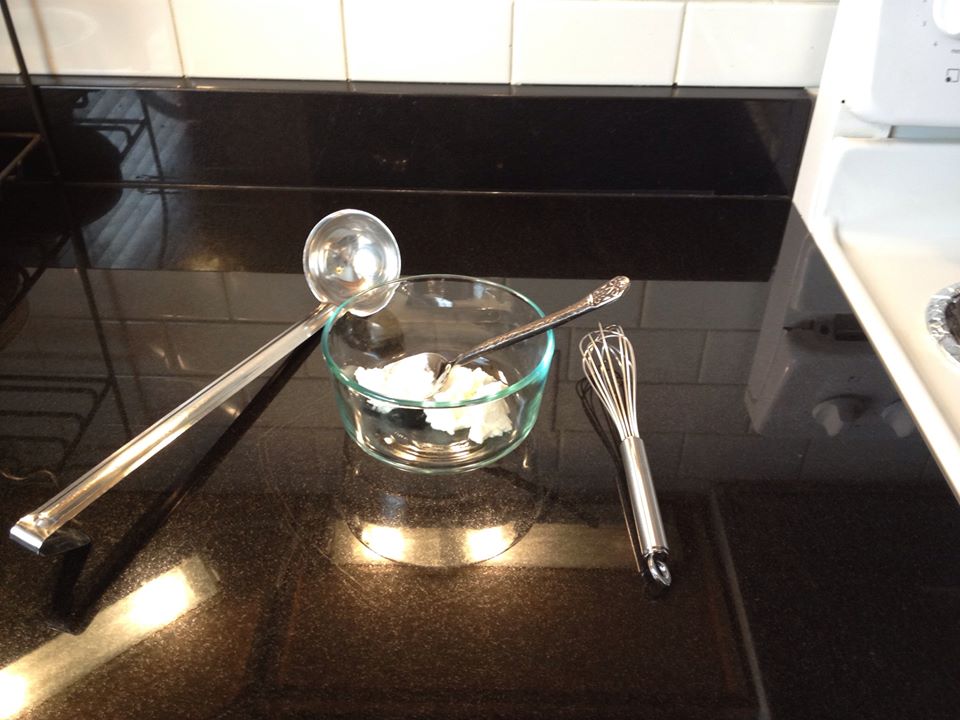
Step 3: Run cold water in the sink and set the stock down in it to cool faster. You may let the pot sit on the stove and cool on its own, but it will take at least 2 hours to cool to 110-105 degrees. Be sure to stir the milk thoroughly a couple of minutes before you check the temperature, replace the lid and the thermometer and re-check in 1 minute for an accurate reading. When the milk has cooled to the correct temperature, remove the stock pot from the water immediately to prevent it from cooling down further.
Step 4: While the milk is cooling get this equipment out. I use store-bought Nostimo PLAIN yogurt for a culture, but you can use whatever yogurt that you choose . Approximately 1.5 ounce of yogurt will culture 2 gallons of milk. I have read that yogurt cultures better with a little less culture, so do not use too much starter culture. You can use some plain yogurt from your previous batch, but over time the culture will weaken and eventually you may have a failed batch of yogurt.
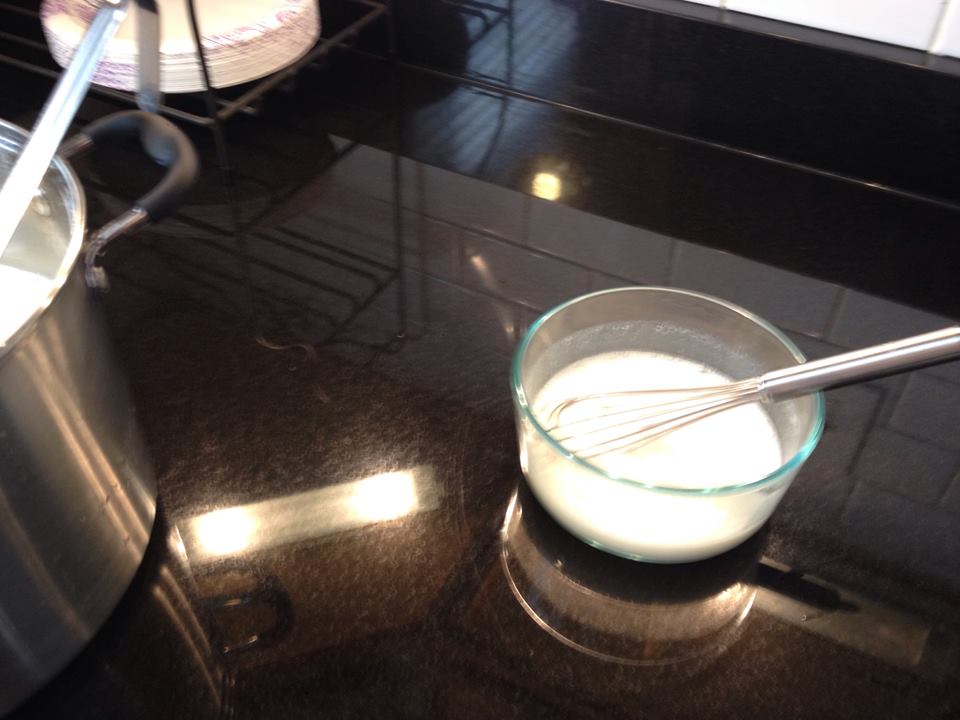
Step 5: Put the yogurt culture in a bowl and pour in 1-2 cups of milk cooled to 110 to 155 degrees. Blend well with a whisk and pour into the stock pot. Blend the milk and culture well in the stock pot.
Step 6: Place the stock pot on a heating pad turn to low.


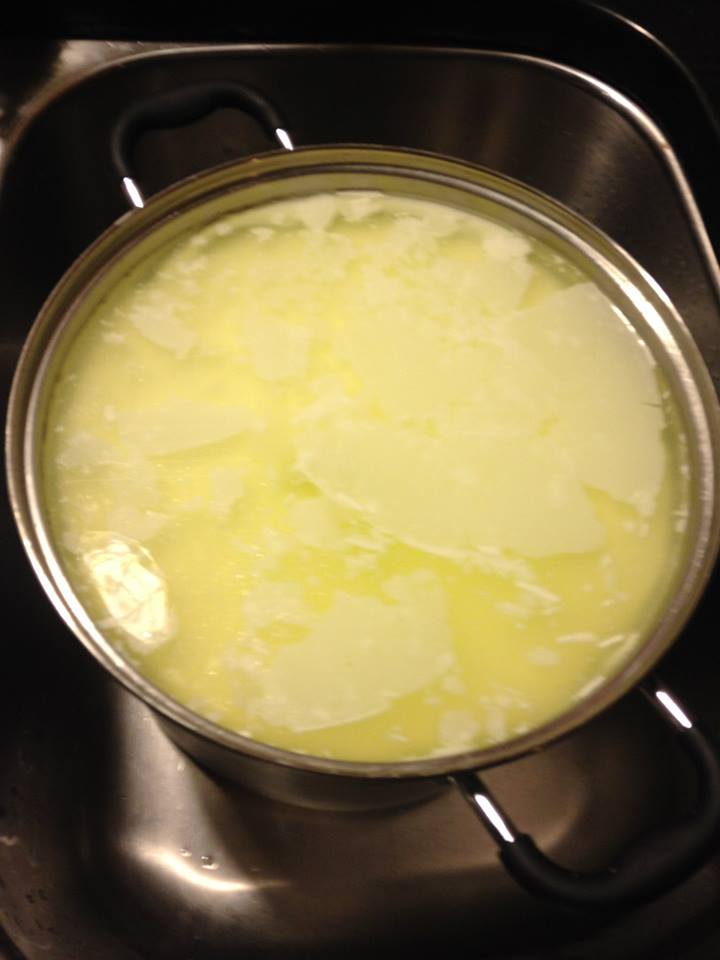
At the end of Step 7, the whey should be collecting on top of the yogurt.
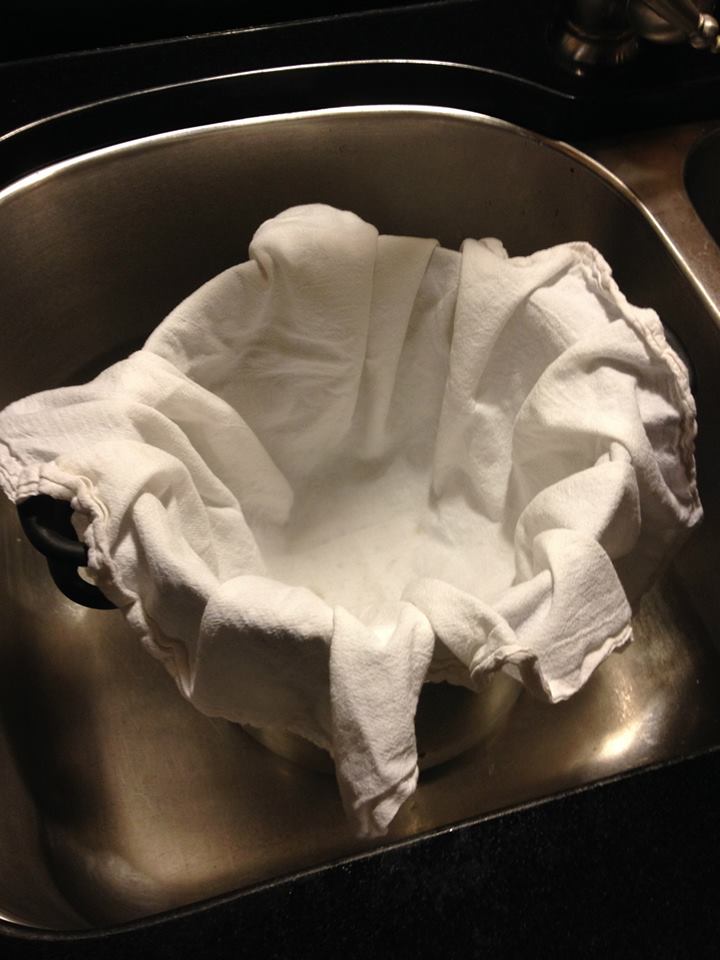
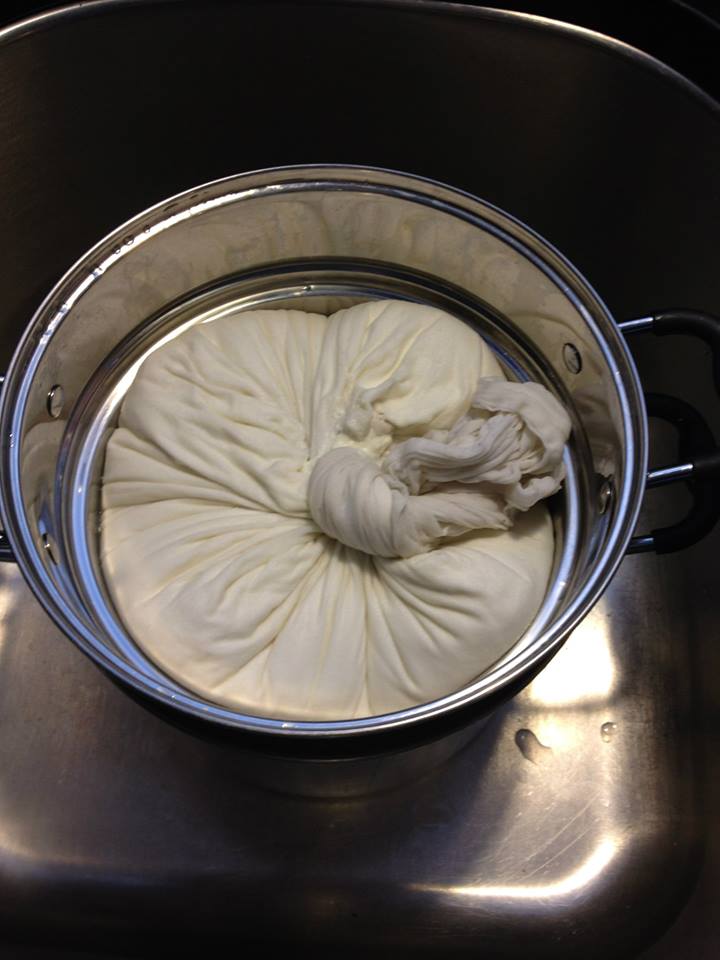
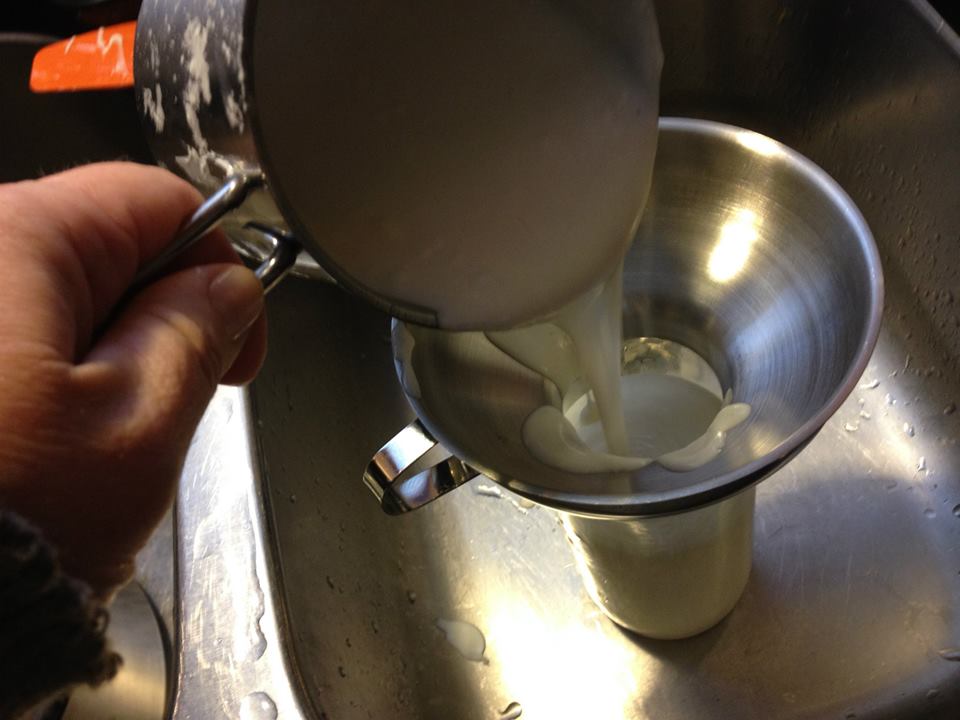
Step 8: Place a colander in a larger pan or stockpot to catch the whey as it drains. Line a colander with butter muslin or a cloth towel.
Step 9: Fill the colander with yogurt and let it drain for several hours, covering the yogurt with the excess cloth. If the colander is not large enough to hold all of the yogurt at one time, add more yogurt as the whey drains out. You might need to empty the pan catching the whey.

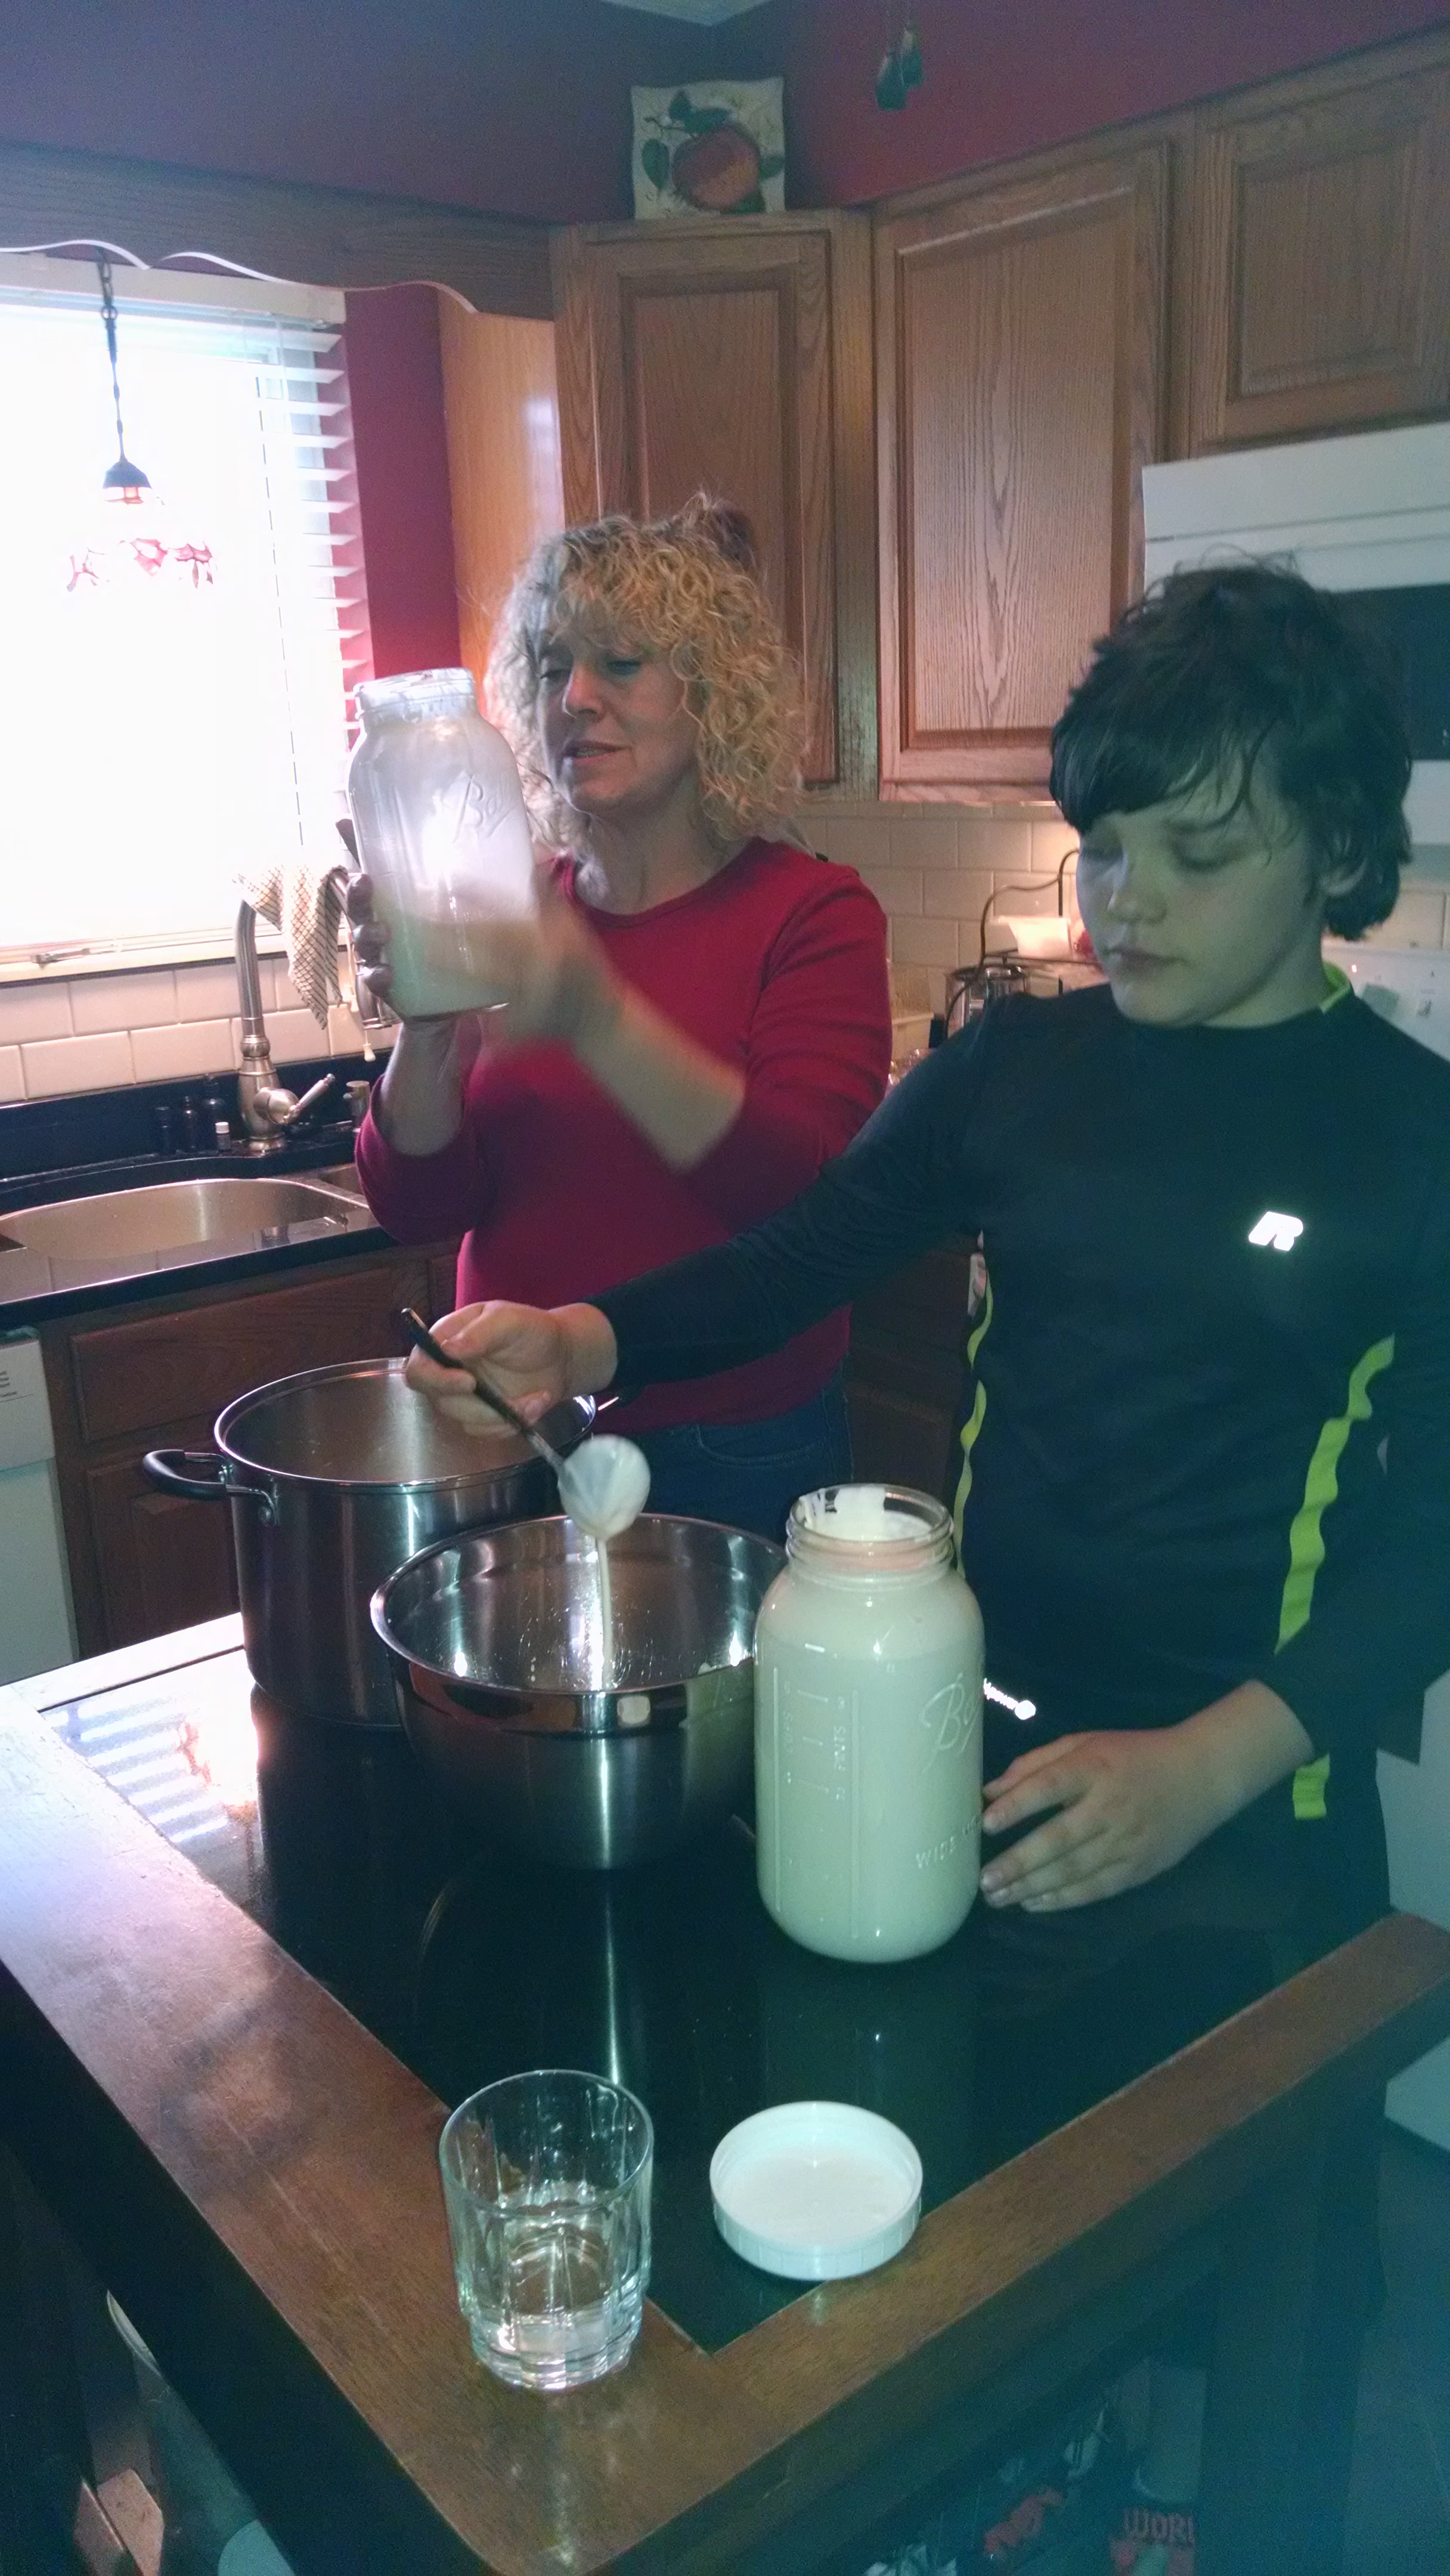
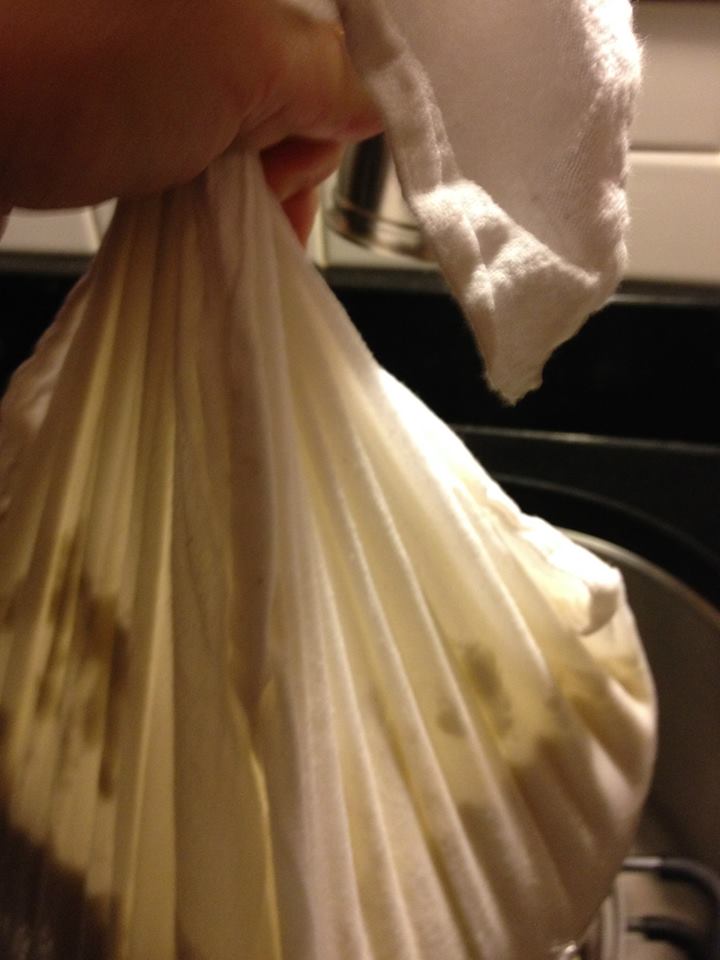
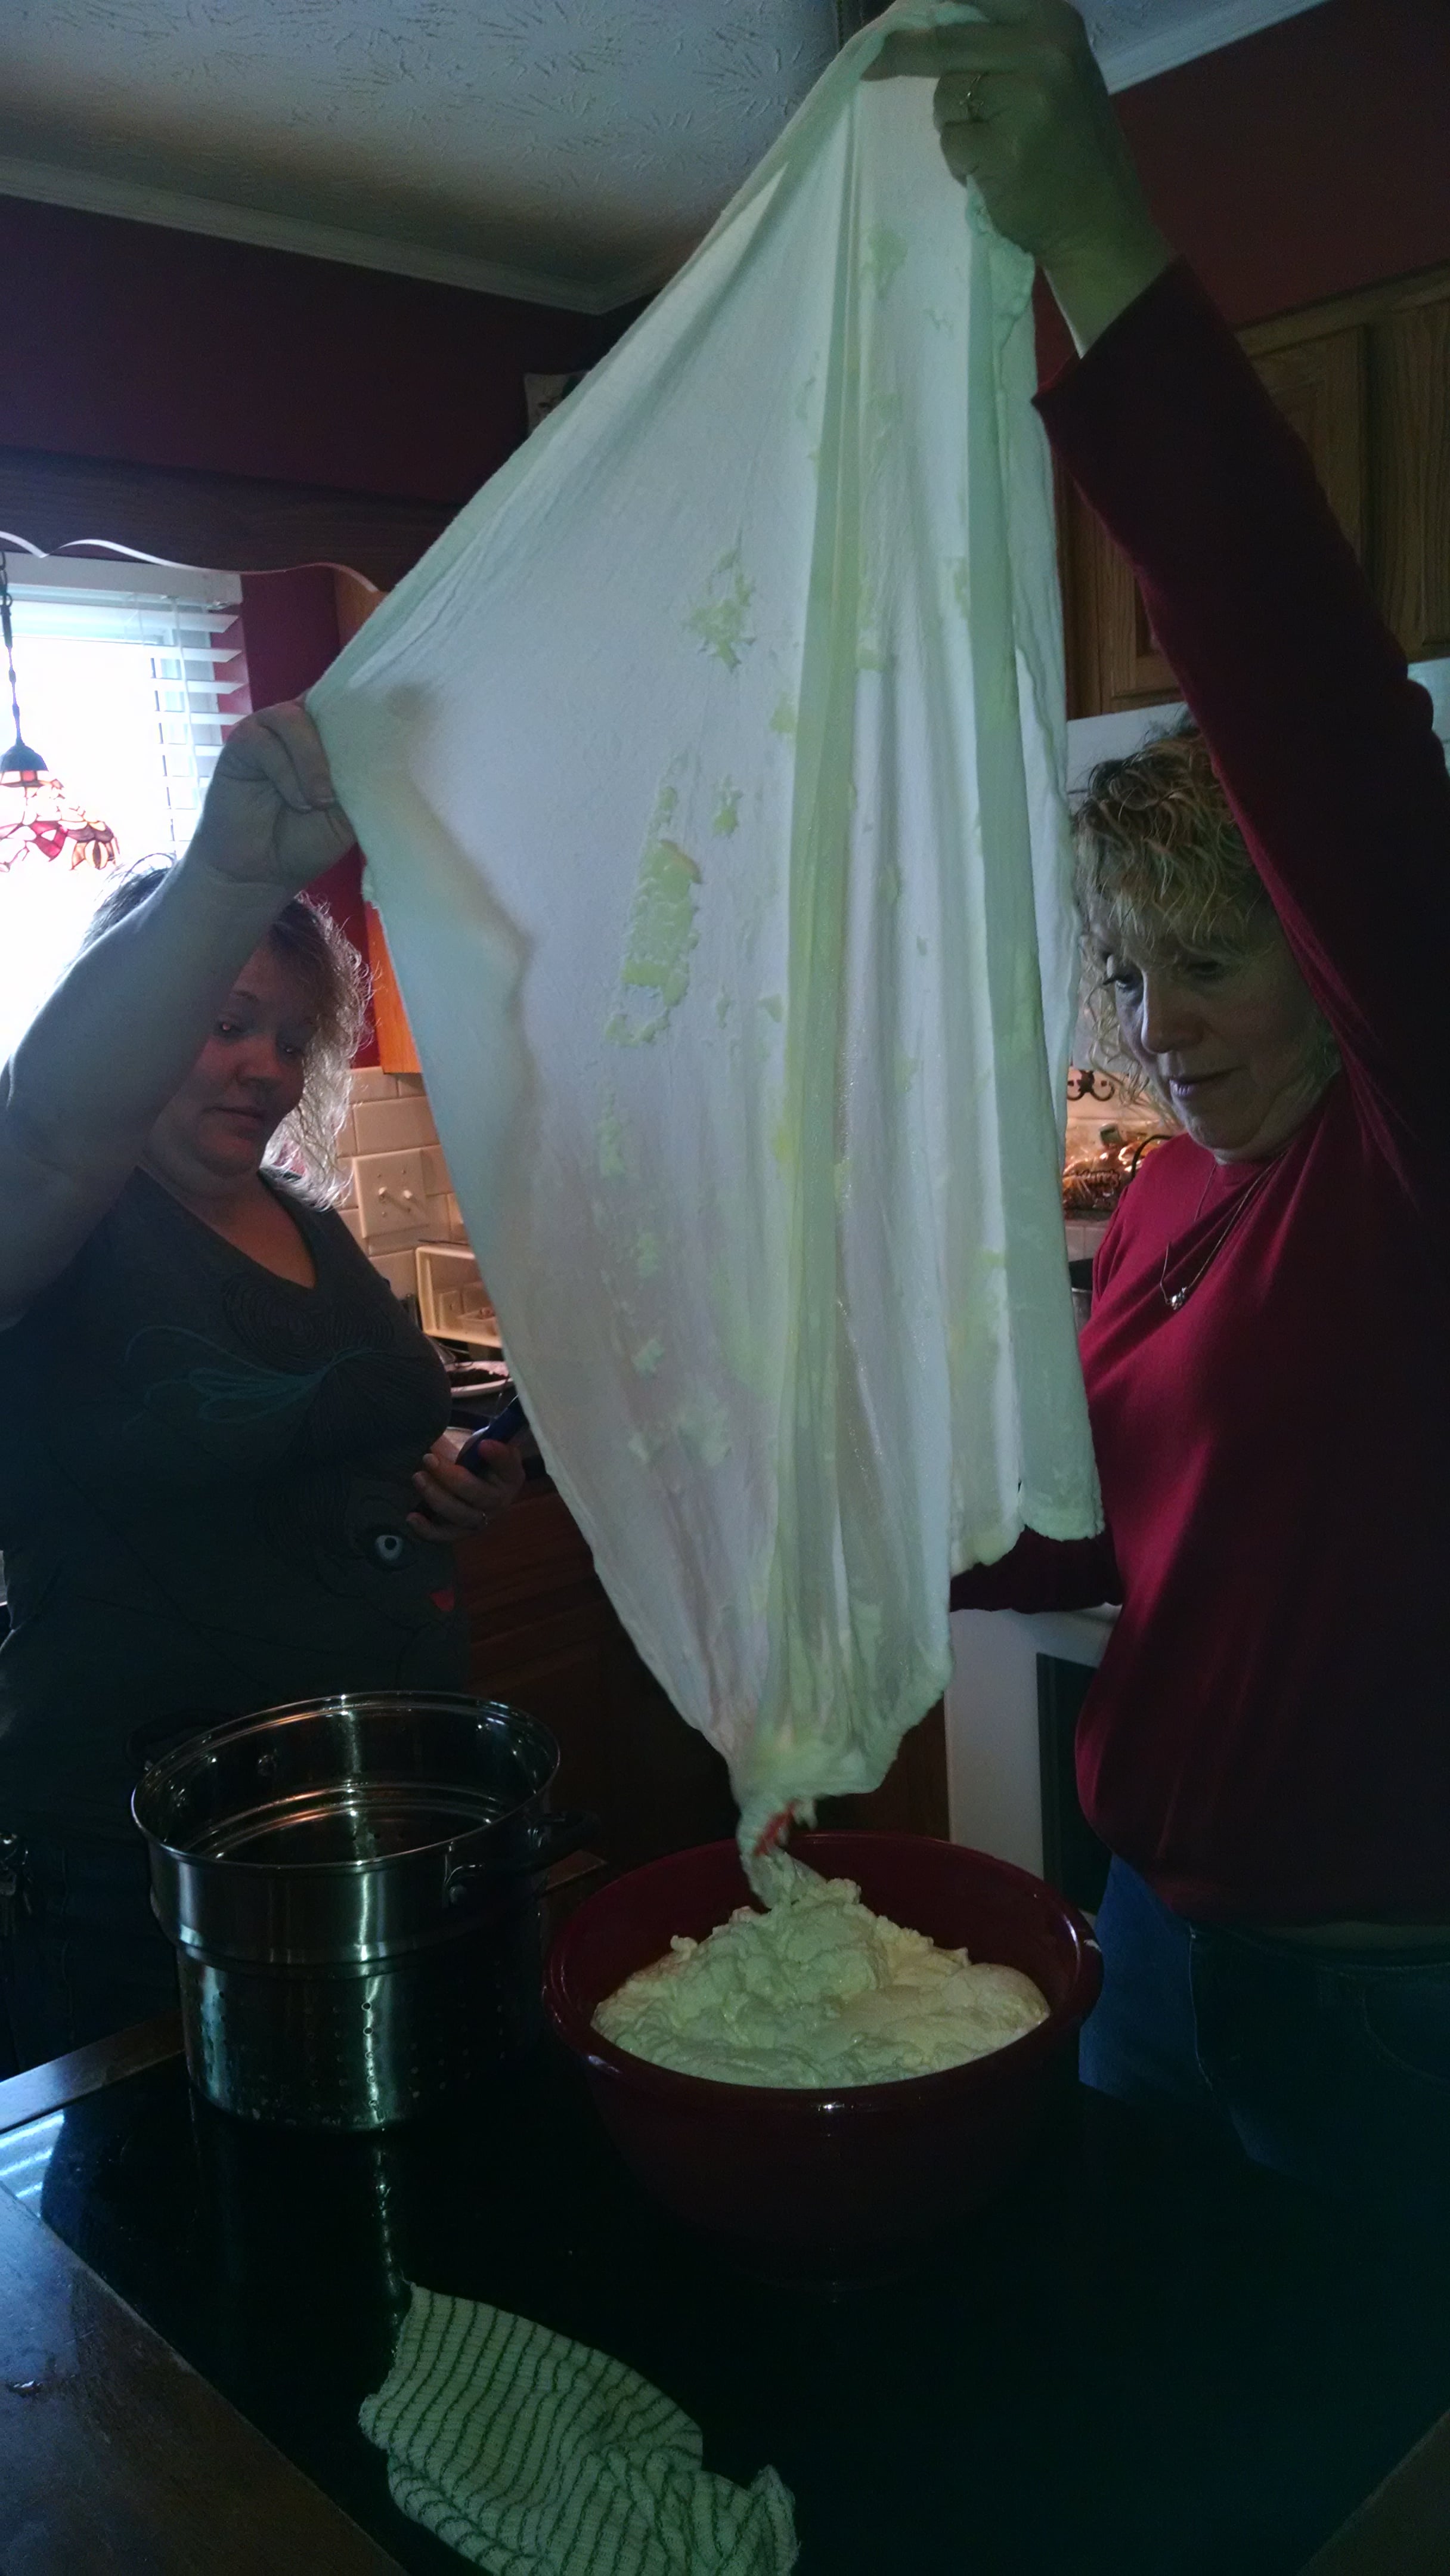
Step 10: To help the whey drain a little faster, pick the cloth up by all four corners and hold for a couple of minutes.
Step 11: When the volume of yogurt has reduced by 40% to 50%, pour the yogurt into a bowl. Using a spatula, gently scrape the yogurt sticking to the cloth into the bowl. Rinse the cloth well with running tap water and launder as soon as possible.

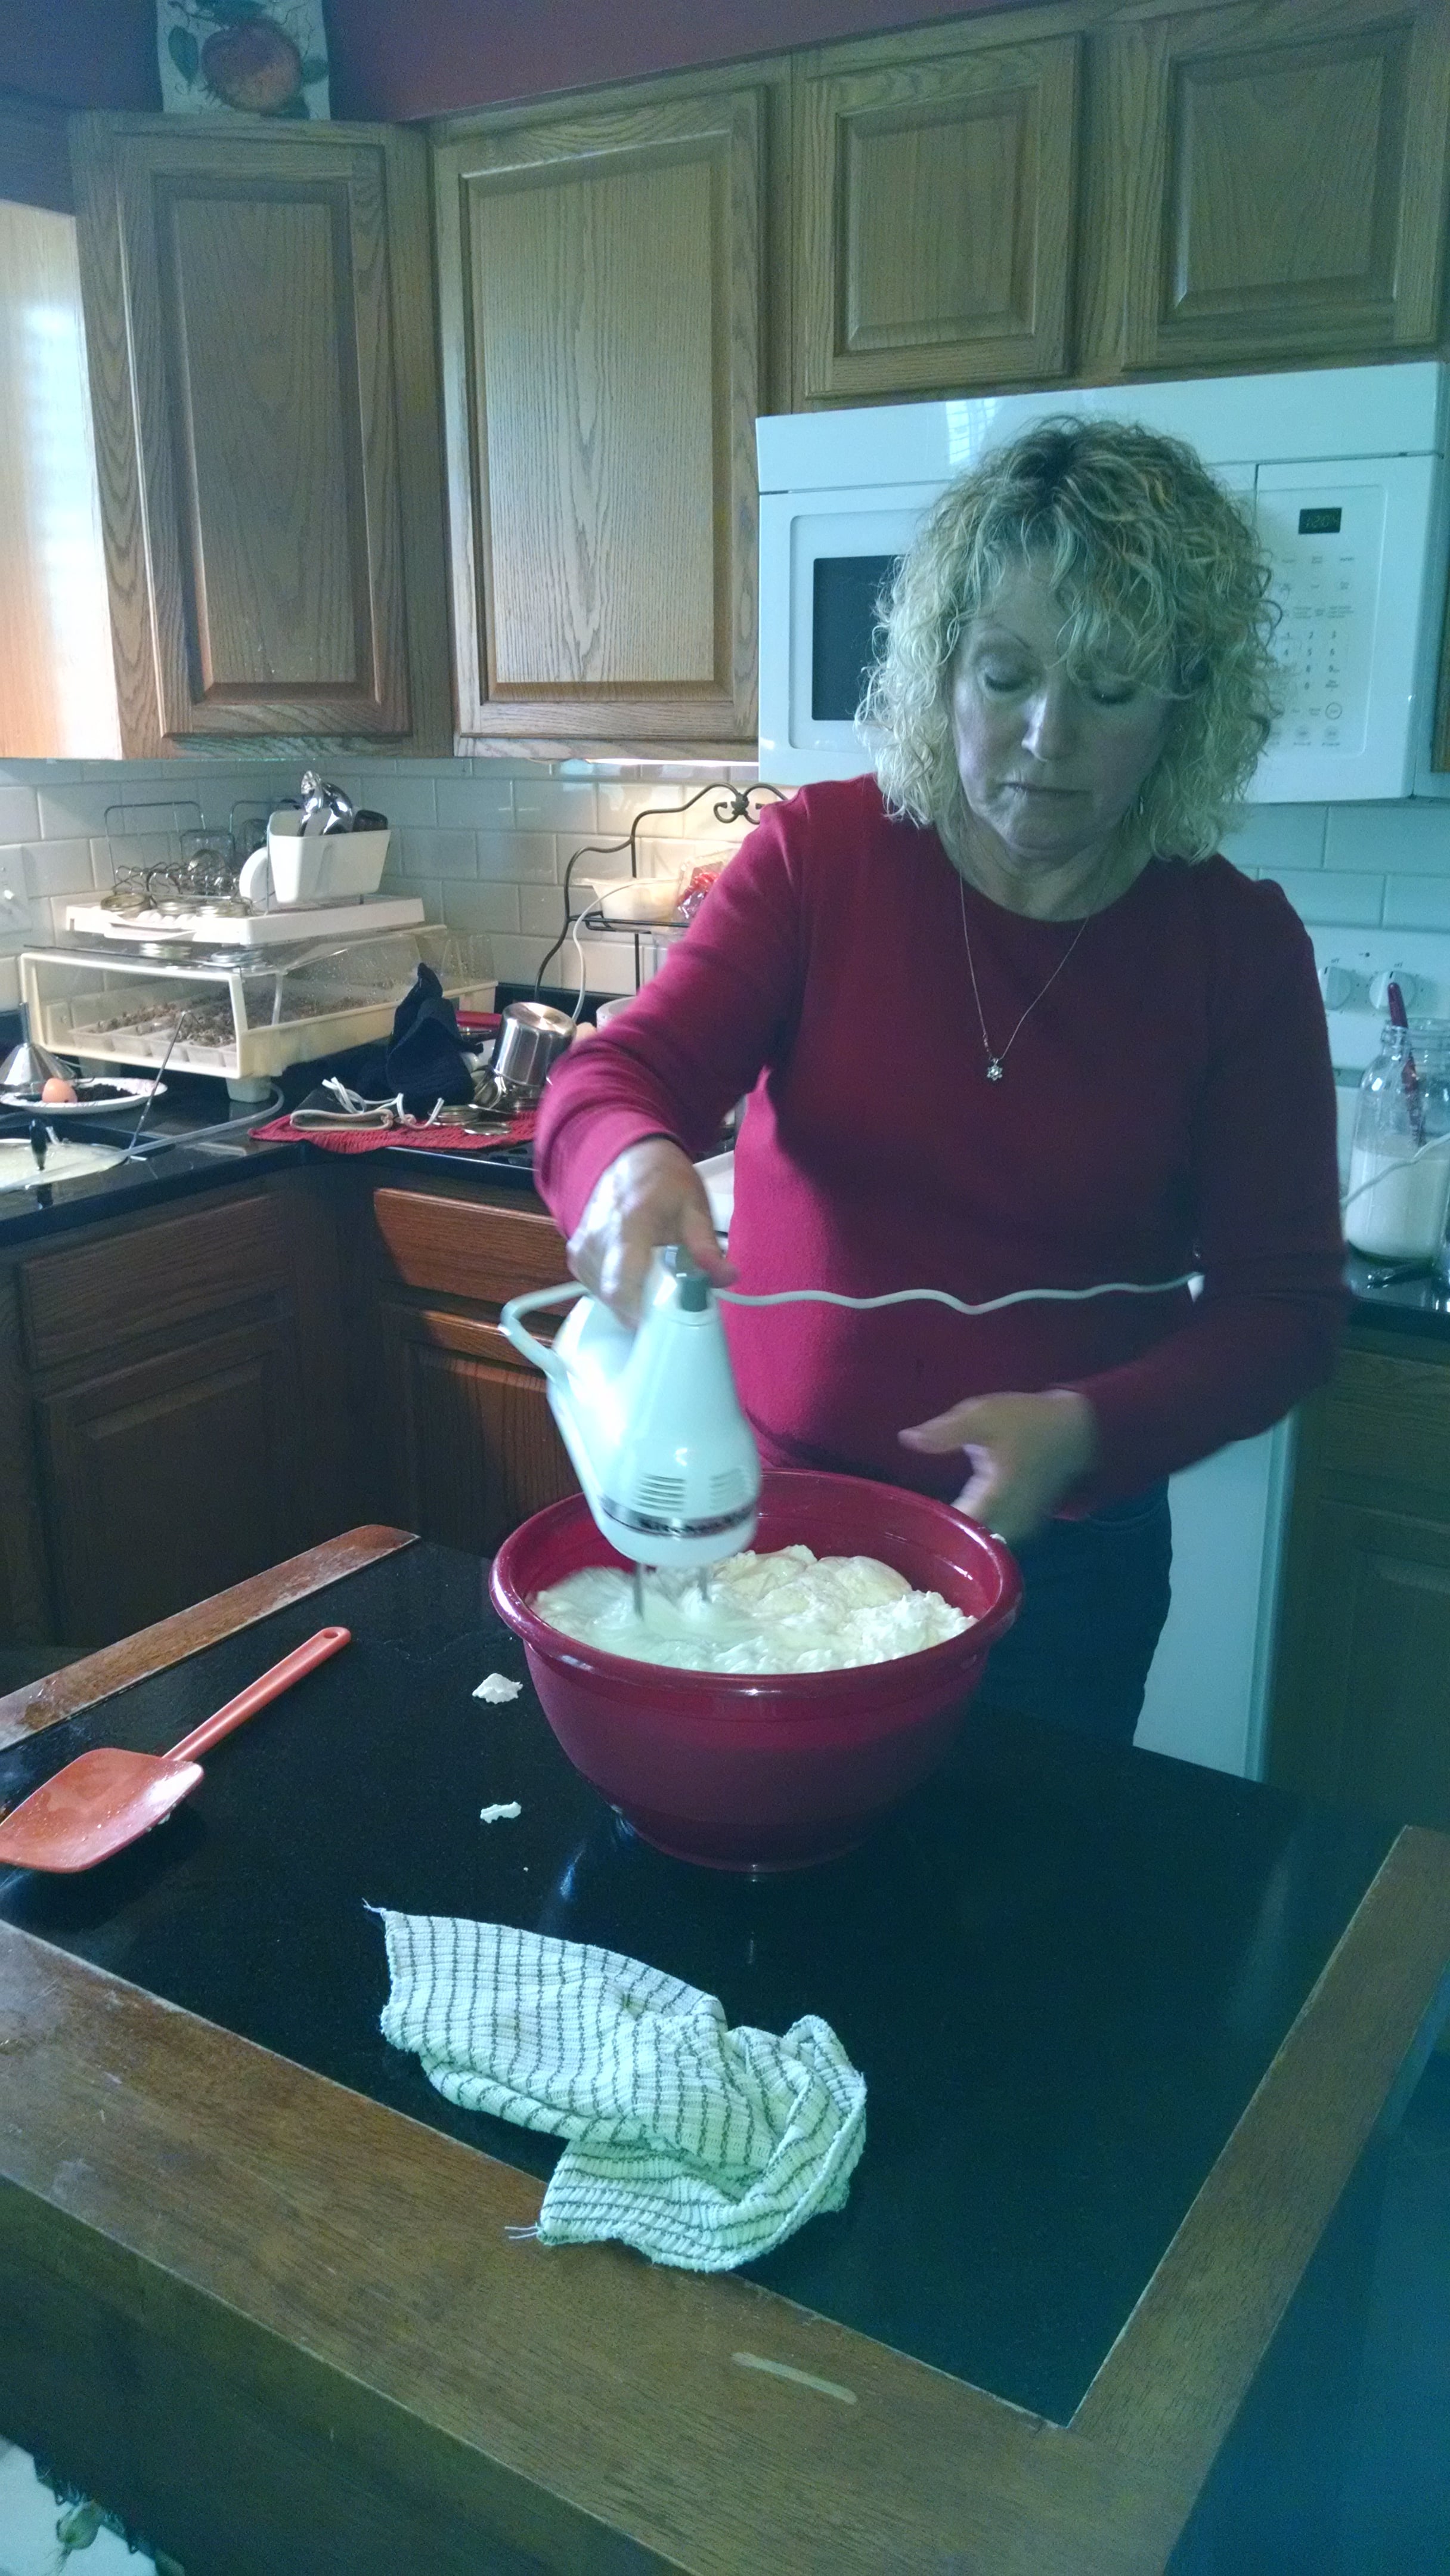
Step 12: Blend the yogurt well with a mixer for a couple of minutes.

Step 13: Pour the yogurt into wide mouth canning jars.

Step 14: Date the yogurt and refrigerate. Remember there are no preservatives in the yogurt, but it will keep more than two weeks. Sweeten the yogurt with a spoon full of jam to taste. Add to smoothies or use in cooking! Enjoy!
Thanks Karen for opening your house up and sharing this art with us, and the instructions and pictures you posted on Facebook. Check in next week as I share some monumental news that will be happening this week at Rural Resources!
I LOVE yogurt!! I remember making it in high school…but I think it was part of an “experiment”, so it didn’t look nearly as nice and yummy as yours did! Can’t wait to hear the good news 🙂