–Karline Jensen, High Rocks, Hillsboro WV Now that the snow has finally melted, it’s time to make sure your deer fencing is ready for the season. You don’t want to wait until your lettuce starts coming up to find out that the deer aren’t taking your fence seriously! Here are some troubleshooting steps that should help you figure out if your fence charger is working and how to get the most volts out of it.

- Make sure the fence charger is turned on. Even though you haven’t planted your garden yet and nothing is coming up, you still need to keep the fence on. It will be much more difficult to prevent deer from going through the fence if they have gotten used to it being off all winter. Also, if you have a solar charger, it is better for your battery if the fence stays on, because the battery could get overcharged if you leave it off all winter. When the charger is on, the needle should go all the way to the far side of the green. If it only goes part way, it means your battery is not fully charged, or your fence is seriously grounded out. You should test it and fix this right away before the deer notice.

- Use your fence tester to find the voltage between the fence and the ground. Even if the needle is all the way on the green side, you should still test the voltage that is actually present on the fence. You want a good 5000 volts to deter deer. One end of your fence tester is made to stick into the ground, and the end with the voltage indicators has a metal loop that you hold against the fence wire. It might be hard to see the voltage indicator lights if it’s really sunny, so shade it with your hand.

- If you didn’t get 5000 Volts, test again right at the charger. Low voltage could be caused by an undercharged battery, by your fence being grounded out, or possibly by a problem with your charger. If you disconnect your fence from the charger, you can test the voltage between the two terminals of the charger. If you’re still not getting 5000 Volts, you should test the battery.
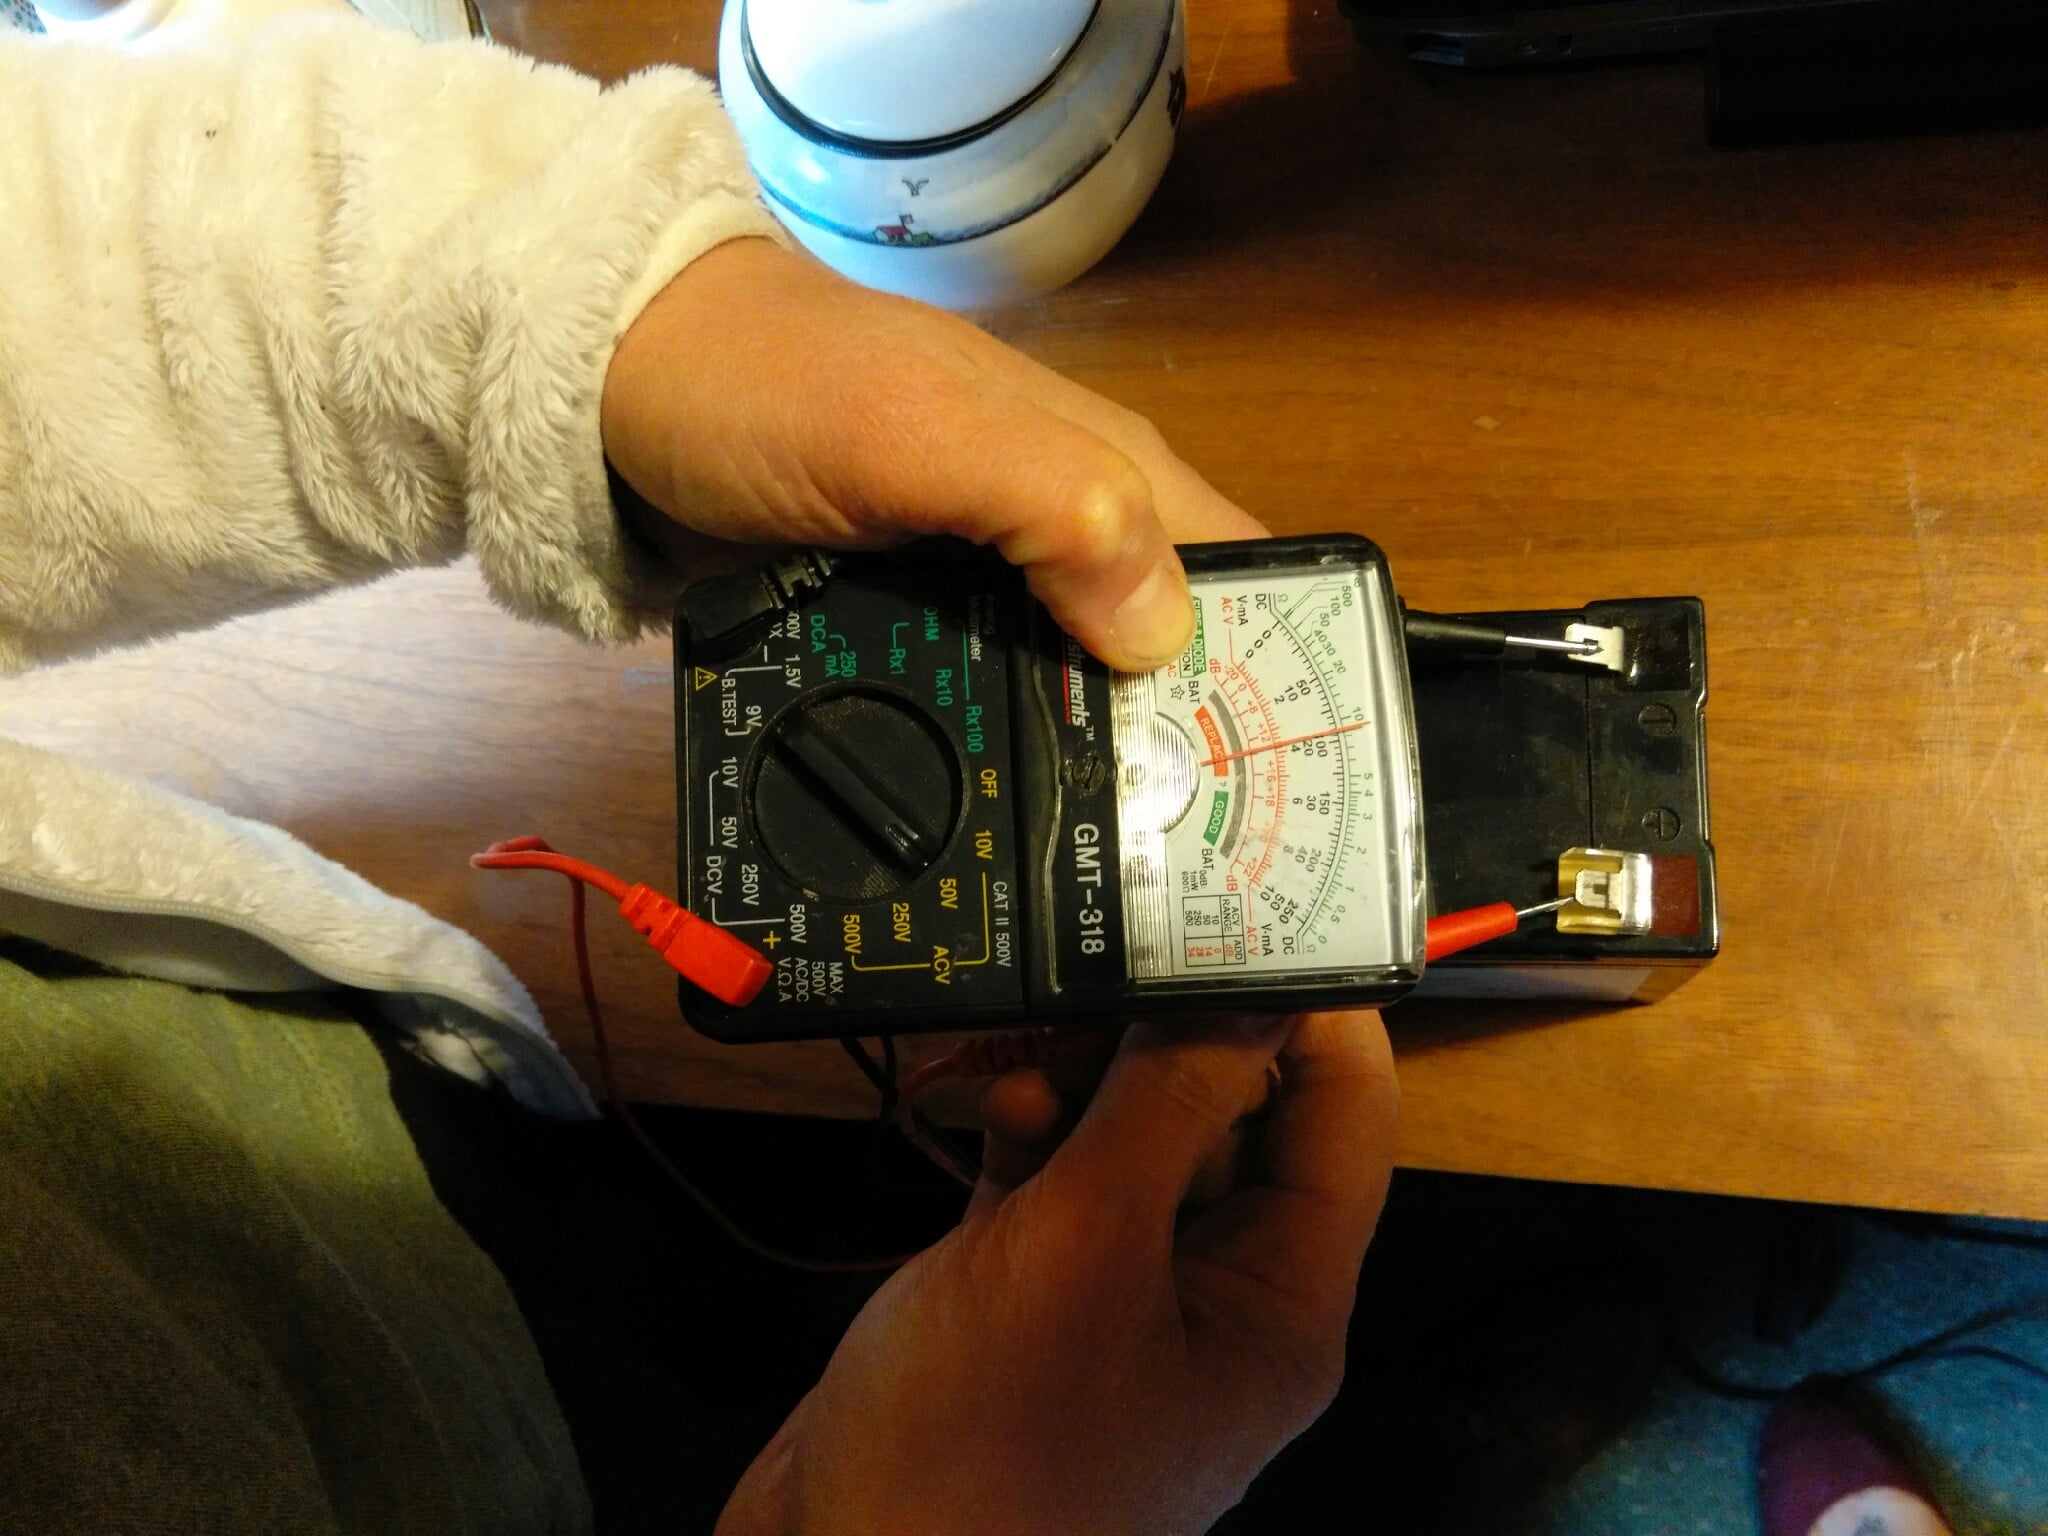
- Use a multimeter to test the battery. Take the battery out of the fence charger. Turn the dial on your multimeter to the DCV section. You want to make sure you choose a voltage setting on the multimeter that is higher than the rated voltage of your battery, to avoid damage to the multimeter. So if you have a 6V battery, choose 9V. If you have a 12V battery, choose 50V. Then read the appropriate scale to see the actual voltage of your battery. If it is less than 6 or 12 volts, you can try turning the fence off and leaving the battery to charge without a load for a few days, but most likely you should just replace the battery. A good battery should be able to keep your fence charged 24/365.
- Inspect the fence for where it might be grounded out. If your battery is good and you’re getting 5000 volts at the charger but not on the fence, that means it’s grounded out somewhere. You have to walk the entire fence and inspect it for anywhere that the wire is touching anything grounded. If the fence is touching a metal or wood fence post, you need to put an insulator in to keep them apart. Fiberglass or plastic fence posts are fine. The fence could actually be touching the ground, or it could be touching vegetation that would be grounded. If your fence has rubber insulators that are stapled to wood posts, it is possible that the staples were put on too tight and have cut through the rubber and are contacting the wire. The final possibility is that your fence is contacting your grounding system. Your fence might have some of its wires grounded. This is a method of being able to shock animals if the ground is very dry or if they are jumping, because instead of contacting a hot wire and the ground, they would get shocked just by touching the hot wire and the ground wire at the same time. So you have to make sure that any wires that are connected to the ground side of your system never touch the hot wires.
- Improve your ground or get a bigger charger. The final step you can take to improve a fence is to improve the grounding system. You can always add additional ground rods. Your charger’s owners manual should give advice on proper placement of multiple ground rods. You might also check and make sure that your charger is big enough to handle the length of wire you have attached to it. Deer fencing often has many strands of wire, so the same charger can’t enclose as large of an area as it would if you only had it on two strands of cattle wire.
I hope this advice will help you get your electric fence system up and running well ahead of the time that your crops start coming up. It’s pretty neat that humans have figured out how to get electricity to do what we want it to do. Just remember how cool that is as you’re running around inspecting your fence for the tenth time trying to figure out where it could possibly be grounded out. Keep looking and you’ll find it, then you can pat yourself on the back and look forward to celebrating your persistence with some delicious watermelon this summer.
Great informative post Karline. But I would have loved a little teenage boy interaction. You know, “stick out your tongue”. I survived raising two teenaged boys and am still a bit vengeful.
After taking over my father’s ranch, I have experienced a few problems with the animals getting out of their paddocks. A friend of mine recommended installing an electric fence to teach them to stay in their fenced area. I think that it would be a great idea but I don’t really know very much about how they work. This information has definitely helped and I hope to use it in the future!