
Winter has been knocking at our doors in East Tennessee. Debbie reporting in from Rural Resources in Greeneville, TN. Our teens have bedded some of their gardens down for winter, but a few have decided to continue to grow. In preparation for the weather, we have been adding plastic coverings to their raised beds to help extend their growing season. One of our families has begun pulling some produce out of their beds! Here are some pictures of the produce they have gotten:
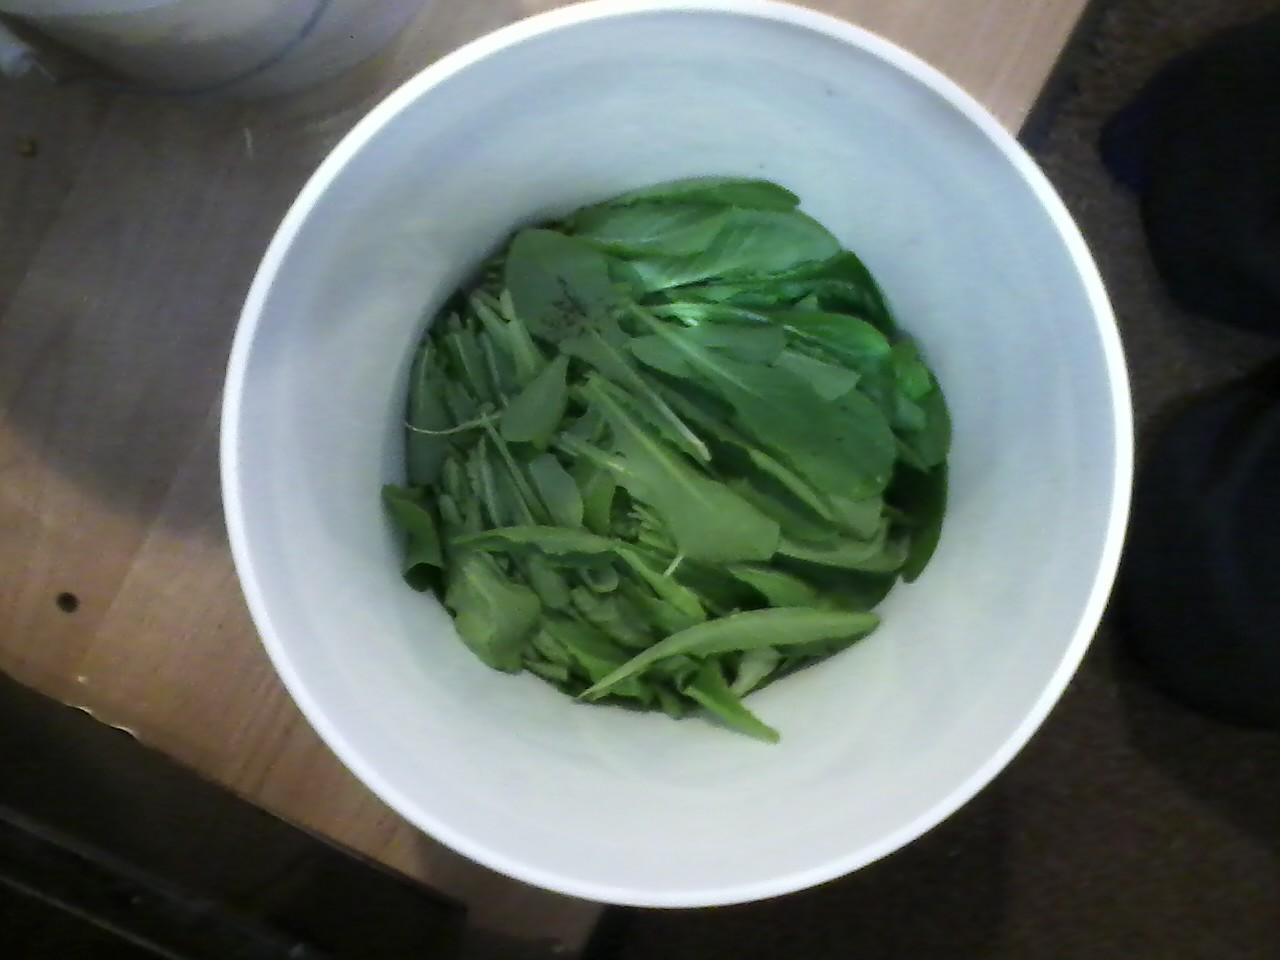
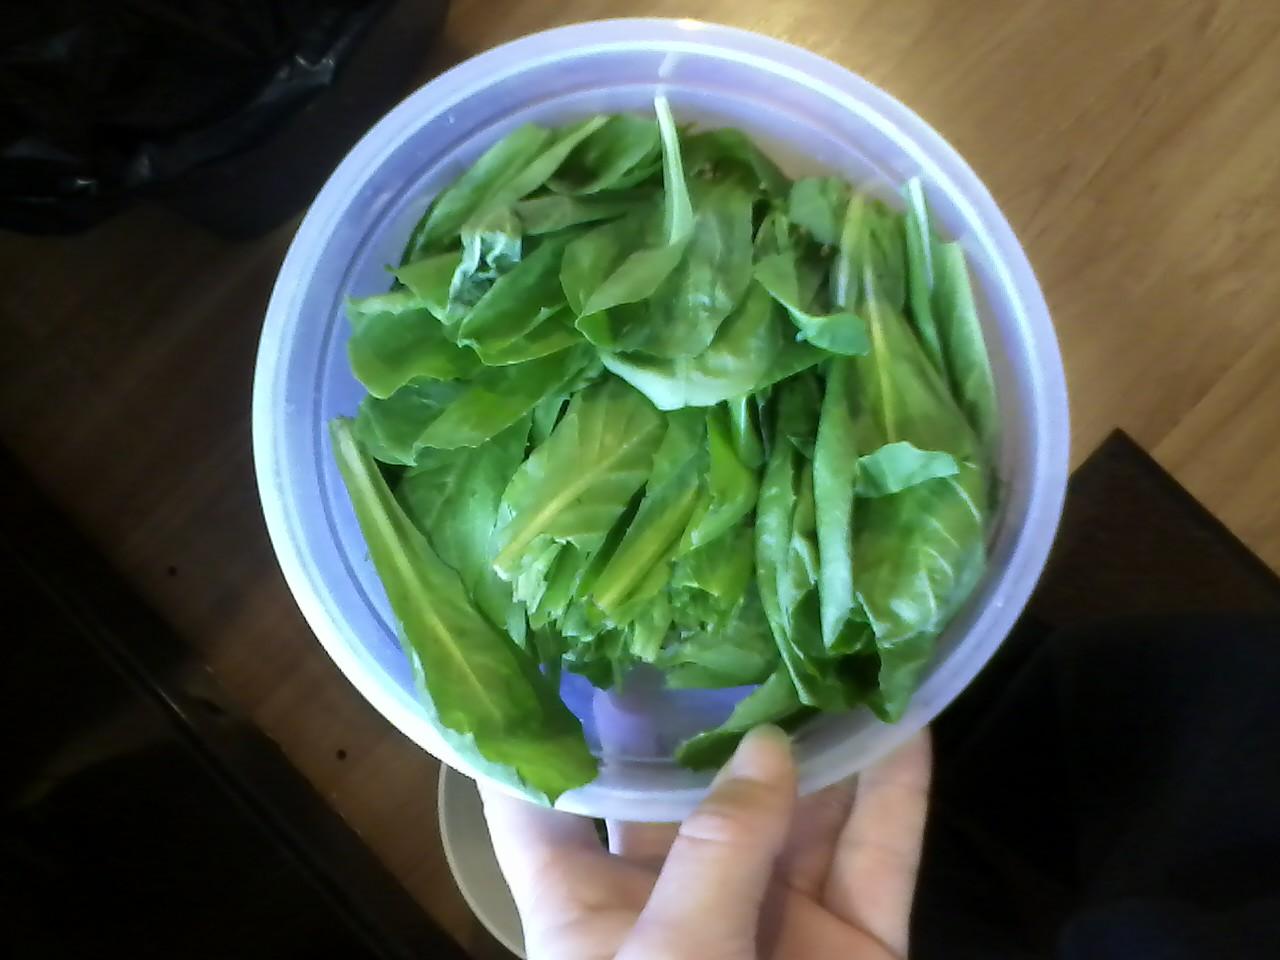
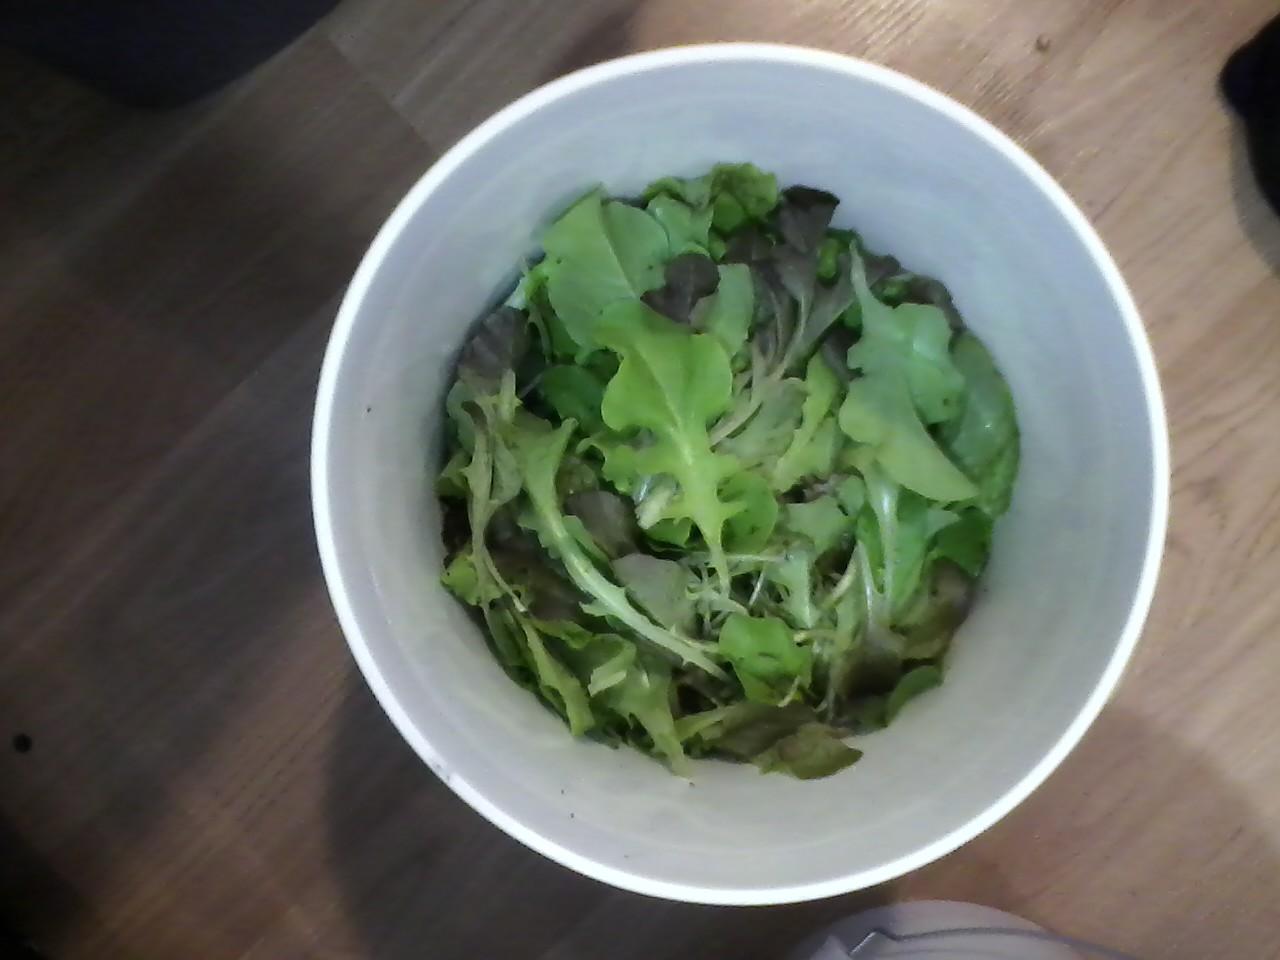

We are excited that produce is still growing with snow and frigid cold temperatures hitting us! These arctic blasts kill me, but these veggies look unaffected. The family cannot wait for more produce to come from their garden.
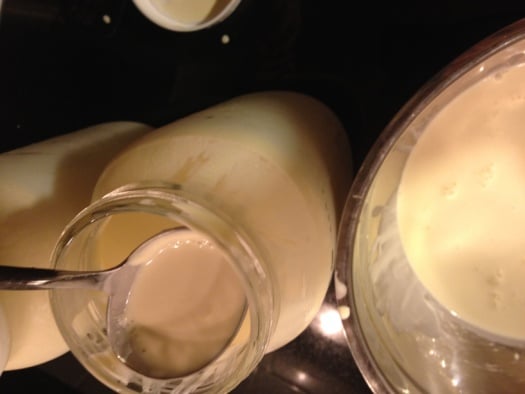
With winter nearly upon us, and most gardens are bedded down for the winter, what else can one do to preserve food or prepare home-grown food? There are many things that can still happen – meat can be canned, yogurt and cheese making, or even home-made butter. If anyone has access to a milking cow or fresh raw milk, winter can be spent making yogurts, cheese, butter, and even ice cream. All will last a while in the fridge or freezer. A family who has been in our teen program, has their own milking jersey cow. The mom, Karen Millard, is currently making her own fresh dairy products. She wanted to share how to make butter with our online viewers. I would love to share her knowledge with you today.
Making Butter with an Emersion Blender
Making butter with an emersion blender is the easiest and fastest method that I’ve found. You can begin with only a cup of cream up to two quarts. Milk from a Jersey or Guernsey cow will make the best butter. Holstein milk will be a paler yellow. Butter from milk in the Spring will contain more nutrition and be a much deeper yellow color than milk produced during the rest of the year. The following steps will easily walk you through the complete butter making process step-by-step.
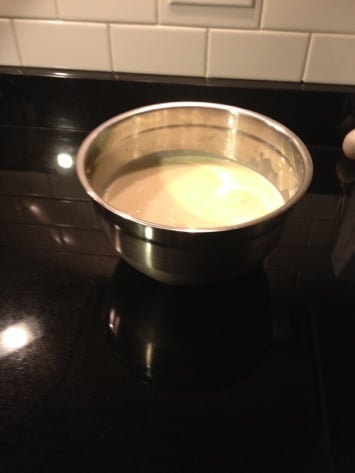
Step 1: Ladle cream into a 1 gallon bowl with higher sides. The bowl should be made of glass, plastic, or non-reactive metal bowl (preferably stainless steel).
Step 2: Allow cream to rest in the bowl on the counter until it warms to approximately 50 degrees.
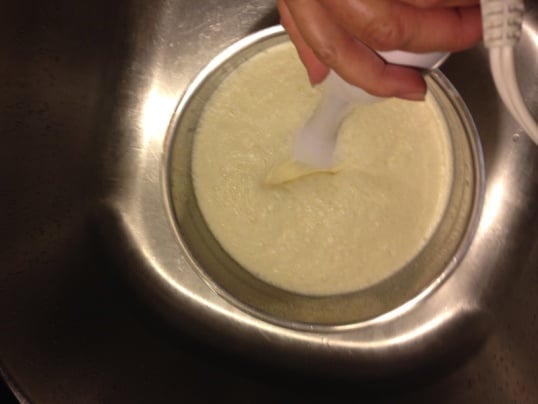
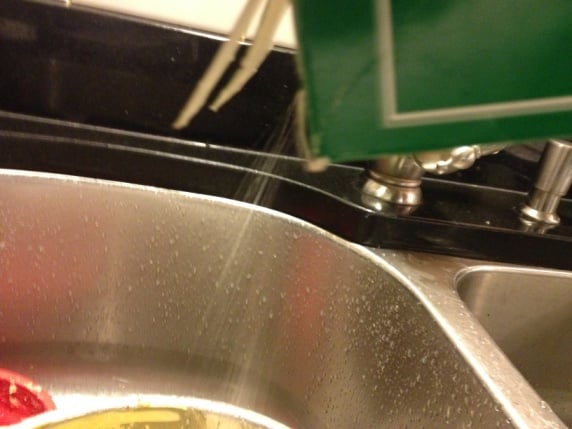
Step 3: Place the bowl into an empty sink to avoid spills and splatters. Insert the blender into the bowl on an angle. Turn on high and slowly rotate the blender around the bowl in the top 2” of the cream. Blend until whipped cream forms. Continue blending the cream until you notice a decrease in the volume.
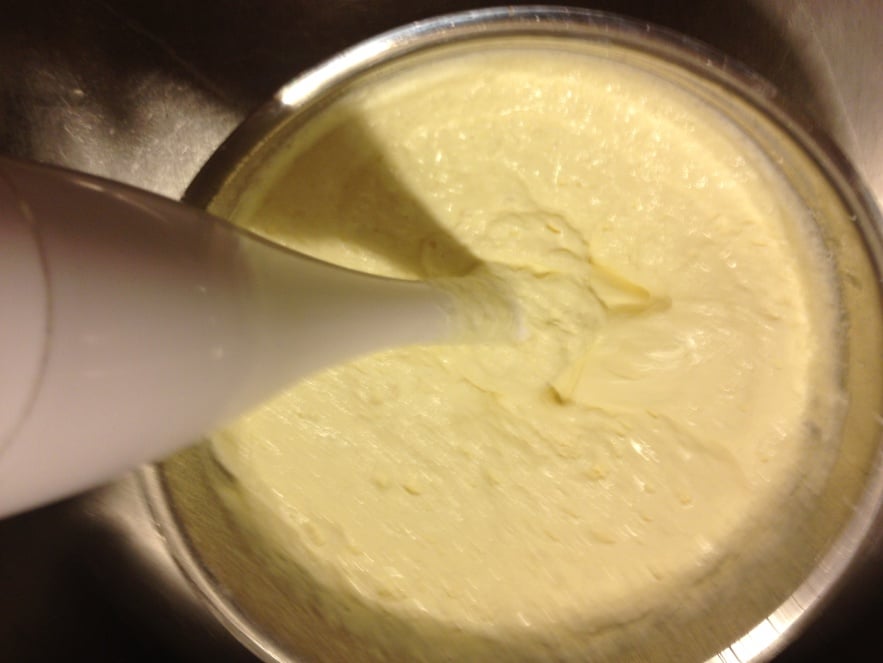
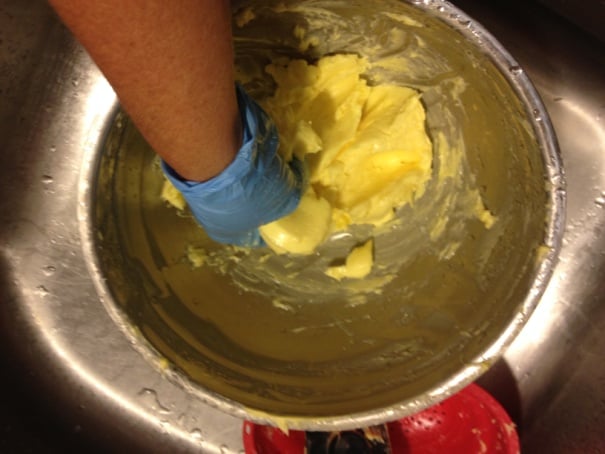
Step 4: As you continue to beat the cream, you will start to see it changing into a pale yellow color as the fat globules solidify and become larger. At first they will be only the size of coarse sand. At this point, start to rotate the blender around the bowl more vigorously.
Step 5: Continue blending and vigorously stirring the butter with the emersion blender. Clumps of butter that are the size of marbles will form. Keep beating for another 1-2 minutes until the clumps become the size of large gum balls. Stop beating the butter. Unplug the blender and clean the excess butter off the blender, placing it back in the bowl. Place a small silicone, plastic, or stainless steel colander in a second bowl. Pour the mixture though the colander to remove most of the milk. Gently press the butter with a spatula to remove additional milk.

Step 6: Run cold tap water into the first bowl and put the butter into the water. In the summer add a few ice cubes to chill the water. With a hand full of butter, squeeze it while submerged in the water to remove excess milk. The water should be cold enough to make the butter slightly stiffer than peanut butter. When the water becomes cloudy, pour the water and butter back through your strainer.
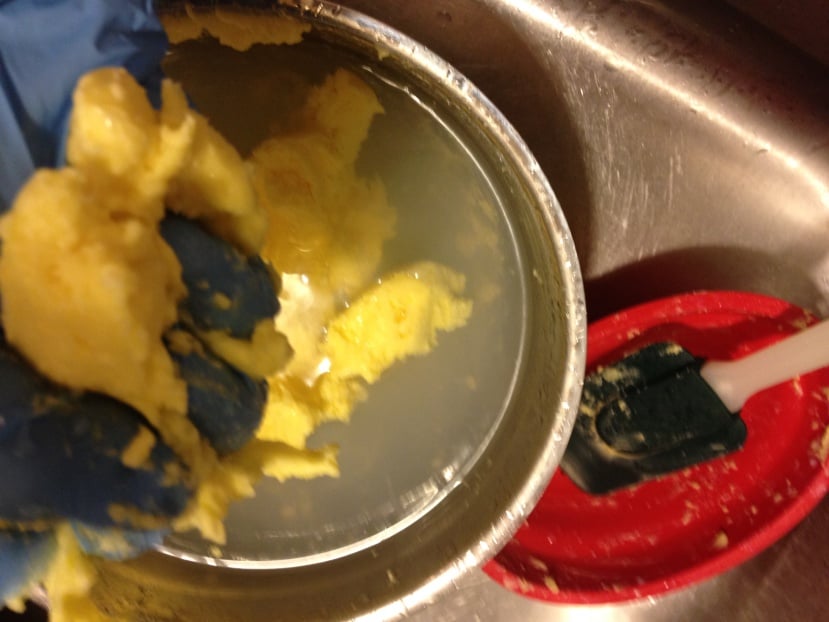
Step 7: Place the butter back in the bowl and continue this washing process at least 3-4 more times. By the last wash, the water should be clear. Drain the butter in the colander, before placing it back in the bowl. Add ¼ teaspoon of canning salt.
Step 8: Blend well into the butter. A small amount of excess water will come out of the butter. Pour this off as you blend the salt into the butter. Add more salt as needed to taste.
Step 9: Choose small canning jars that will hold the amount of butter that you will use in approximately a week. Pack butter into the canning jar, cover with a storage lid or a flat and canning ring. Place a piece of freezer tape on the lid and write the date on it with a sharpie. Place in the freezer. Remove as needed and allow to thaw in the refrigerator.

Note: It is nearly impossible to get all of the milk out of the butter in home kitchen. The remaining milk in the butter will sour the butter if left out on the counter too long. Remove your butter from the refrigerator for use and return it as soon as you are finished. If it starts to taste slightly soured, it can still be used for cooking.
So, don’t forget, just because it’s snowing and the arctic has moved into the Appalachia, there is still many things we could be doing to make food during the winter if you are not wanting to garden. Look into making butter, cheese, and yogurt. I am betting your food bill will see a difference!
Leave A Comment